26 January 2014

stitch samples

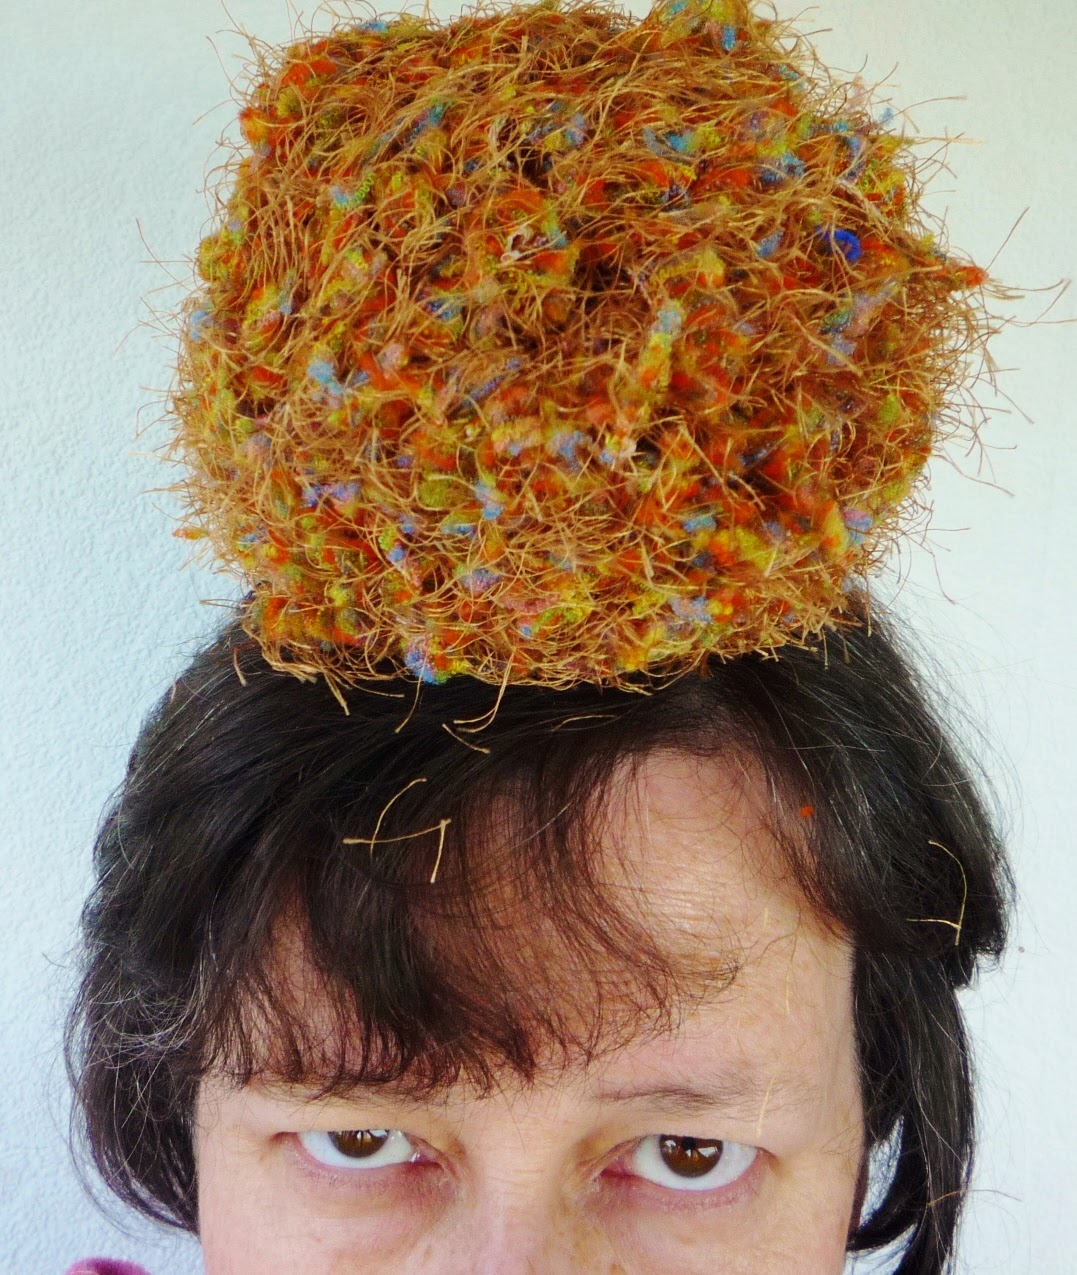
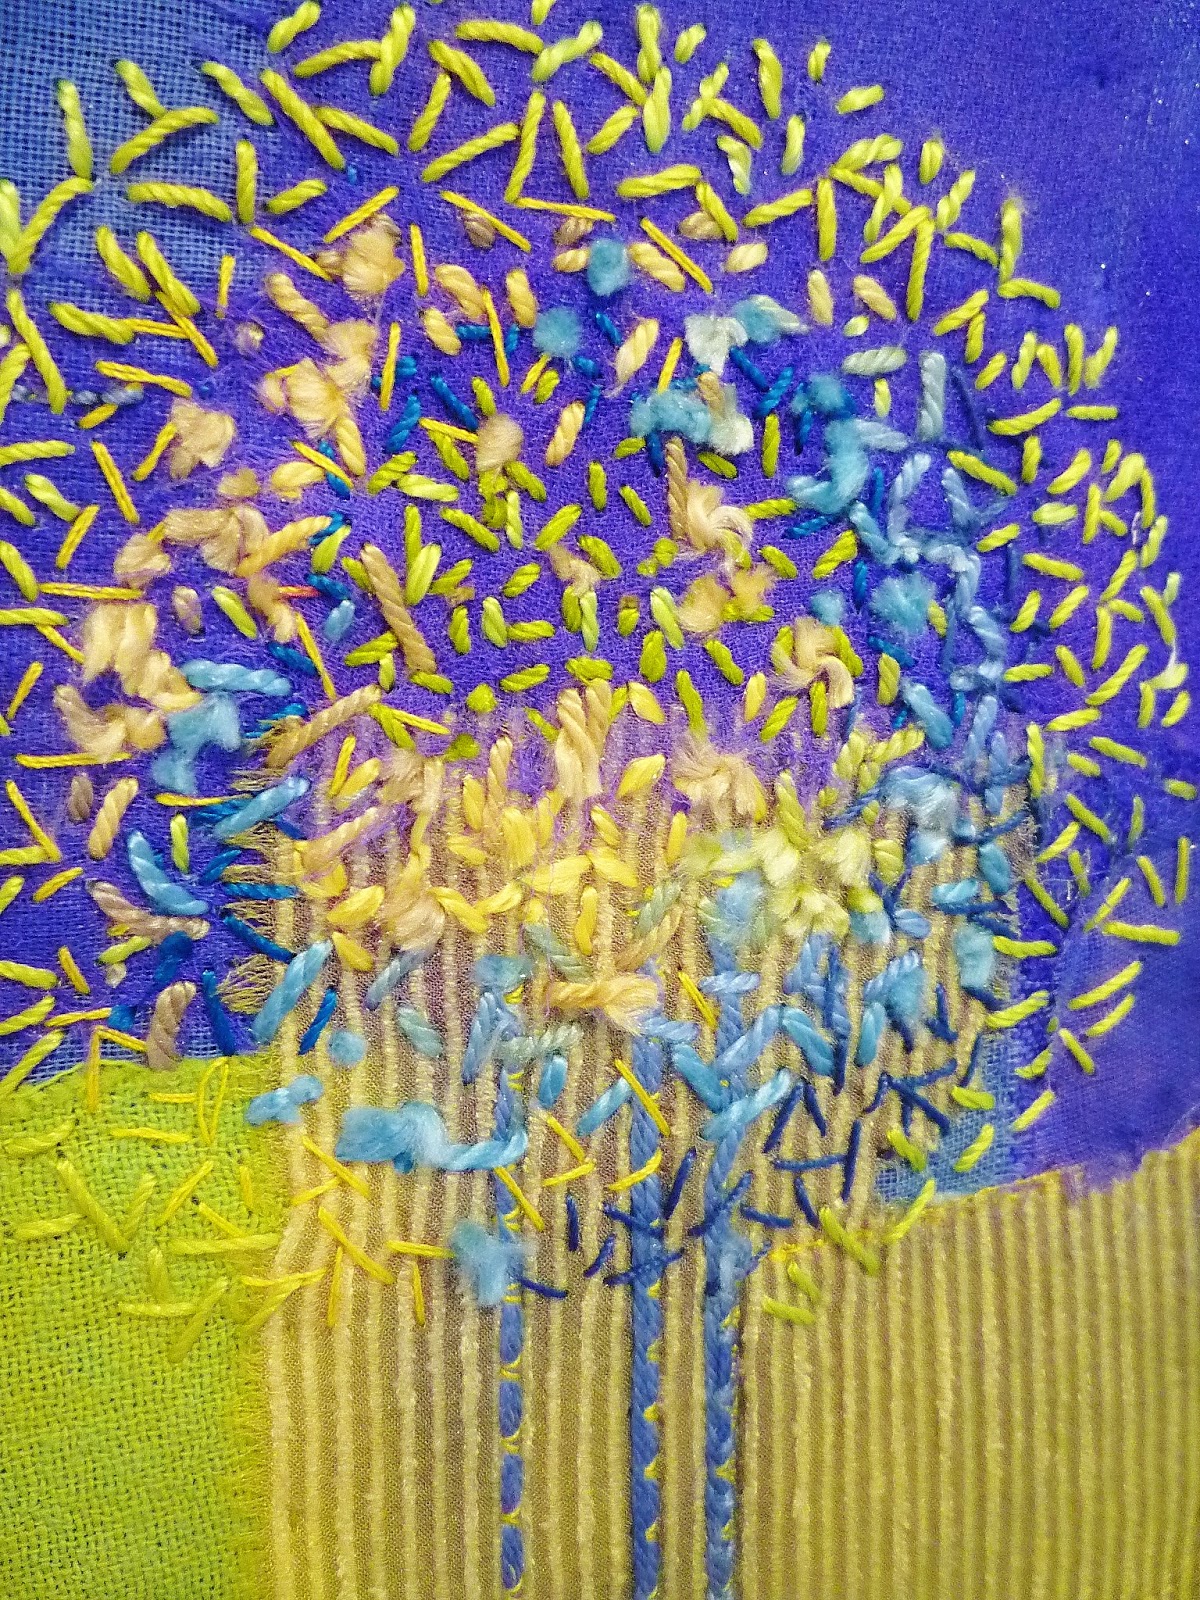
Some days I do miss the discipline of working towards the City and Guild qualification and other days I'm glad it's all over. This year I decided to do a leisure class in embroidery and I have been trying to brush up my hand embroidery skills. I thought you might like to see some of the samples, I've stitched so far.
Here's one with chain stitch, herringbone and a few french knots sprinkled in. The background fabric was dampened and then painted using the Koh-I-Noor palatte


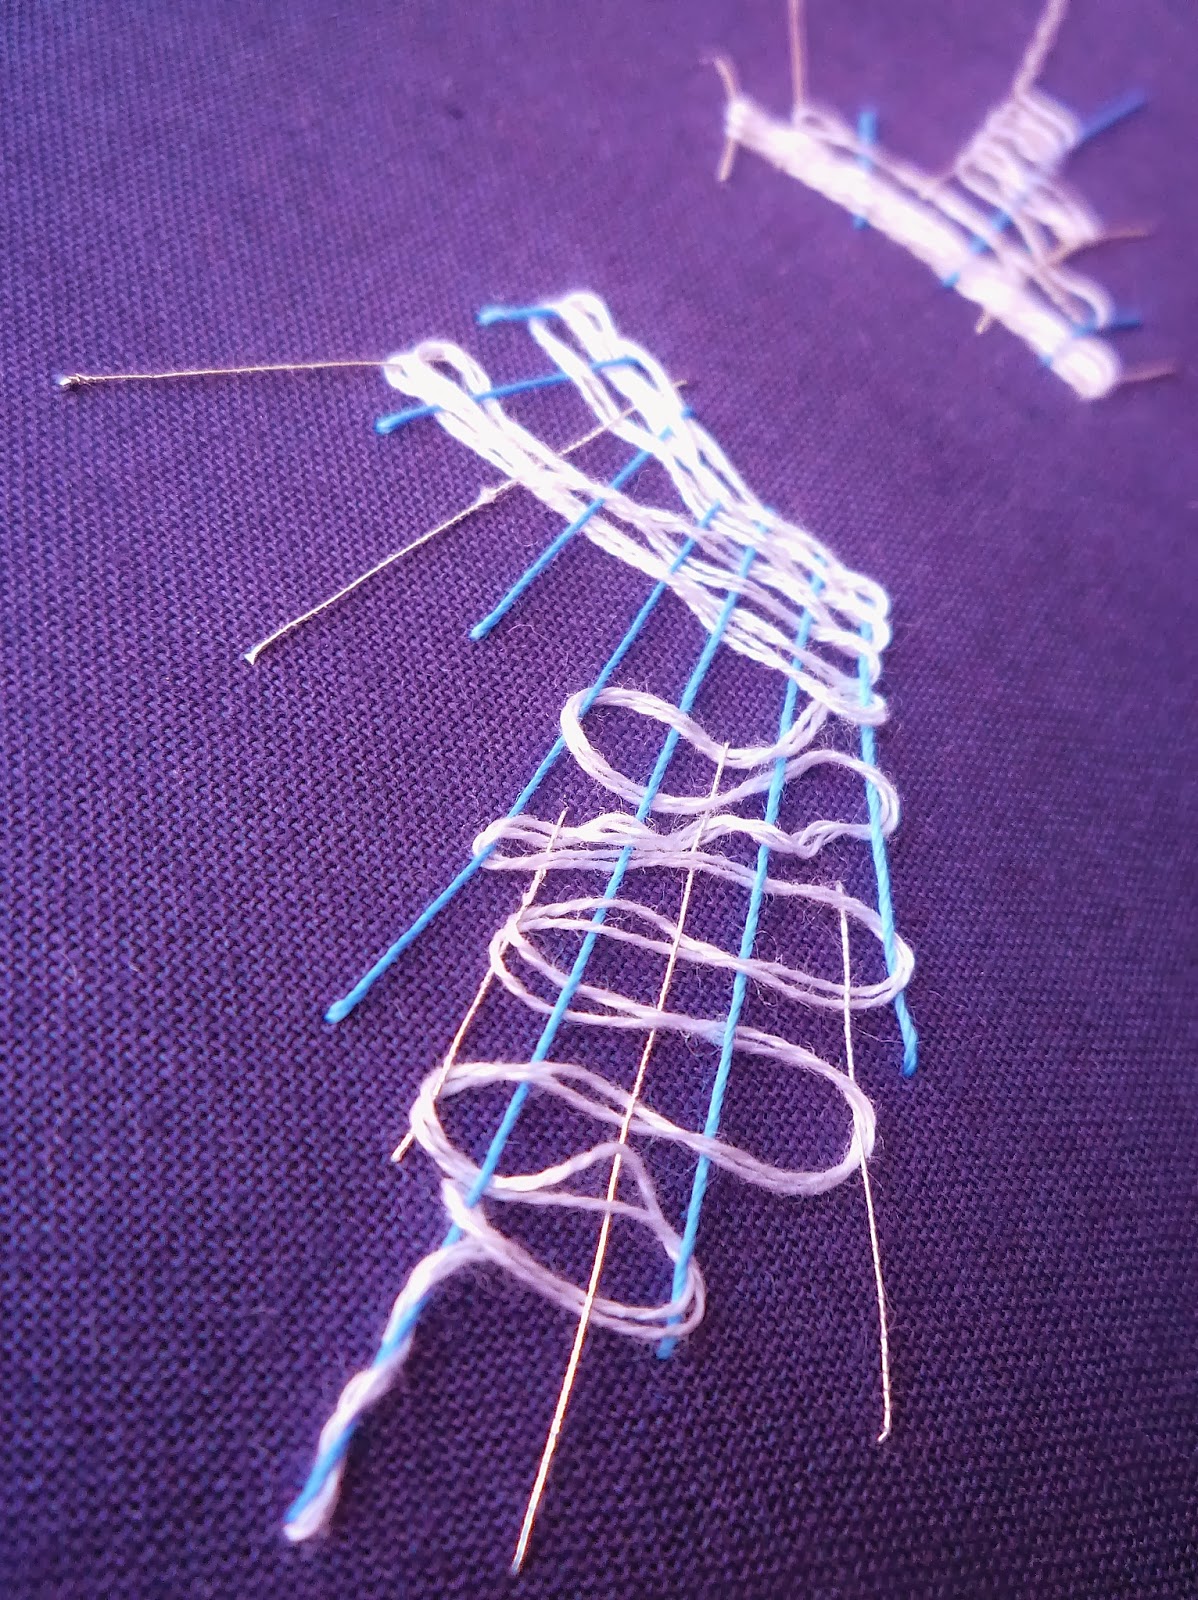
In this sample I was trying out needle weaving.


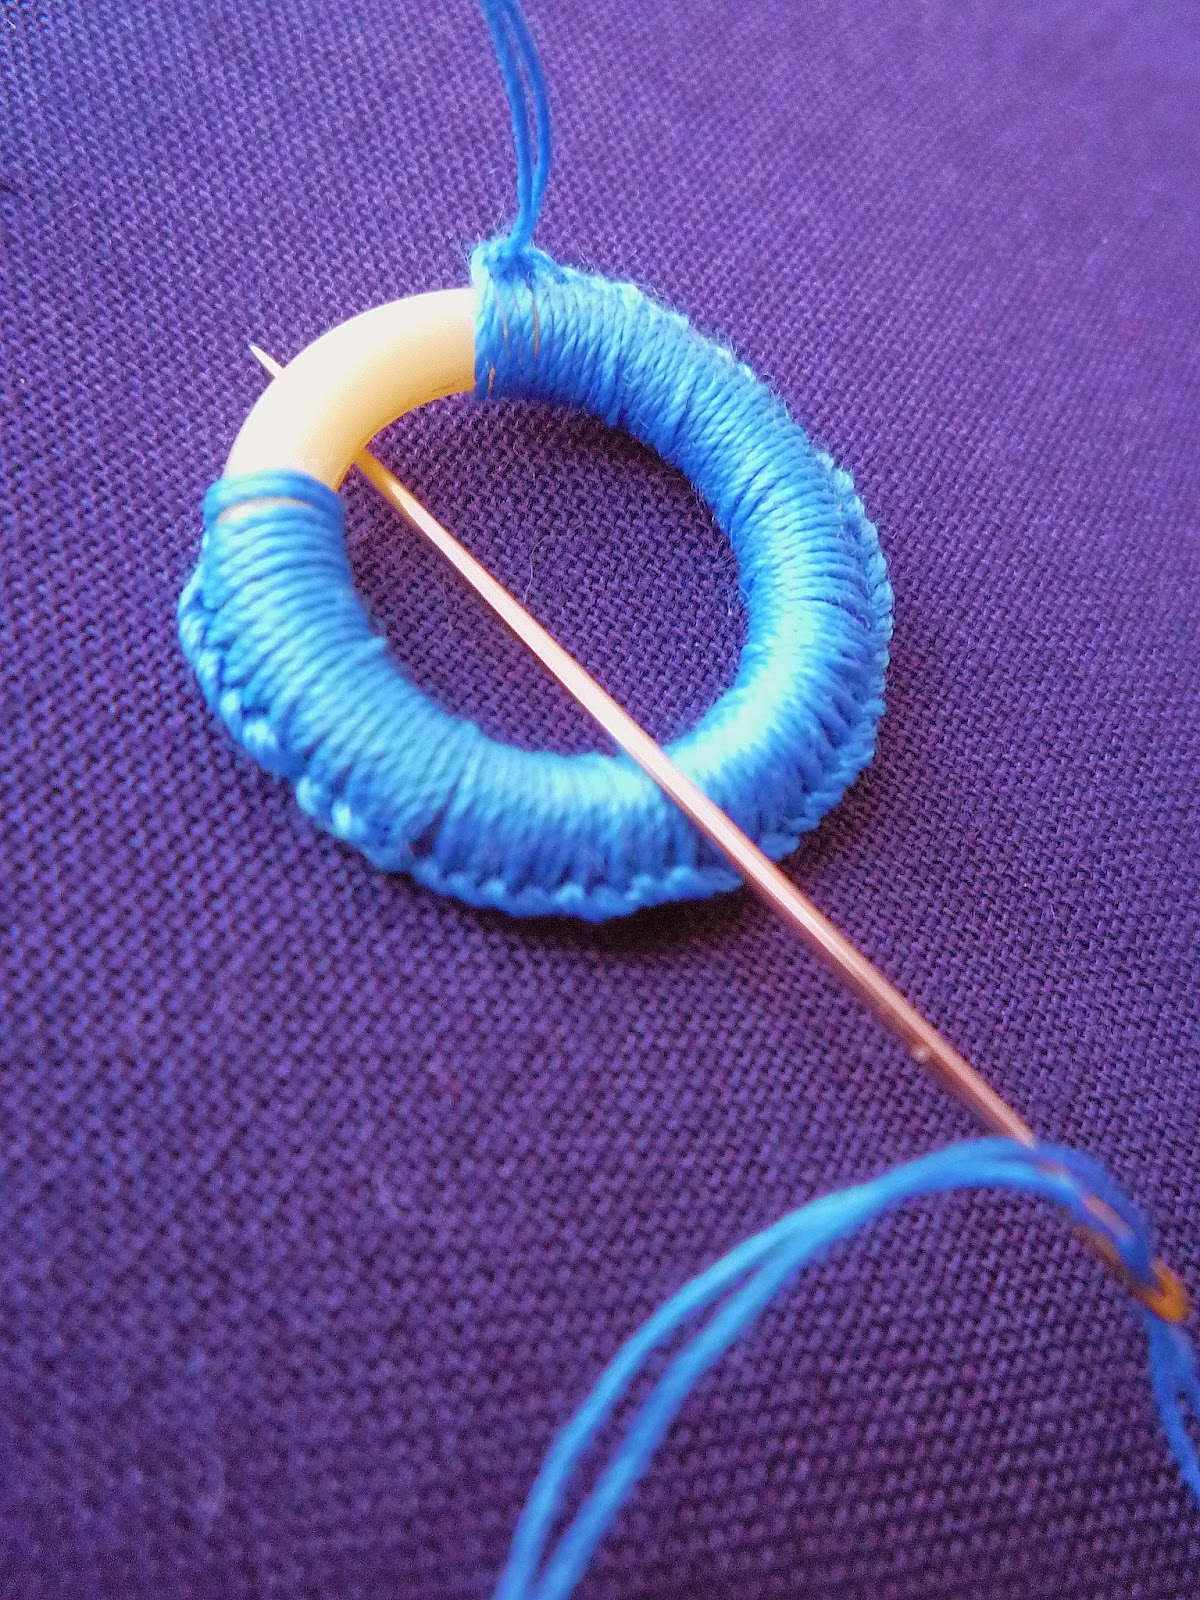
I covered a curtain ring using buttonhole stitch, this would be nice added to any sewing piece or the starting point for a jewellery project.


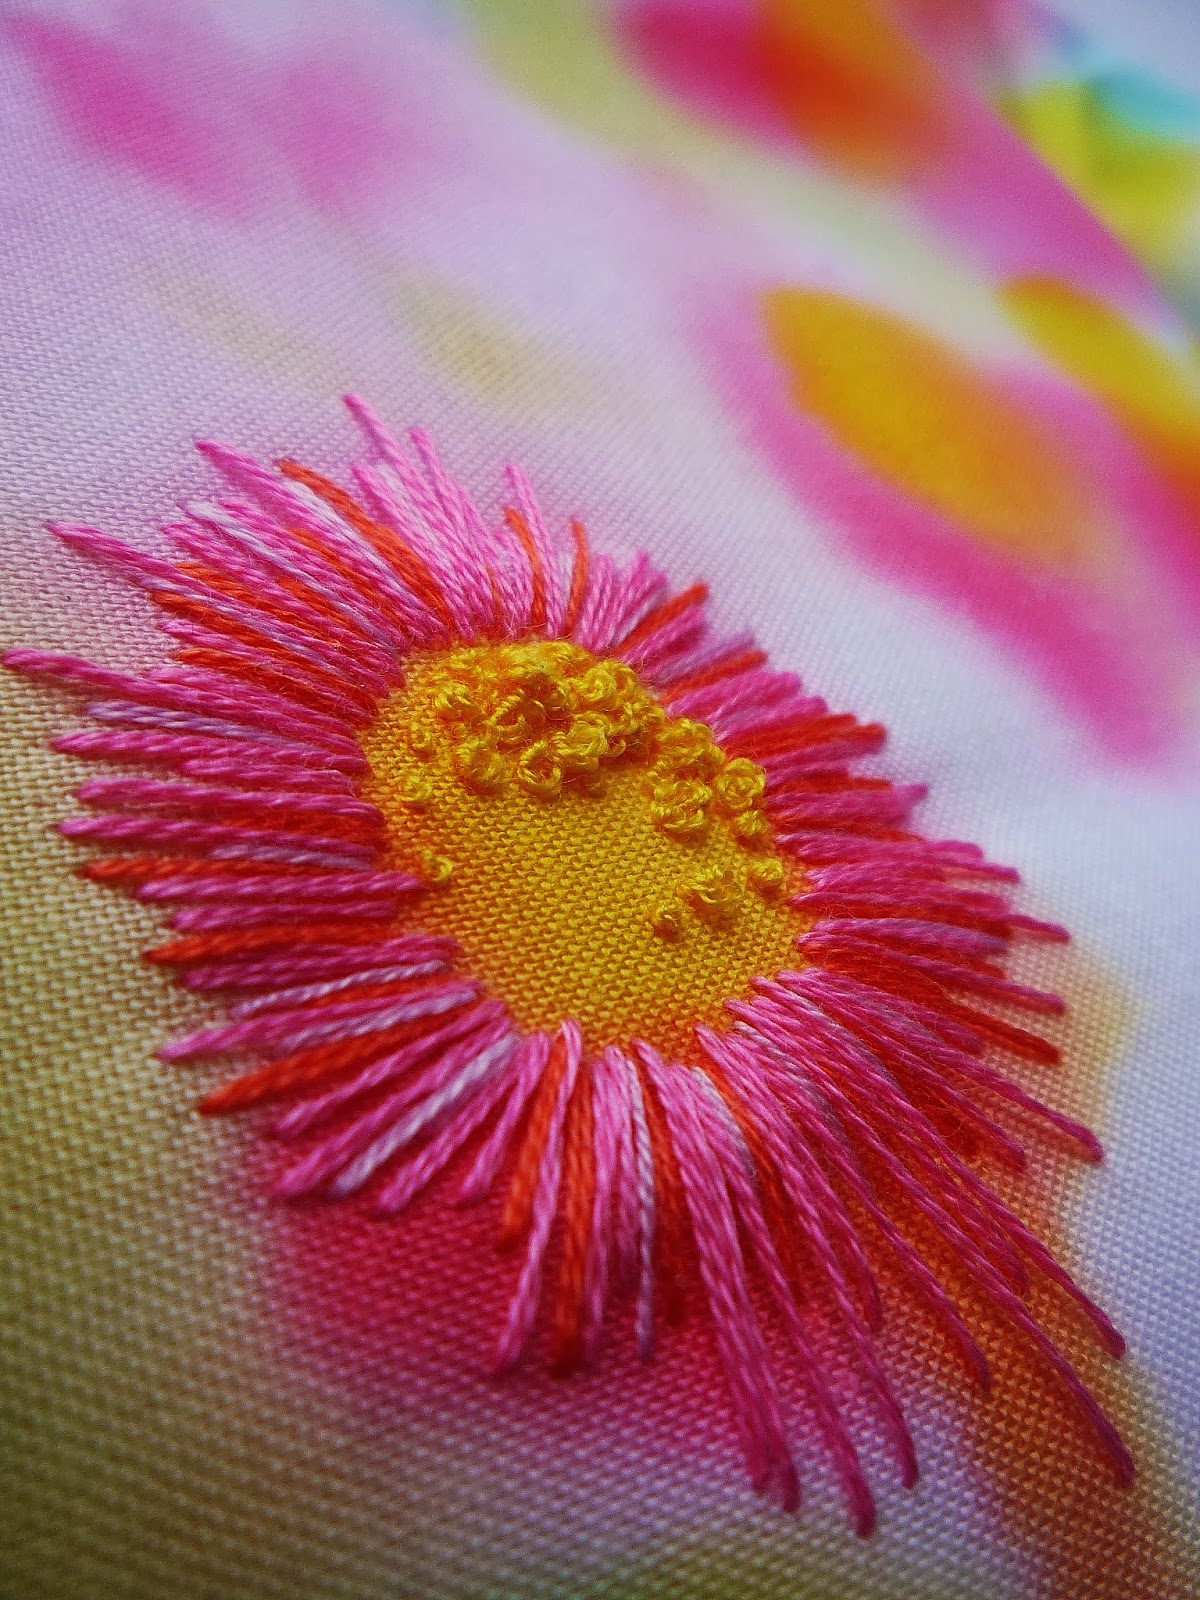
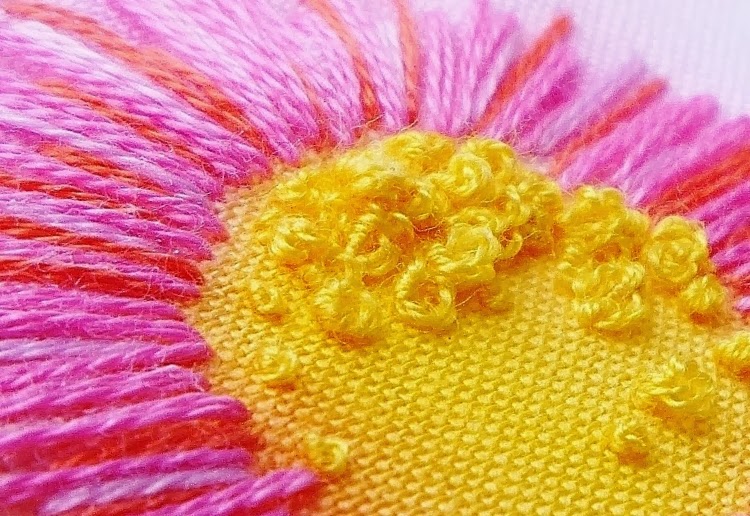
This is my favourite sample, a stab stitch and french knot daisy.


Have a great week, Ali.

19 January 2014

treasure

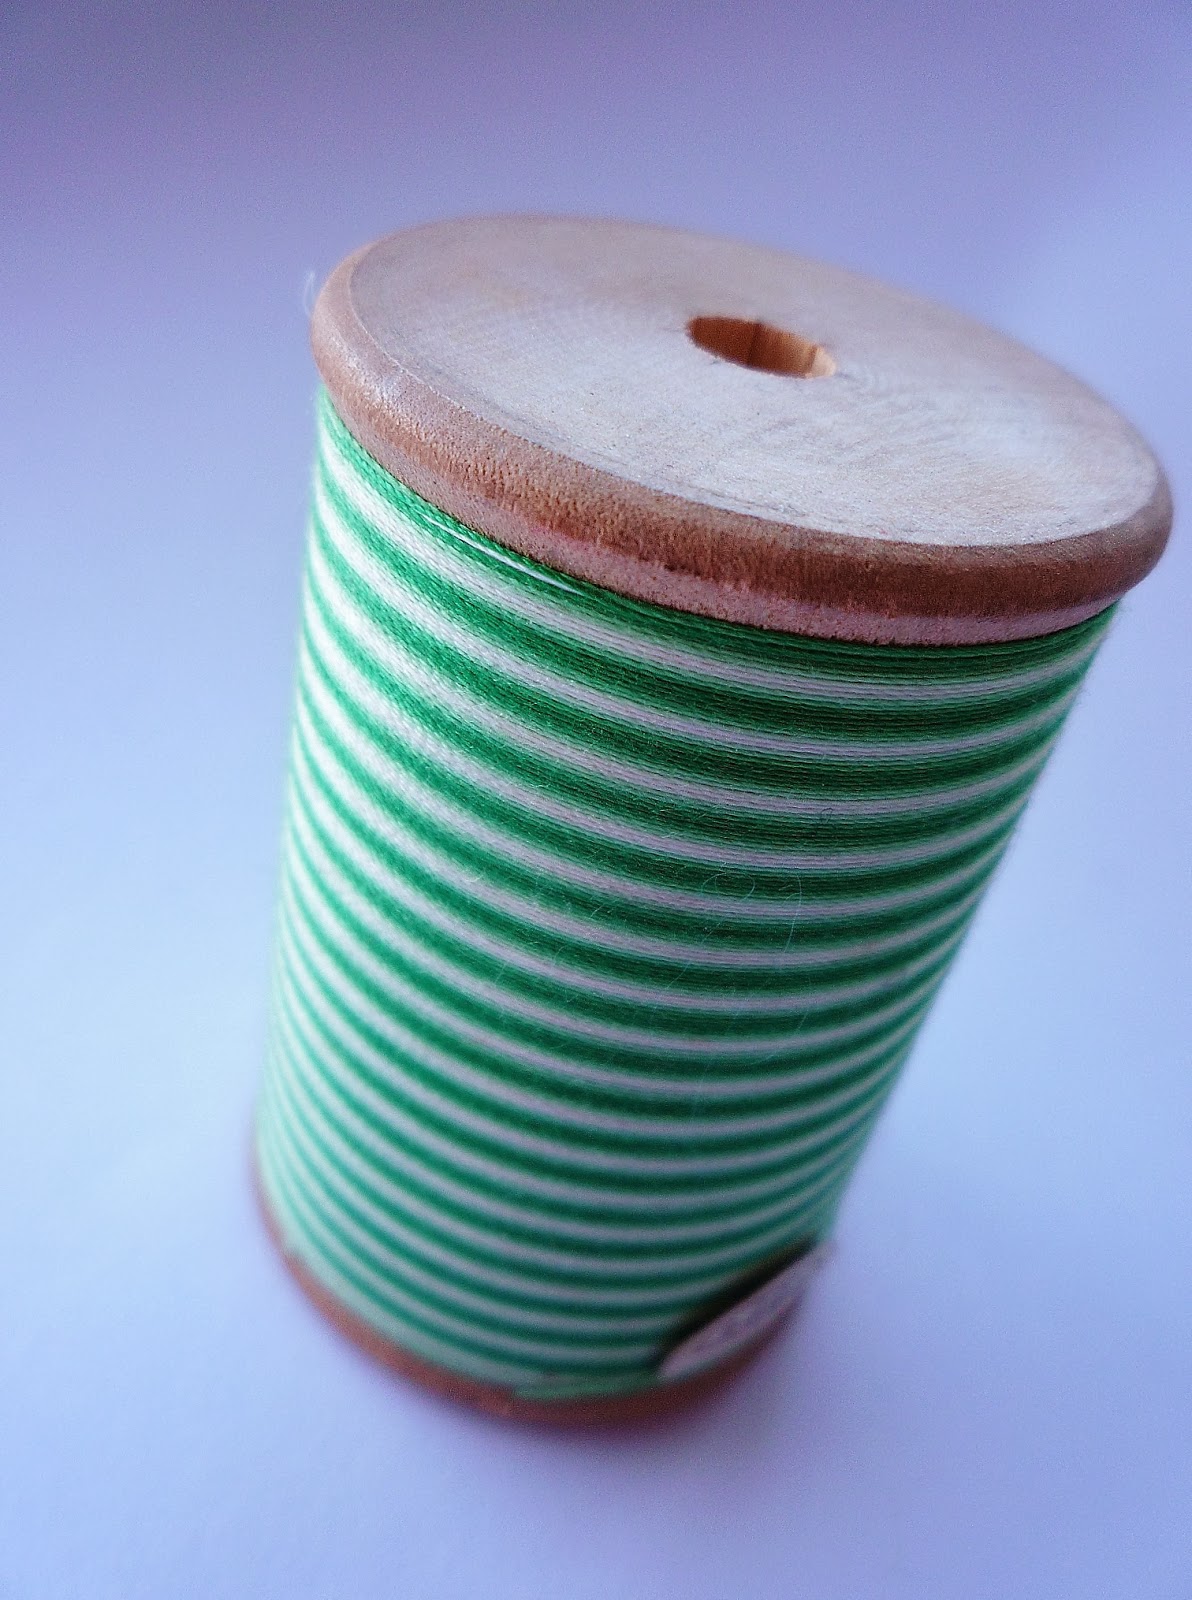
I do like a good rummage around the charity shops...I get quite excited as you never know what is going to be found. Yesterday I came away with what I call treasures. The first is a vintage wooden spool of variegated green thread, probably rayon.

 
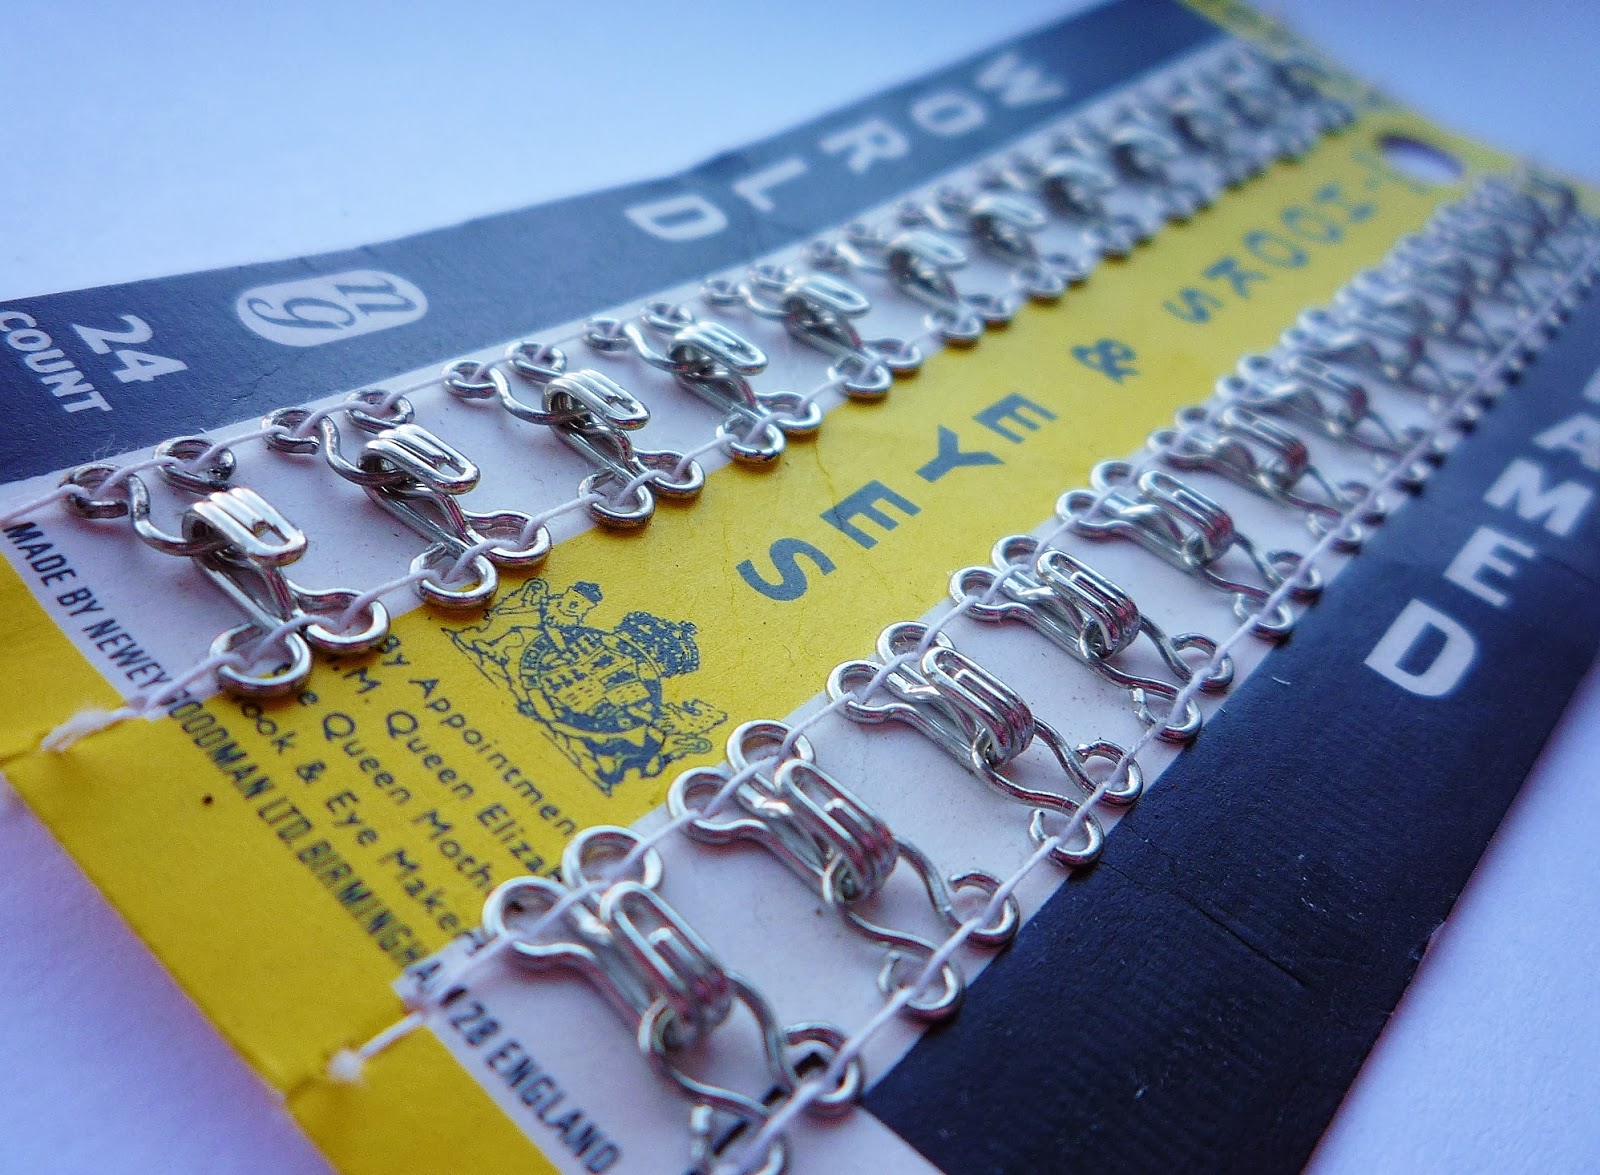
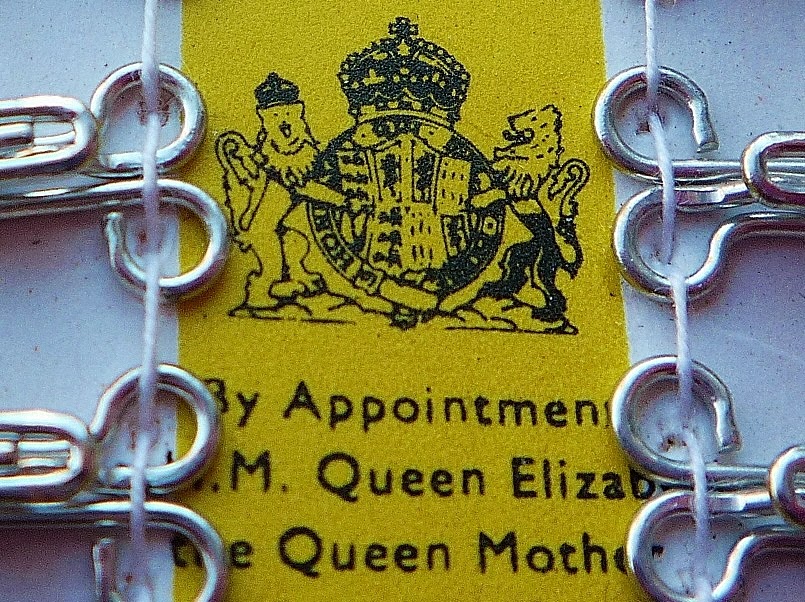
Then I found some metal hooks and eyes from the sixties. I do like the royal seal of approval !


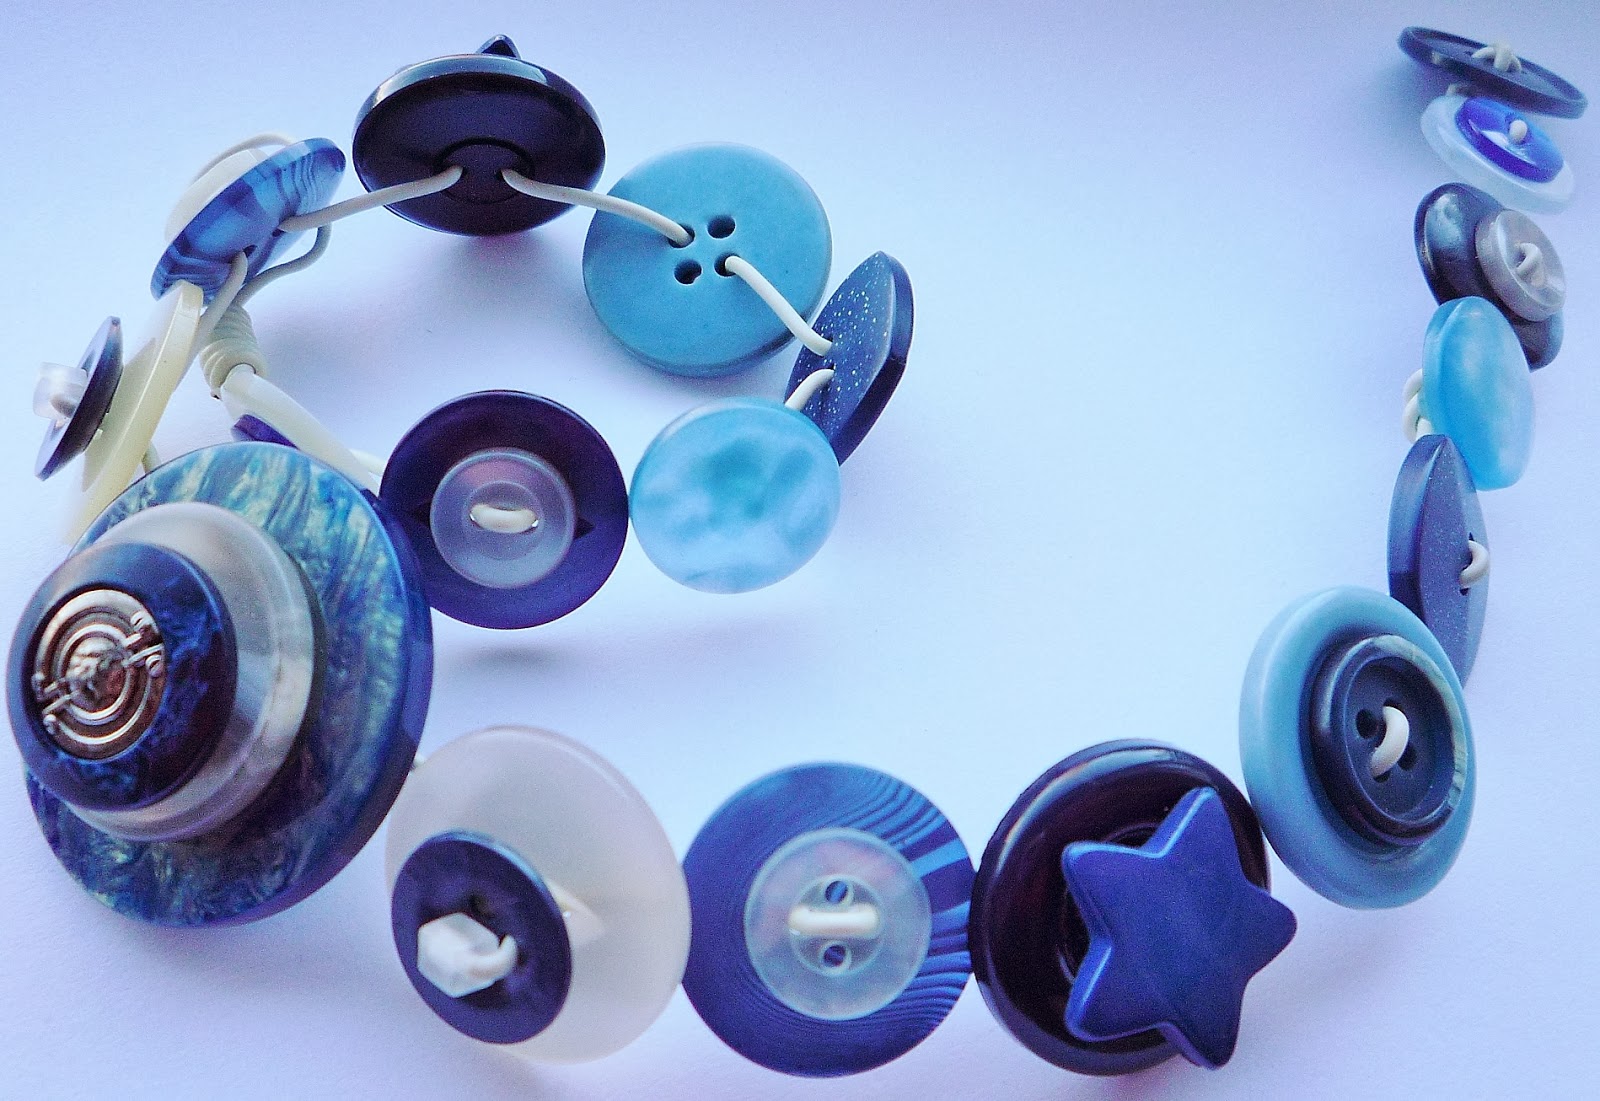
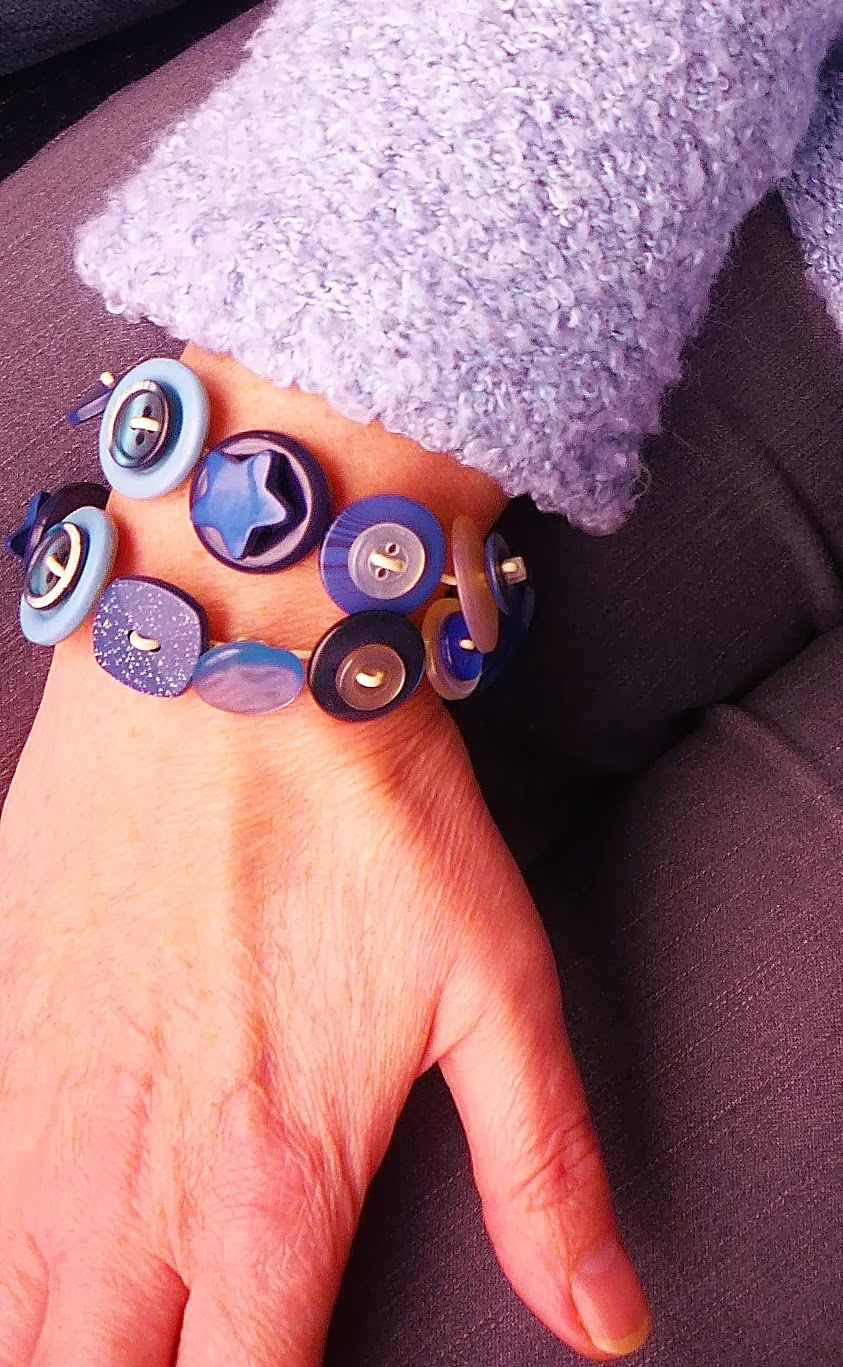
In another shop I found a necklace, someone had made it out of blue buttons.

 
I thought I would buy it and cut it up to use the buttons in sewing projects, but I think its too pretty to do that and it makes a nice bracelet.


Total cost less than £2.50, wonder what I'll find next week.
Bye, Ali.


11 January 2014


CYNTHIA the PSYCHEDELIC
SNAKE
 
THIS PATTERN IS COPYRIGHT PROTECTED
 ONLY FOR PERSONAL OR CHARITABLE USE
ITEMS KNITTED FROM THIS PATTERN CANNOT BE SOLD FOR PROFIT
                DO NOT REPRODUCE OR USE FOR ANY COMMERCIAL USE  

NOT SUITABLE FOR SMALL CHILDREN

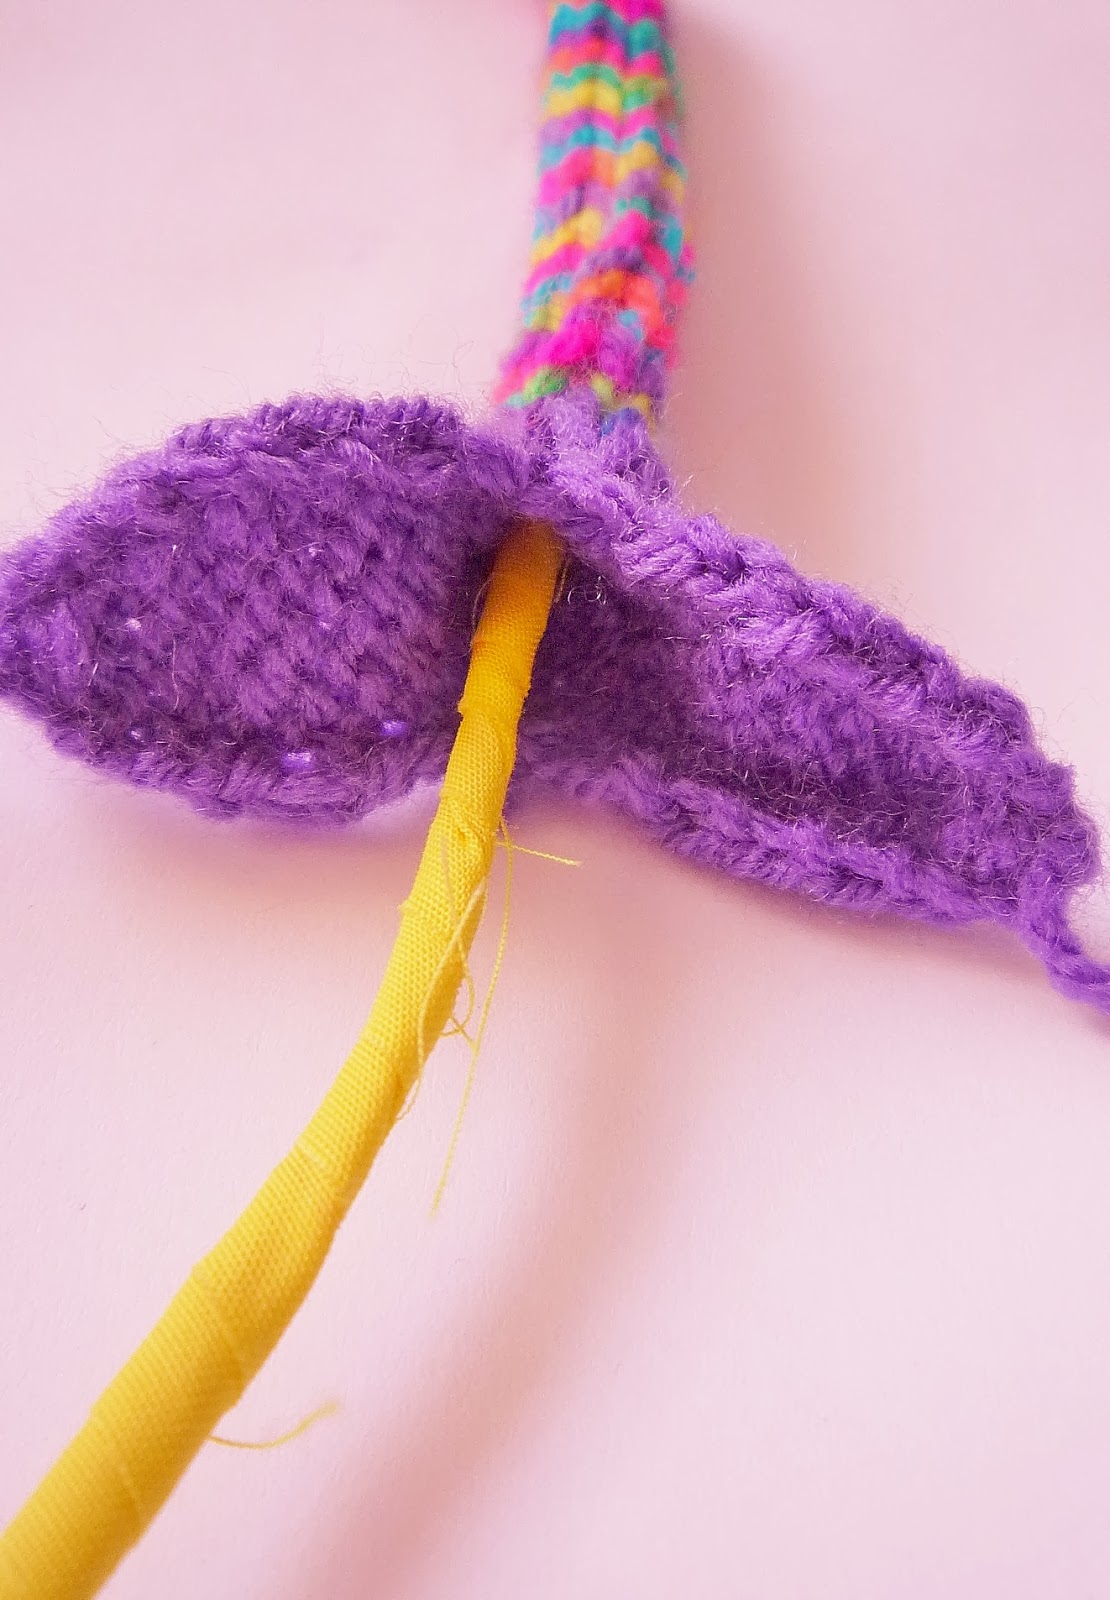
A mini snake approximately 32cms / 12 inches long. Bendy body due to the use of a pipe cleaner.

ABBREVIATIONS
st(s): stitch(es)
k: knit
p: purl
M1L: increase (make one left)
M1R: increase (make one right)
For increase tutorials see knitting help
sl: slip
psso: pass slip stitch over
pwt: pull wool through (thread yarn onto needle and then through sts on needle, pull tight and secure with a few sts) 


MATERIALS
four dpns size 3.00mm  (US 2½)
variegated dk (8 ply) yarn for snake body (eg Robin Paintbox)
oddments plain coloured dk (8 ply)  yarn for head
two dpns size 2.25mm (US 1) for tongue
oddments black 4 ply (fingering)  yarn for tongue
two beads (aprox 5mm)/small buttons or embroidery thread for eyes
pipe cleaner (length 30cms/12 ins)
fine fabric similar colour to snake body
darning needle
sewing needle
INSTRUCTIONS
  • Bend the ends of the pipe cleaner back.
  • Cut a strip of fabric, (in a similar colour to the yarn to be used for the snake body) approximately 1cm wide and approximately 60cms long.
  • Wrap strip around the pipe cleaner.

  • Secure end of fabric with a few stitches or glue. 

SNAKE HEAD AND BODY
Snake is knitted from the mouth to the tail.
The head is knitted flat in two pieces using two dpns size 3.00mm (US 2½) .
Cast on 3 sts with purple yarn, leaving a long yarn tail.
ROW 1: k.
ROW 2: p.
ROW 3: k1, M1L, k1, M1R, k1 (5 sts).
ROW 4: p.
ROW 5: k1, M1L, k3, M1R, k1 (7 sts).
ROW 6: p.
ROW 7: k.
ROW 8: p.
ROW 9: k.
ROW 10: p.
Break yarn and keep 7 sts on left needle. Cast on a further 3 sts, leaving a long yarn tail.

Rpt ROWS 1-10
Next rd joins the two pieces of mouth to form the neck.
Rd 1: k all 14 sts dividing the 14 sts as you knit between three needles
(4, 6, 4) and join in the rd.
Rd 2: k.
Rd 3: k.
Rd 4: (k2tog) rpt to end of rd (7 sts).
Place sts on one needle with the yarn on left hand side ready to i-cord.
BODY
Change to variegated yarn.
Continue with i-cord, pull yarn very tight at the back of work.
Continue working until the snake body measures the length of the pipe cleaner.
Next row: k1, k2tog, k1, k2tog (5 sts).
Continue with i-cord for a further 1.5cms/0.5ins.
pwt.
Weave away all yarn tails. inside the snake, except the two tails at the tips of the mouth. 

INNER MOUTH
Knitted flat with two dpns size 3.00mm (US 2½)
Cast on 3 sts with pink yarn.
ROW 1: k.
ROW 2: p (right side).
ROW 3: k1, M1L, k1, M1R, k1 (5 sts).
ROW 4: p.
ROW 5: k.
ROW 6: p.
ROW 7: k.
ROW 8: k.
ROW 9: k.
ROW 10: p.
ROW 11: k.
ROW 12: p.
ROW 13: sl1, k1, psso, k1, k2tog (3 sts).
ROW 14: p.
Cast off.
Weave yarn tails away on knit side. 

TONGUE
Cast on 2 sts with 4 ply black yarn using 2.25mm (US 1).
Leave a long yarn tail which is one side of the forked tongue.
Continue with i-cord until work measures 3cms (1.25ins).
pwt - leave a long yarn tail.
Attach a second piece of yarn to cast on edge and secure with a few sts.
Trim two yarn ends and knot and trim again close to the knot.
TO ASSEMBLE
Insert covered pipe cleaner into the head through the mouth.


Push and manipulate along snake body.
Insert inner mouth (purl side facing outwards) inside head.
Using yarn tails of mouth over stitch two pieces together.

Sew tongue to the centre of the mouth.
Sew two beads on for eyes or embroider two French knots.


copyright Alison Hogg 2014

3 January 2014

out with the old and in with the new

I'm a bit late doing my New Year Post, but better late than never!
Very windy, wet and cold here, so it's nice to have a full log basket to toast the tootsies.


But it's out with the old....winter, and in with the new........"pre-spring" and I have Vivienne from Green Rabbit Designs to thank for this new season.

And it's out with the old.....all the Christmas trappings, but I'm still holding on to my Christmas posy. A lovely gift with brightly coloured, summery flowers.


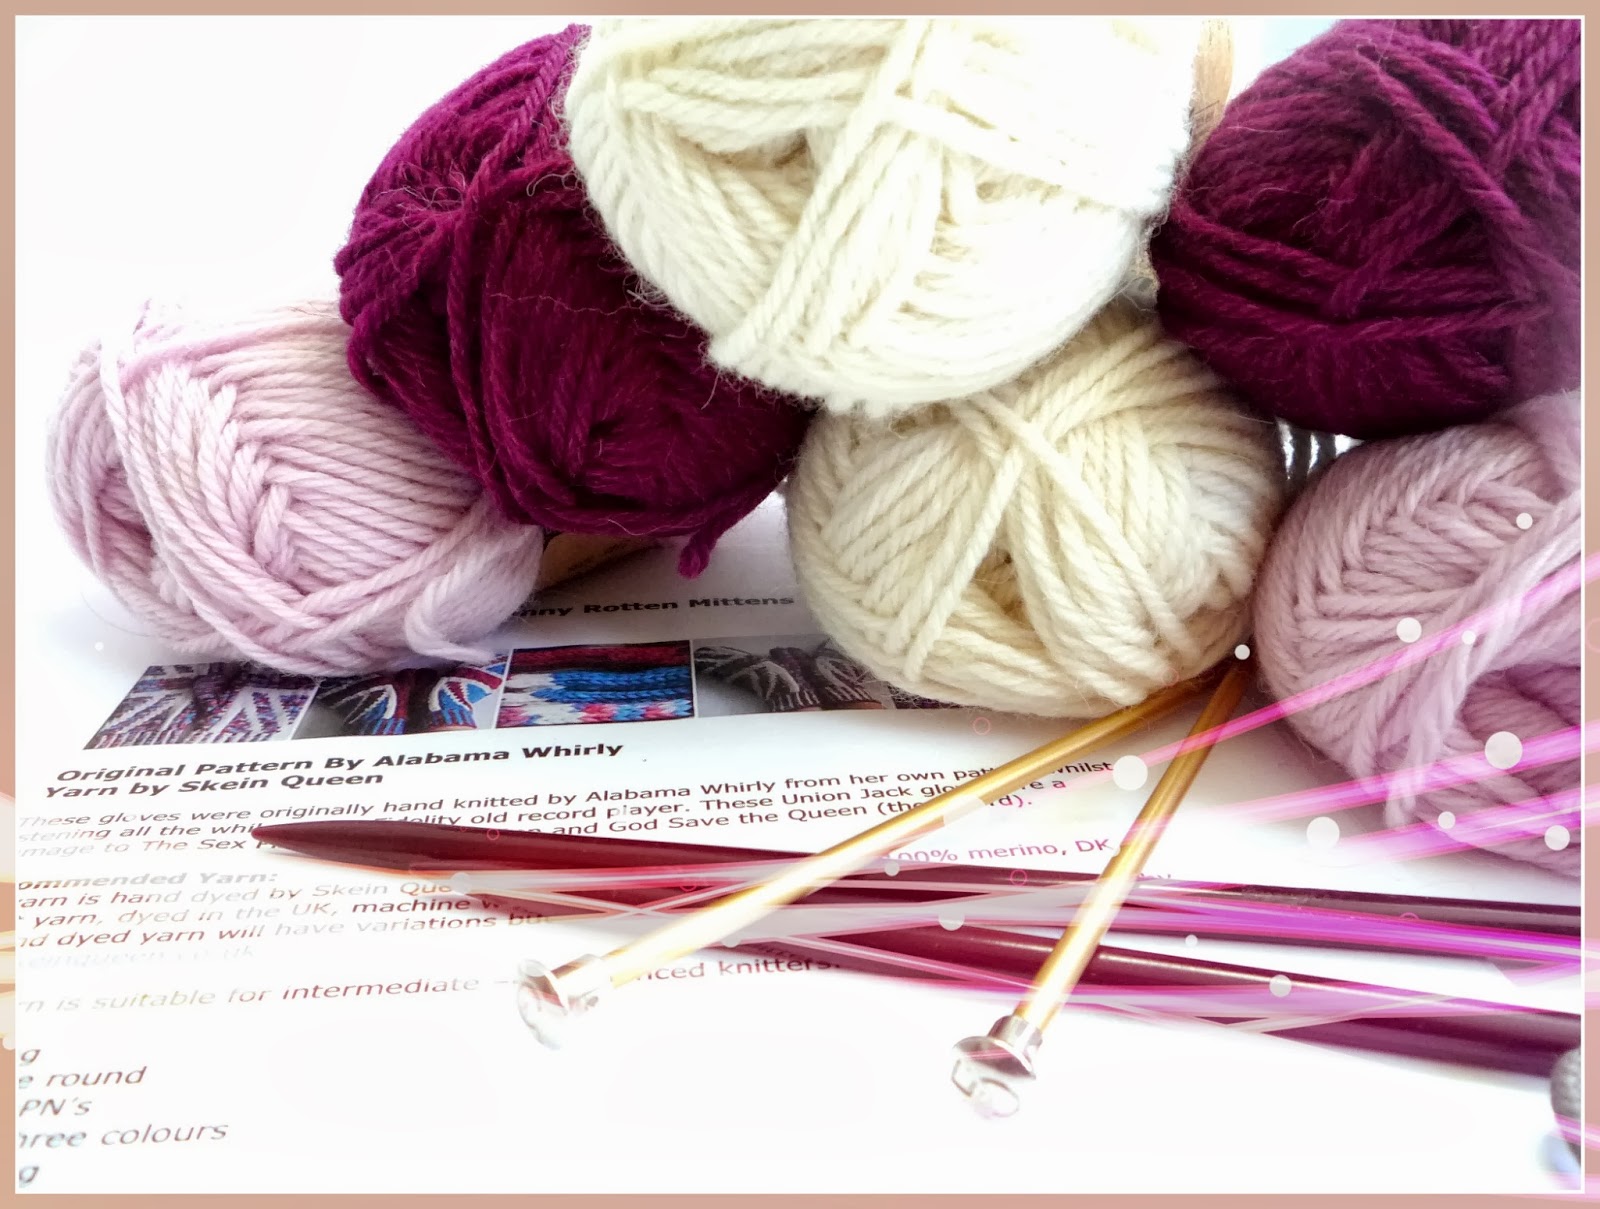
And out with the old knitting projects.....I've finished with sock knitting for a while and in with a new knitting project just for me. I'm using lovely Drops Lima wool from The Textile Studio.


I'm also working on a new freebie pattern, which will hopefully be posted soon.

Best wishes for the brand new 2014, Ali.

21 December 2013

happy christmas

Hi, just a quick post to wish you all a Merry Christmas, as I wont be posting now till after the holidays. Thanks to all who have visited my site or have become followers over the last year. I hope you have found some use for the knitting patterns and maybe been inspired a bit as well. Thanks also for those who have taken the time to leave comments as they are much appreciated. I do try to respond to them all but if you are a no reply blogger it is difficult.

 
Now all is left is to overcook the turkey and burn the sprouts! Ali


14 December 2013

spool tree decoration

If you read my last post - I wish to announce that I have now a pair of socks completed!
Now if you are looking for a sewing themed tree decoration......look no further. I recently made one using a wooden spool.
I purchased my wooden spool from a craft stall but you could use a real vintage spool..... mine were too precious to use.
Firstly, I sprayed mine with silver metallic paint which can be bought cheaply and can be found amidst the Christmas Decorations at this time of the year.


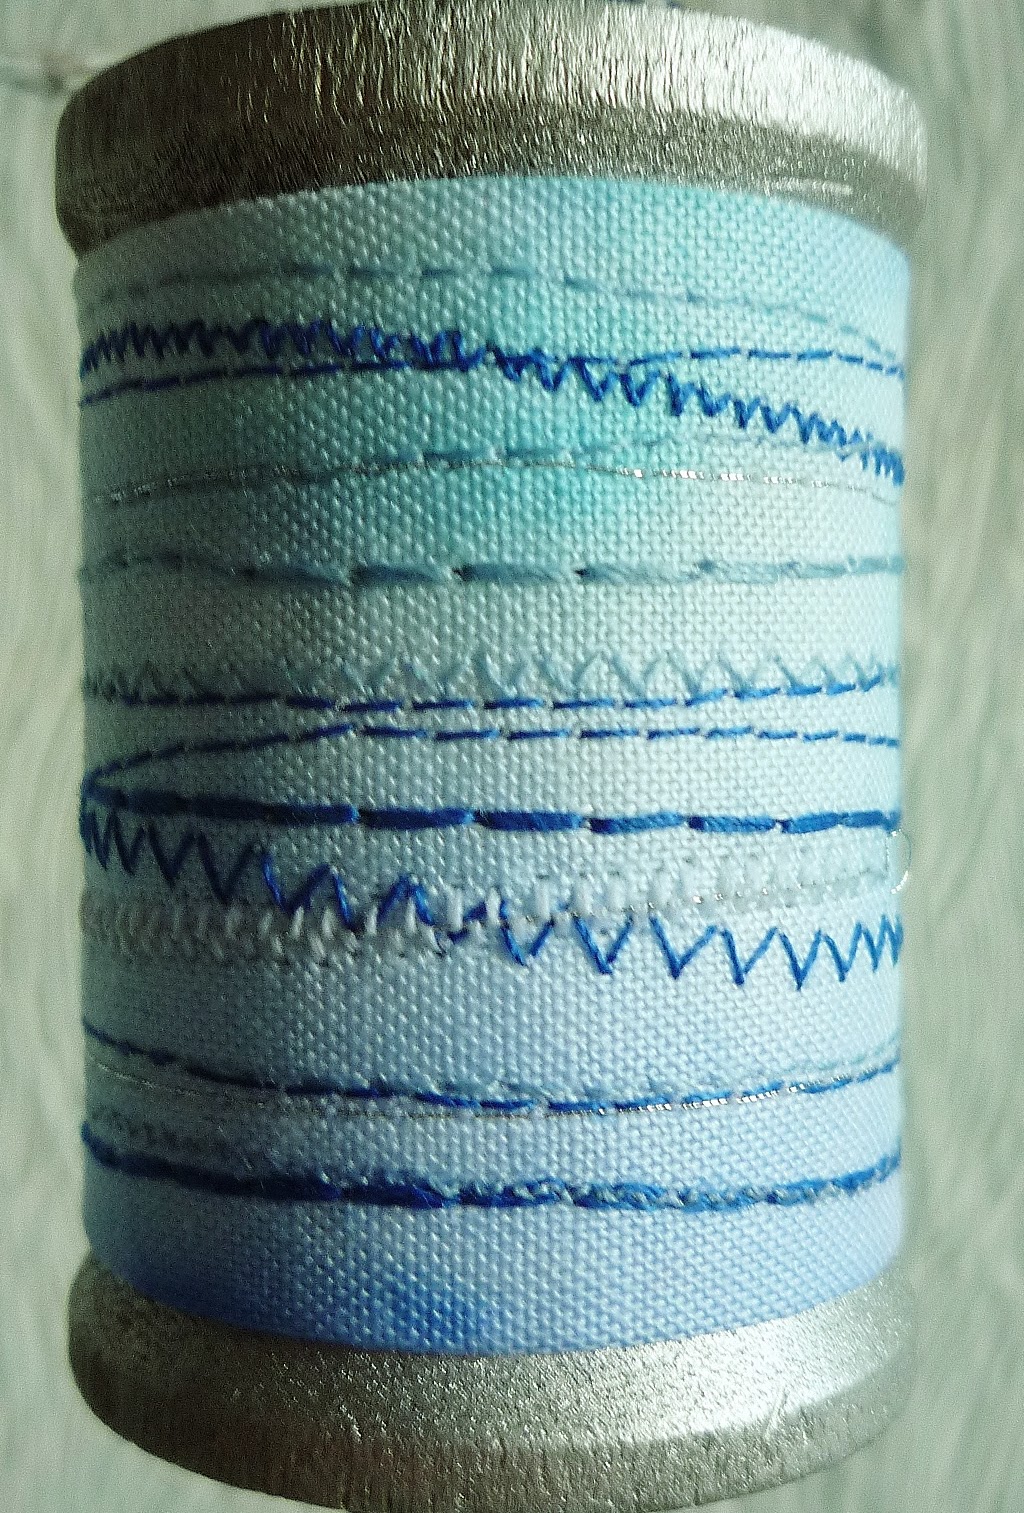
I decorated the "thread" part of the spool with machine embroidery. First I measured a piece of iron on pelmet Vilene to fit the spool. I covered the Vilene with white cotton, making it slightly larger than the Vilene on all four sides, so it could be folded over.
The Vilene is a good foundation for machine embroidery, so no hoop is required.


If you prefer not to machine embroider you could wrap a pretty ribbon round the spool or even paint a pattern. I then stuck the Vilene to the spool and sewed the edges where they met together. I thought the white fabric was too white so splashed some colour on using my Koh-I-Noor palette.


Using beads, buttons and a sewing machine charm (plenty of inexpensive charms to be found on ebay) I decorated the top and base of the spool. I used a silver cord, threading down one way and then up the  other way. I lost the knot inside the spool. Here it is .......the finished item..............just have to put the tree up now!


Hope your pre Christmas preparations aren't too stressful. Ali


7 December 2013

sock saga

I have always have a mental block as regards sock knitting. Recently, a friend of mine explained the different methods of constructing a heel and so after carefully choosing a pattern, I have decided to take the plunge. The pattern I chose after wading through all the sock patterns on Ravelry, was Cat Bordhis's Hidden Treasure Pocket Socks (click here) with what she calls her Sweet Tomato Heel. It has to be said the pattern is superb ...concisely written with links to videos on her site. I have had two false starts, the first sock was too large for my narrow foot and the second too small for my large heel.


The third attempt fits my strangely shaped foot and I am now on to my second sock. I am using Lang Jawoll Magic yarn, which knits up lovely.


The idea was to knit a pair for myself to get to grips with the pattern and then knit up some for Christmas gifts. However progress has been so slow, I will have to see how time goes. Are you knitting up any Christmas gifts at the moment?
Bye for now, Ali.

2 December 2013

luminere

We took a quick whizz up to Londonderry, for the final night of the Luminere festival of lights. I had seen pictures on the news but it was even more  spectacular in real life. First thing we saw were the massive inflated coloured cones.


Crossing over the Peace Bridge was the installation "The Travellers". Illuminated men made out of what looked like chicken wire. They were dotted and suspended at various points along the bridge.


The neon balloon dogs made me smile.


There were many other installations, dotted round the city but my wee camera struggled with the darkness.

Have a great week everyone, the sparks will be flying off the knitting needles as I try to complete some Christmas gifts.
 

22 November 2013

pompom challenge

My friend Ali from blogland, writes Random Wooliness. In her last post she wrote about the Pompom challenge for the Sense charity (a charity which supports and campaigns for adults and children with deafblindness).
When I read about the Great Sense Pompom Challenge I knew I had to join in. The idea is to make pompoms, which can be any shape, size, colour or material. The donated pompoms will be made into a massive tapestry. For more details visit the site, click here.
I only intended making a few but once I started I could not stop and I haven't finished yet. Here's some photos of my finished pompoms....


The challenge ends on the 2nd December, so still time to make some and either post or deliver your pompoms to nearest Sense Office.
Have a great weekend, Ali

18 November 2013

winter hat

Firstly, apologies for my last empty blog post. I was experimenting with cut and paste in the new post page and hit the "publish" button by mistake.

I want to share with you some photos of my latest project.
The Textile Studio, a real treasure trove at Ballyhackamore was running a competition to make a hat. All hats are to be donated to the Hosford Hostel, Skainos and are to be distributed to homeless people. Such a great reason for picking up the needles. I used Amanda Kaffka's Top Down Trapper Hat pattern as a starting point and came up with something which would hopefully be warm and cosy.
The light is so dull these days for photos, but here it is heavily photo shopped ....


The inside lining was knit with double stranded Whisper, a fuzzy novelty yarn, an absolute nightmare to knit with but I think it suited the hat.
I just found out this afternoon that I won the competition, so I'm well chuffed about it.
Enjoy the rest of the week.......supposed to turn very chilly here! Ali.

10 November 2013

latest finished projects

I'm just trying to finish off a few projects before I start knitting a few Christmas gifts. I finished a wrap last week which was languishing in the work basket and all it needed was the tidying up off the yarn tails. For this project I used James C. Brett Aria, double knit yarn, which has tiny sequins through it. A bit of sparkle without being over the top. I found a nice pattern on Ravelry - Miss Silver's Cloud.
And the result......


To match the scarf/wrap I used a favourite pattern to knit up a pair of fingerless mitts. Another free pattern to be found on Ravelry - Susie Rodger's Reading Mitts. I just need somewhere nice to go to wear them both!
Now on with the Christmas knits and I better hop to it as time is marching on!
Have a good week, Ali.
 

4 November 2013

knitting and stitching show

I was lucky to win a free ticket on facebook, courtesy of Abacus Breads, to the Knitting and Stitching Show at the RDS in Dublin. So yesterday, I headed off with my sensible shoes and my packed lunch.
The show did not disappoint oodles of stalls selling yarn, beautiful threads, lots for textile art and feltmaking.
However away from the retail frenzy there was a quiet Gallery section. There was work by textile artists who I studied on the City and Guilds course and have only seen online, all displayed.
Such works by Jan Beaney. I was able to see many of her landscapes including this one the "Purple Hedgerow."

 
Ruth Issett also had a space and her colourful work was amazing. Here is an example entitled "Spring Light II."
 

Many of the artists were in attendance and willing to answer questions and talk about their work!
I just loved the section made up of work by young quilters. One work "Spring has Sprung" made by a school in Galway was so colourful and vibrant.


All in all, I had a great day and my head is buzzing with ideas for new projects.
Bye for now. Ali.

26 October 2013

free christmas MISTLETOE pattern


MISTLETOE 
THIS PATTERN IS COPYRIGHT PROTECTED
ONLY FOR PERSONAL OR CHARITABLE USE
ITEMS KNITTED FROM THIS PATTERN CANNOT BE SOLD FOR PROFIT
DO NOT REPRODUCE OR USE FOR ANY COMMERCIAL PURPOSE
Instructions are given for a full knitted version or alternatively use beads and a ribbon if preferred.
Add a loop and use as a Christmas tree decoration or make a bunch and hang from the ceiling. Alternatively tuck a sprig into the brim of a hat.

ABBREVIATIONS
st(s): stitch(es)
k: knit
p: purl
kfb: increase (knit into the front and back of same stitch)
sl: slip
psso: pass slip stitch over
tbl: through the back loop
pwt: pull wool through (thread yarn onto needle and then through stitches on needle, pull tight and secure) 

MATERIALS
two dpns size 2.75mm  (US 2)
green 4 ply (fingering) yarn
white 4 ply (fingering) yarn or white beads (aprox size 5mm)
red 4 ply (fingering) yarn or a piece of ribbon
darning and tapestry needle

LEAVES
Cast on 3 sts with green yarn.
ROW 1: kfb, kfb, k1tbl (5 sts).
Pull the sl sts tight, especially on the purl rows.
ROW 2: sl1 purlwise, p3, k1tbl.
ROW 3: sl1 purlwise, k3, k1tbl.
Rpt ROWS 2 and 3 until work measures aprox 3.5cms (1½ ins) ending in a mostly purl ROW 2.
NEXT ROW: sl1 purlwise, k1, psso, k2, k1tbl (4 sts).
NEXT ROW: sl1 purlwise, p1, psso, p1, k1tbl (3 sts).
NEXT ROW: sl1 purlwise, k1, psso, k1tbl (2 sts).
Break off yarn and place sts onto a safety pin.
  
Make another leaf, repeat pattern until 2 sts, but do not break off yarn. 

STEM
Return to first leaf and place the 2 sts alongside other 2 sts on needle (4 sts).
Keep the stitches joined to the yarn on the left.
Slide the four stitches to the other end of the needle, pull yarn along the back and continue with i-cord until desired length is reached.
If a hanging loop is required work an extra 8cms (3 ins). Which folds in half and the end sewn in place.
pwt.
  • Loose end yarns inside stem.
  • Reinforce the part where the two leaves meet with the tail at the end of one of the leaves.
  • Bring the yarn tail at the tip of the leaves up the centre on the reverse (purl) side of the leaf and loose in stem. 
  • Gently press leaves on reverse sides. Use a cool setting and do not put the full weight of the iron on the leaf. 
To form a bunch make one long main stem, sew smaller stems to this one. 
  
BERRIES (alternatively used white beads)
Cast on 3 sts with white yarn.
ROW 1: kfb, k to last st, kfb (5 sts).
ROW 2: p.
ROW 3: sl1, k1, psso, k1, k2tog (3 sts).
Cast off purlwise.
  • Thread one yarn tail round the edge of half of the berry, with the other yarn, thread round the opposite edge.
  • Pull tight and tie in a knot. Push into spherical shape. 
  • If using beads attach with sewing thread.

KNITTED CORD (alternatively use a piece of ribbon)
Cast on 2 sts with red yarn.
Continue with i-cord until work measures aprox 30cms (12 ins)
pwt.
Loose yarn tails inside cord.

knitted version

copyright Alison Hogg 2013