28 February 2014

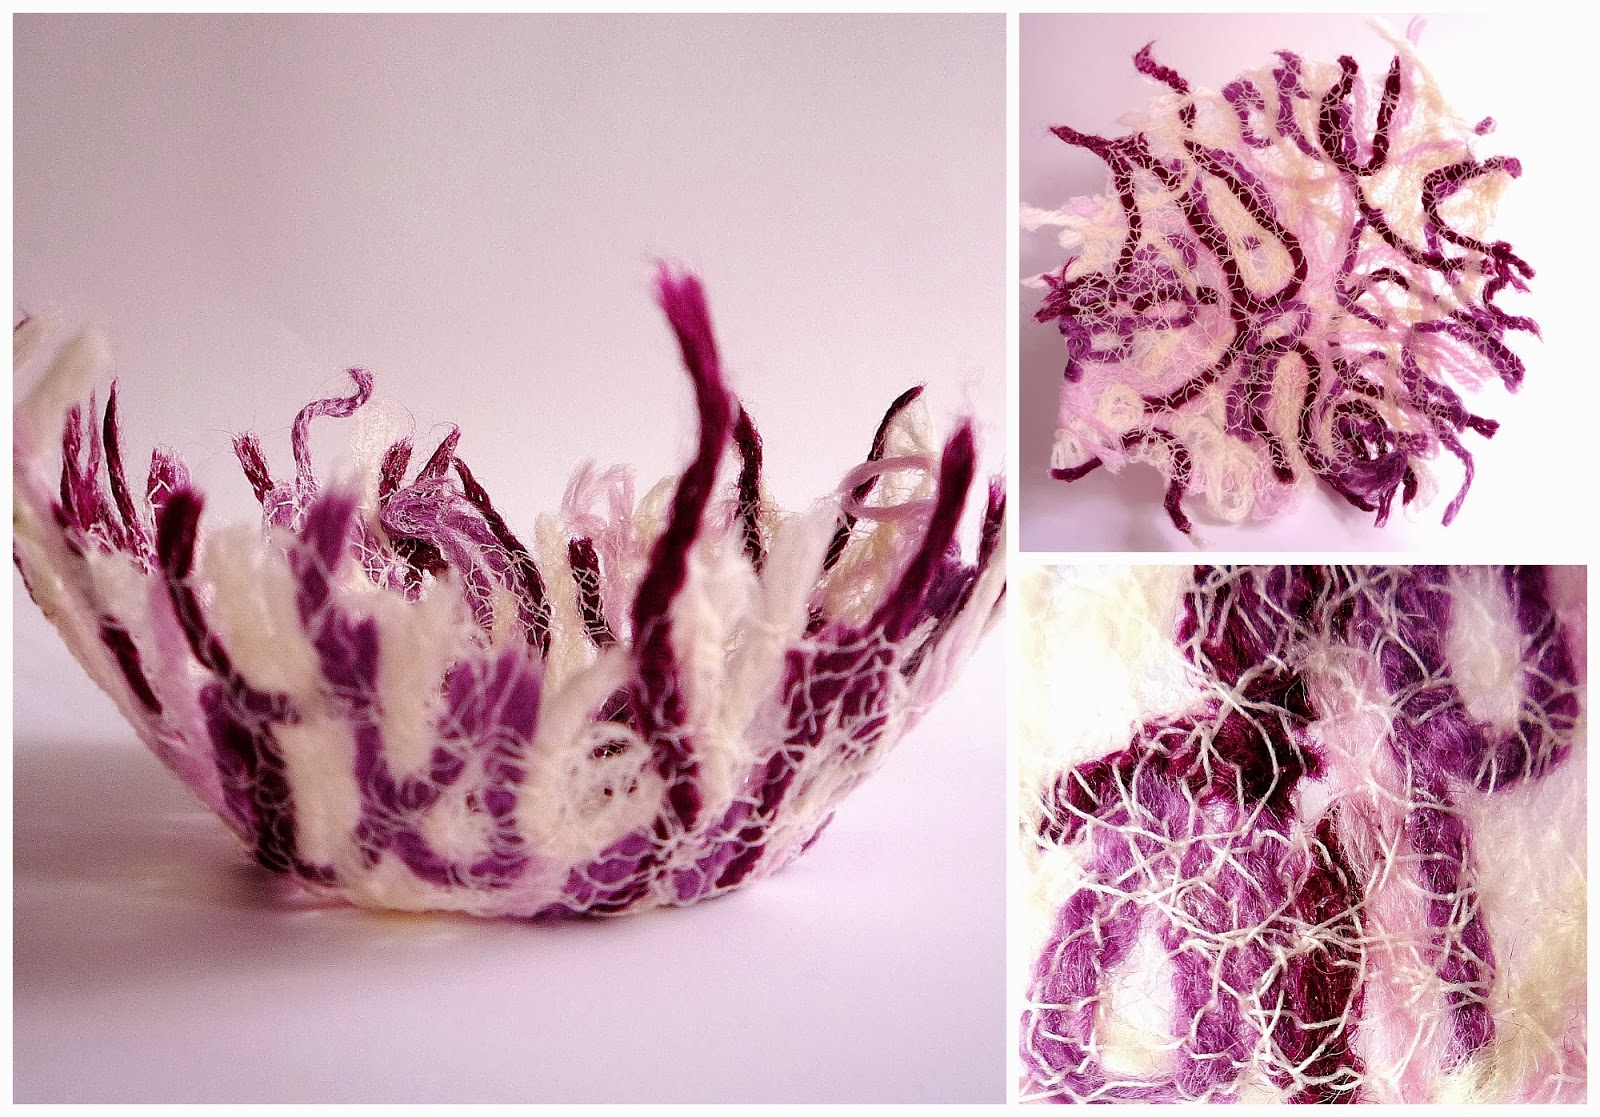
yarn end bowl

 
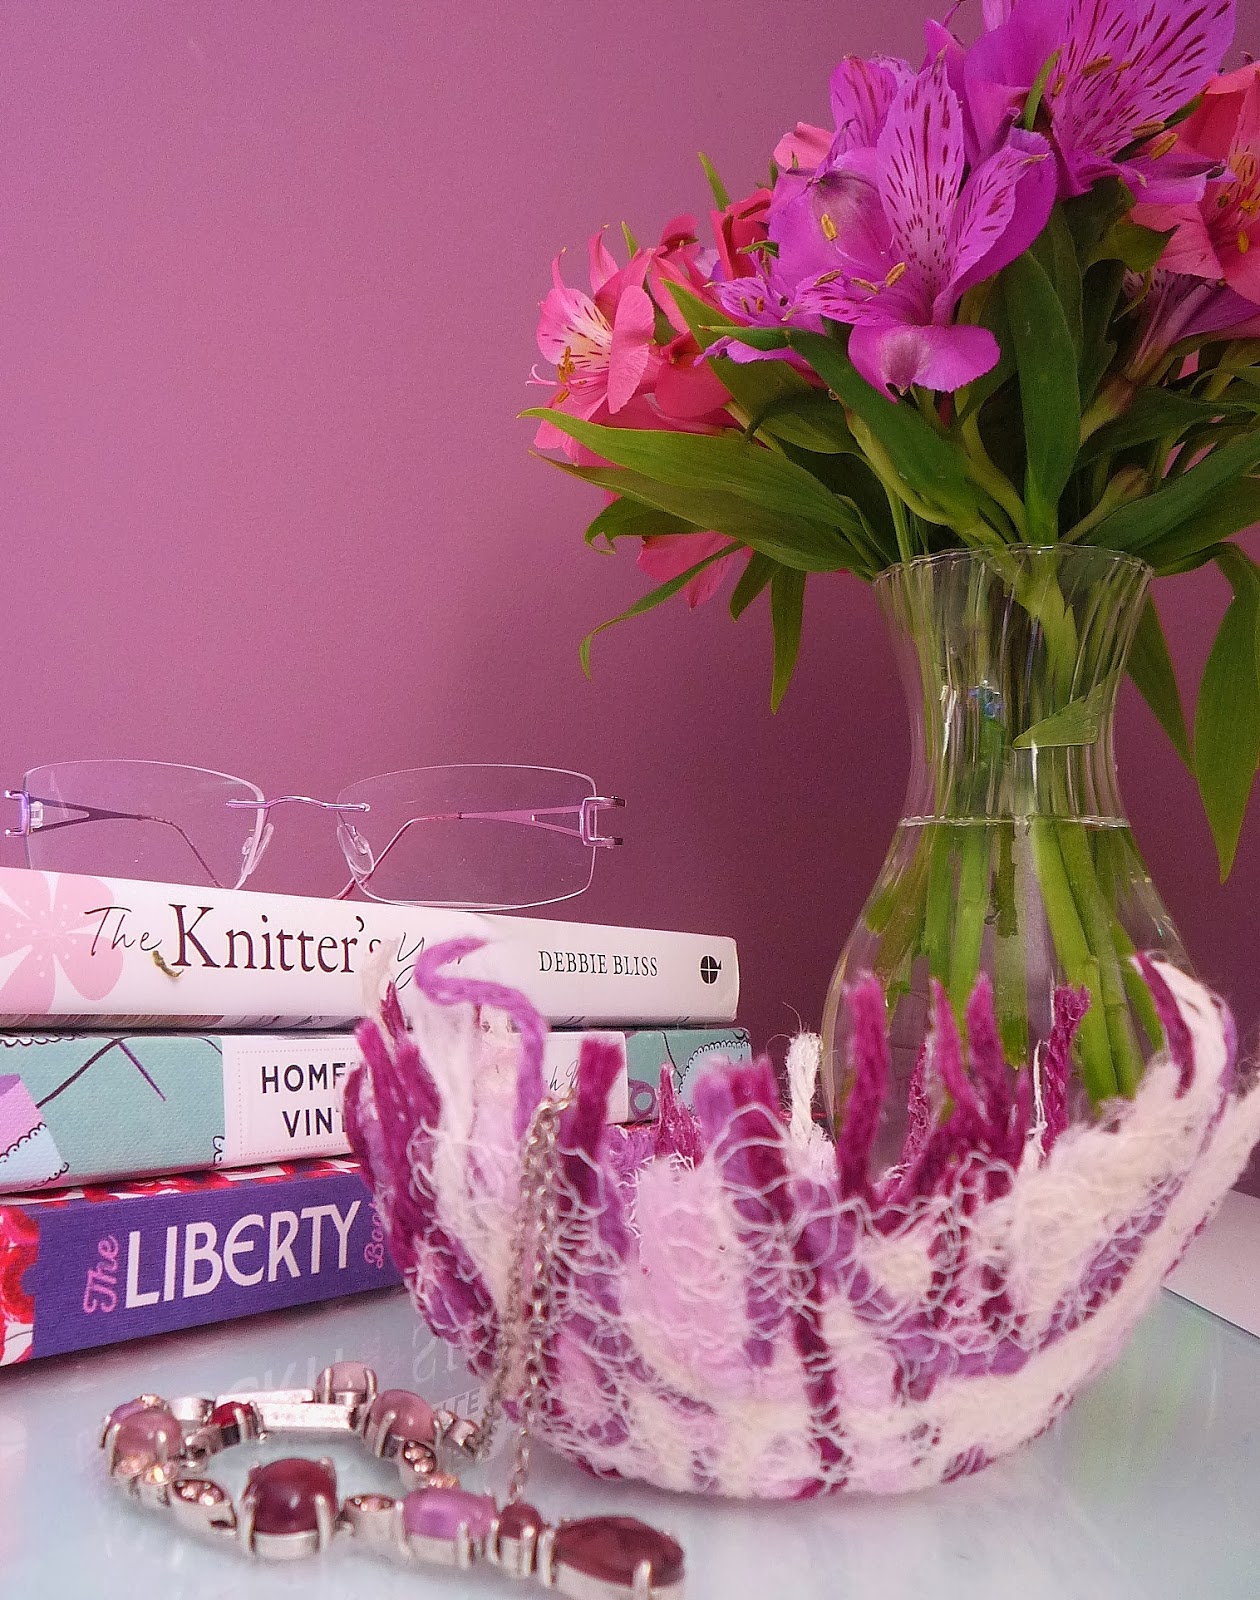
This wee bowl is made up of yarn ends from a previous knitting project. It's easy quick and good fun to make. I have mine sitting on my beside table and I'm using it to keep small pieces of jewellery in.


WHAT YOU NEED

 
small pieces of yarn or thread
water soluble fabric (heavy weight such as "Romeo") - 2 pieces larger than embroidery hoop
cling film
embroidery hoop
sewing thread
sewing machine

INSTRUCTIONS
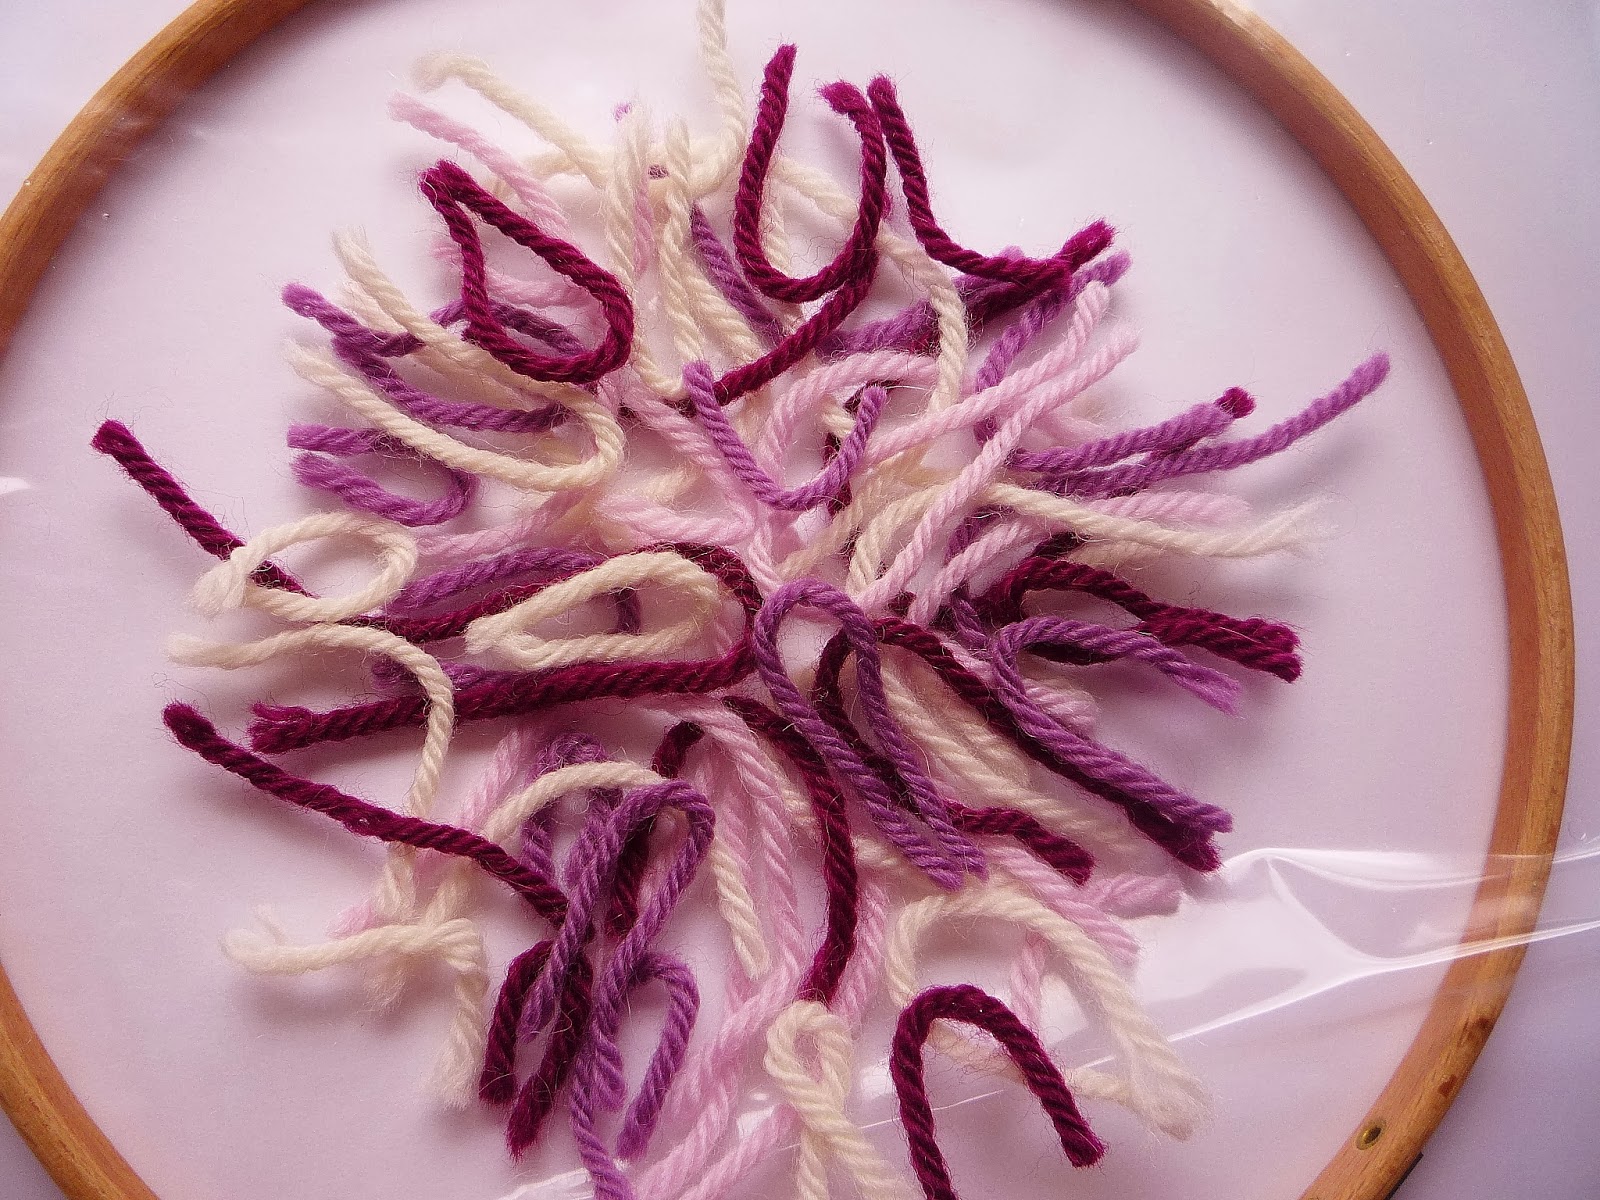
Place one piece of water soluble fabric over one ring of the hoop, Arrange yarn / threads on top. There is a particular type of water soluble called "aquabond"which is sticky on one side and this makes the arrangement of yarn etc much easier. Scraps of organza, fabric and nets could also be used in the arrangement. Make sure the central area is well covered as this will be the base of the bowl.


Then place the second layer of water soluble on top to form a sandwich and place inside hoop, making sure it is taut.

 
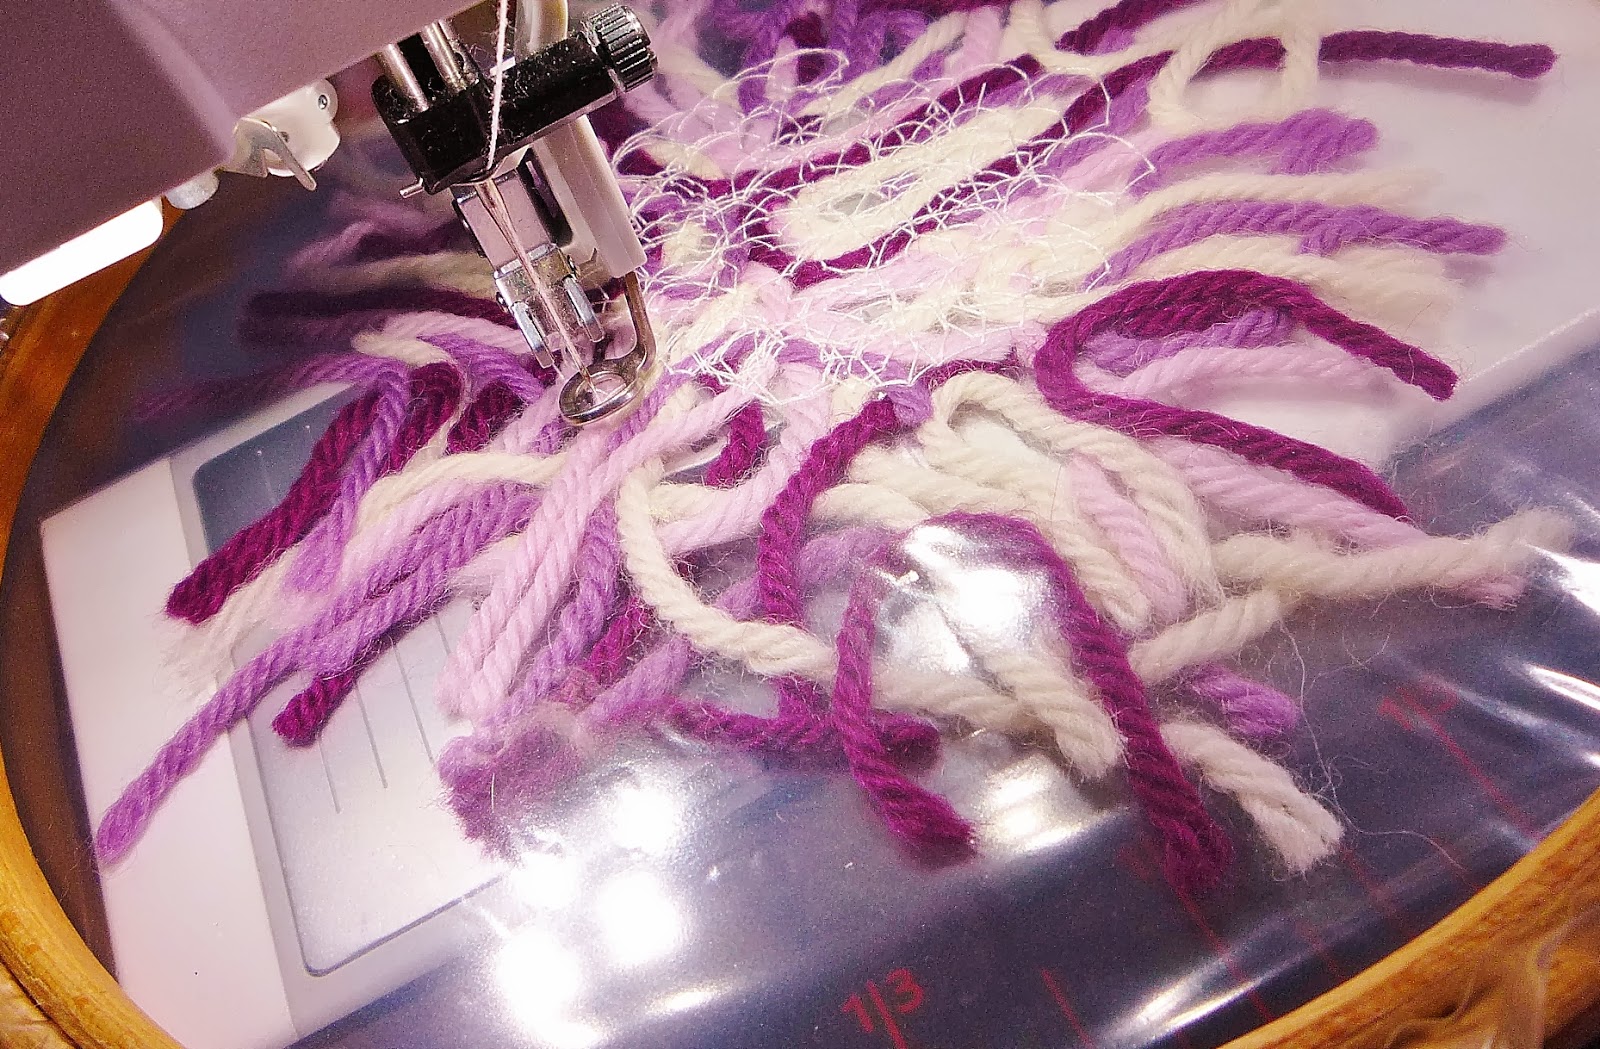
Free machine over all the yarns making sure that stitching is dense enough to cover all of the yarns. Any yarn not caught by stitching will fall off one the water soluble fabric is removed. I used a circular design for free machining. 


Remove work from hoop and then to dissolve rinse under tepid water. Keep rinsing, removing as much of the water soluble as possible.
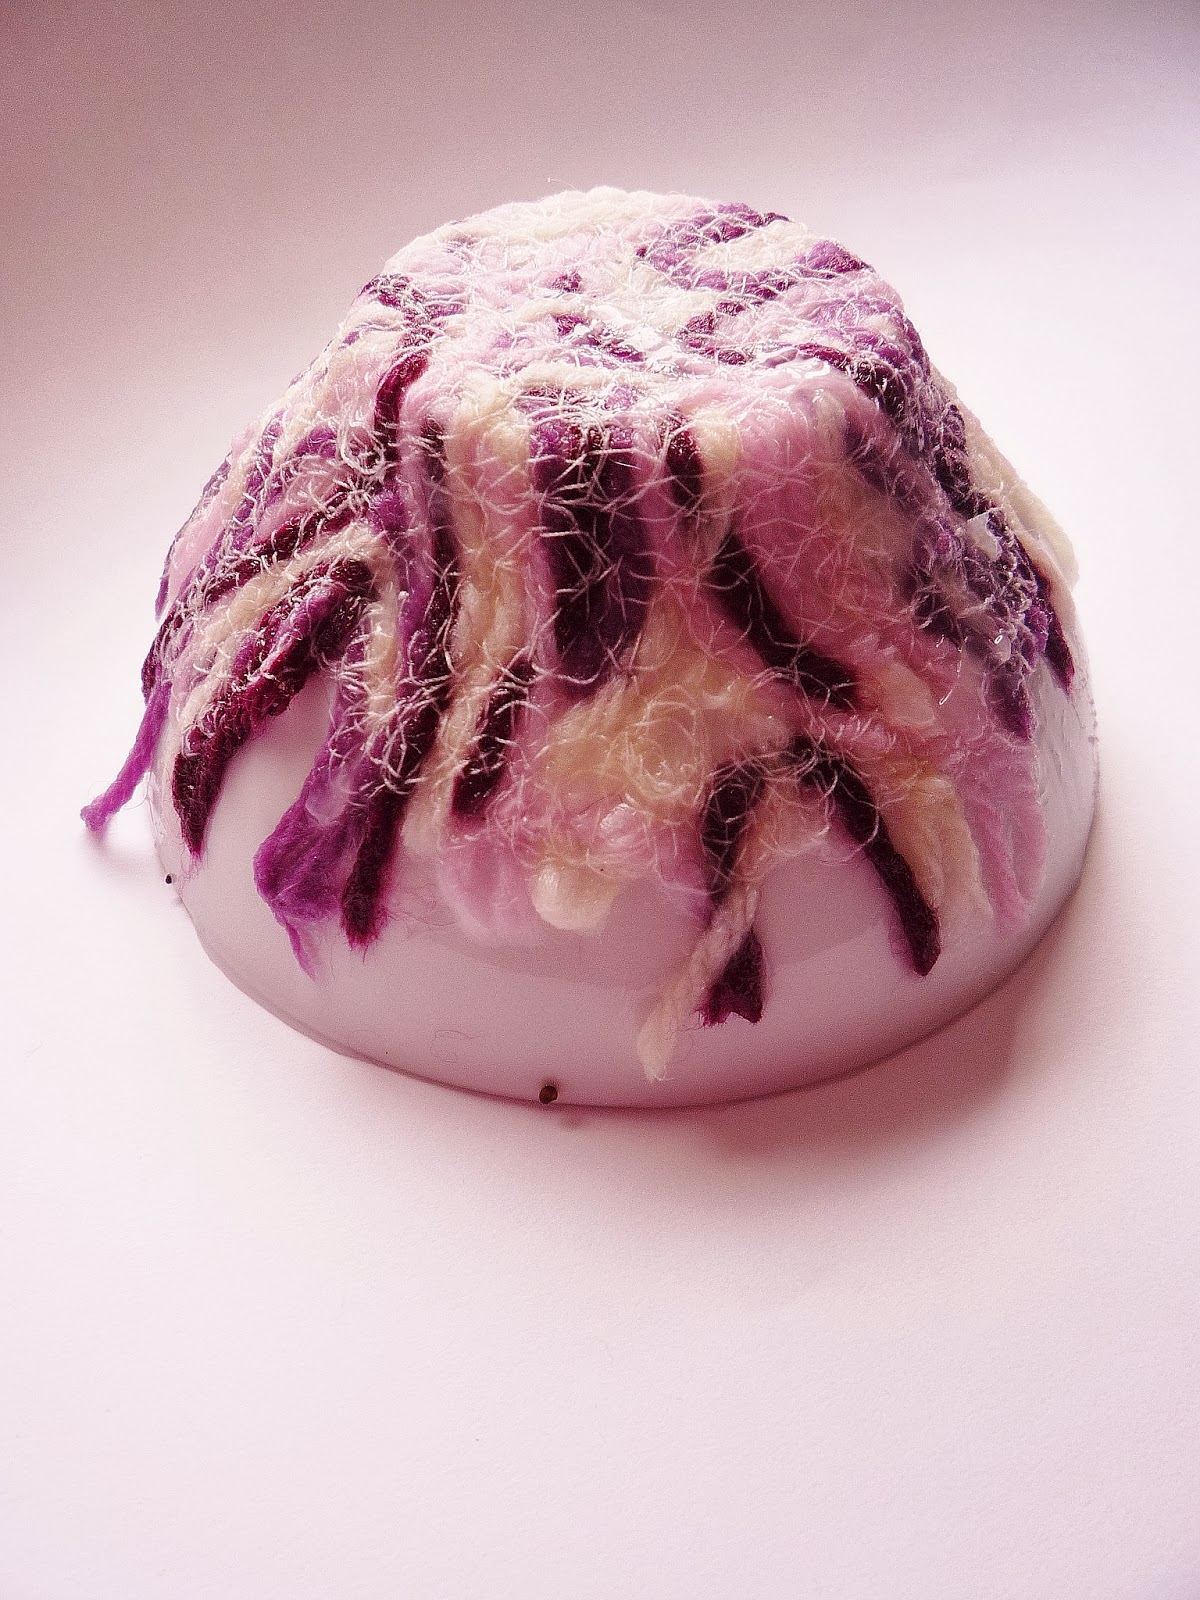
The stitched yarn ends will be sticky enough to mould into shape. Put cling film over a bowl or glass before moulding the work on top. Rearrange the stray edges as necessary.
 
 
 Leave to dry and then remove from bowl.


Till next time, Ali.

22 February 2014

winter woollies

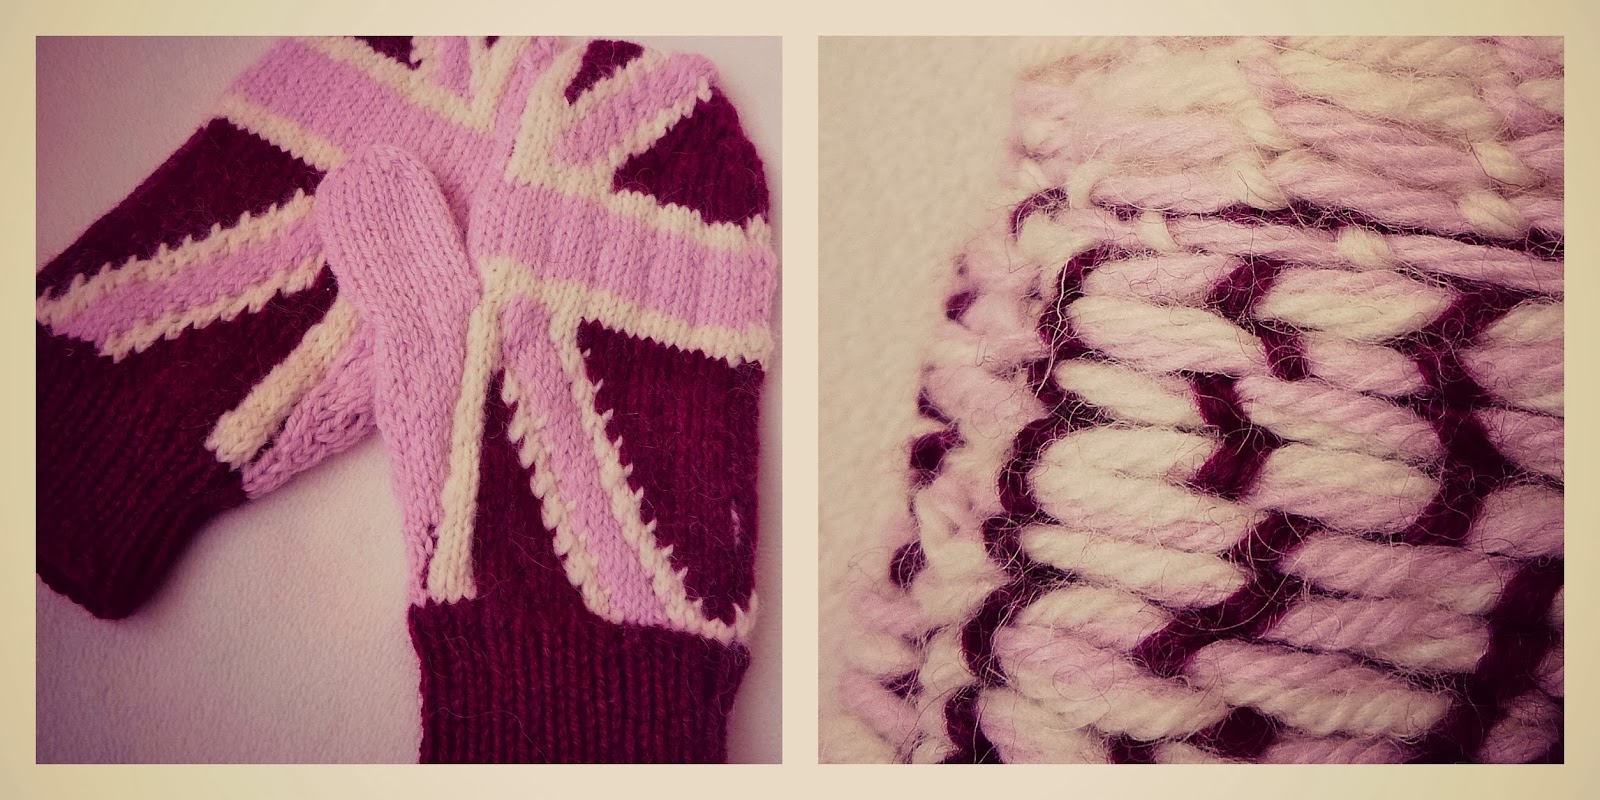
I know I should be writing about the arrival of spring, with photos of pretty spring flowers, but this post is about knitted winter accessories. Unfortunately, it is still cold enough to wear them here! I saw a pattern for Union Jack mitts back in December and thought I'd like to have a go. I knew it was going to be a challenge as the pattern required carrying three floats at the back of the work. I had several false starts as my tension for the floats was too tight. I did eventually finish the mitts, although I'm not particularly happy with the end result. The pattern is by Suzanne Stallard and for details click here. The photo on the right shows the inside of the mitts.


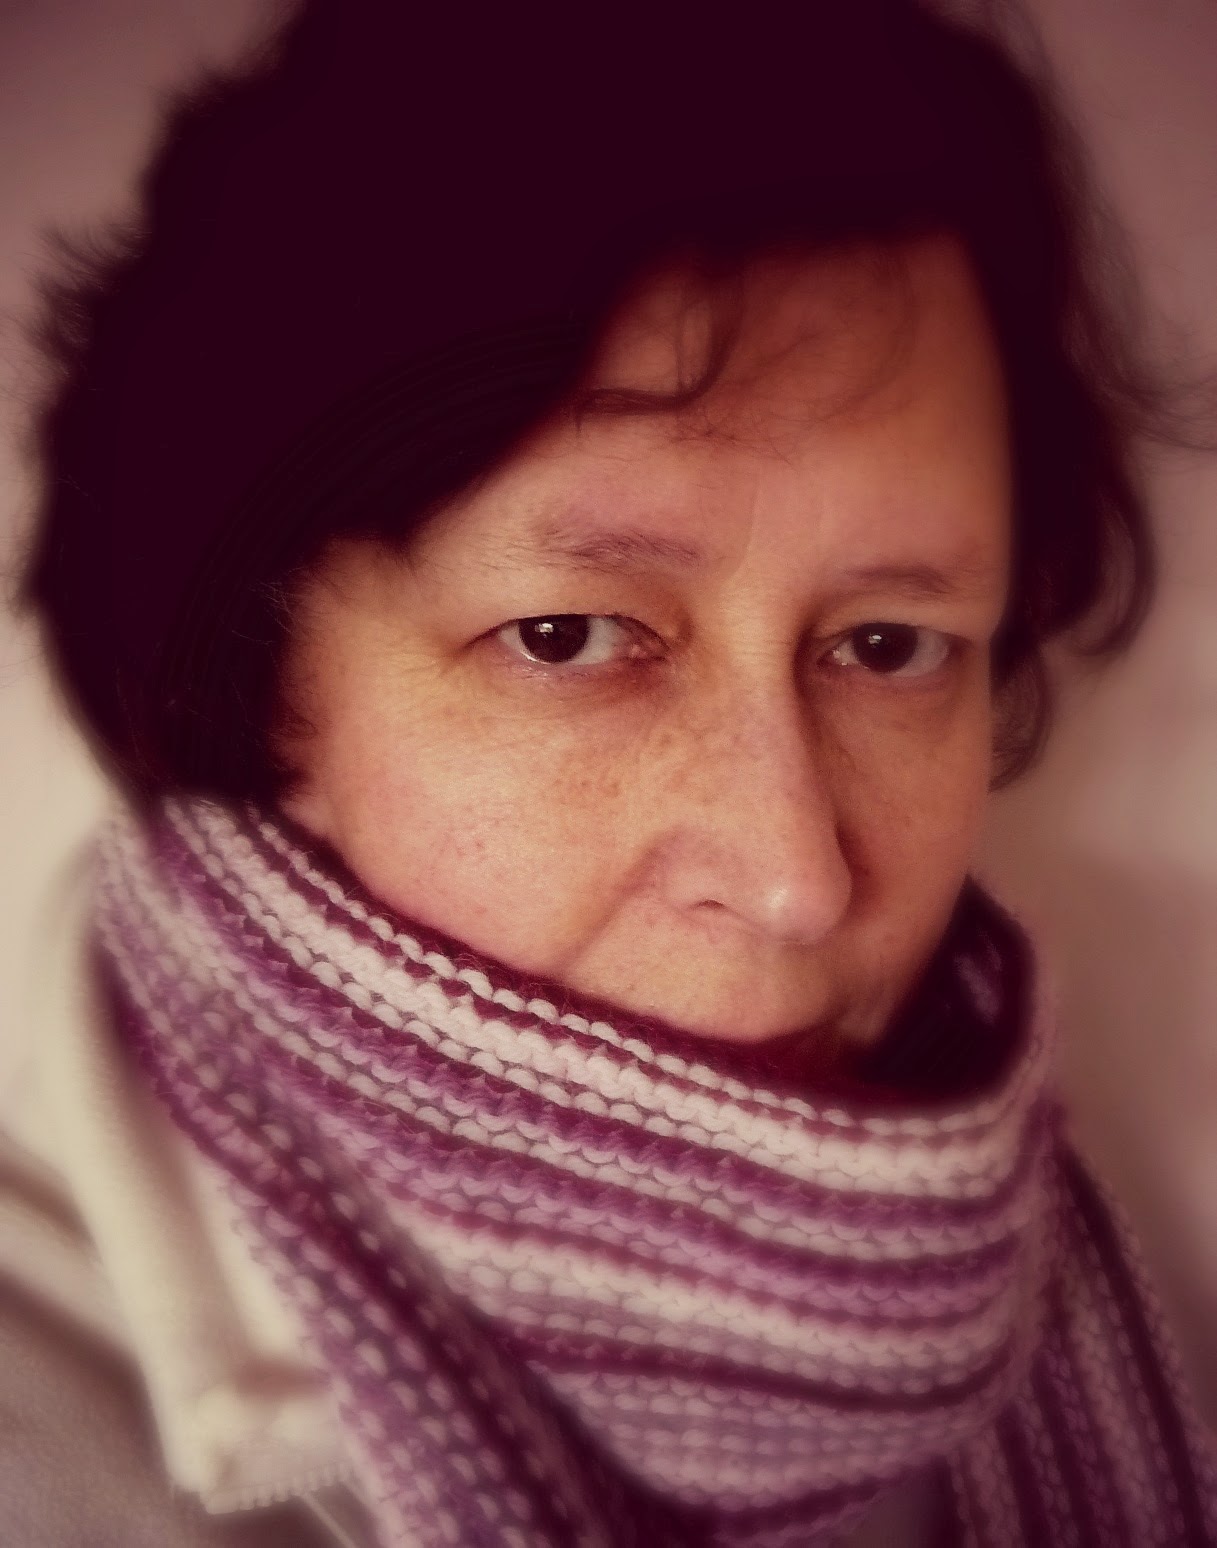
Once I had finished the mitts I wanted to knit a matching scarf. Ravelry is great for sourcing patterns and I saw a nice pattern for a scarf knitted sideways by Barbara Albright click here. The pattern is published in a book which I didn't have, but from the photo it was clear that the scarf was knit lengthwise, using garter stitch. I used a different colour for each row and left a long yarn tail at the beginning and end of the row, which I later knotted to make a fringe.


Both the scarf and the mitts were knitted using Drops Lima, bought in the Textile Studio, Ballyhackamore. A beautiful soft yarn, 65% wool, 35% alpaca, which was lovely to work with.

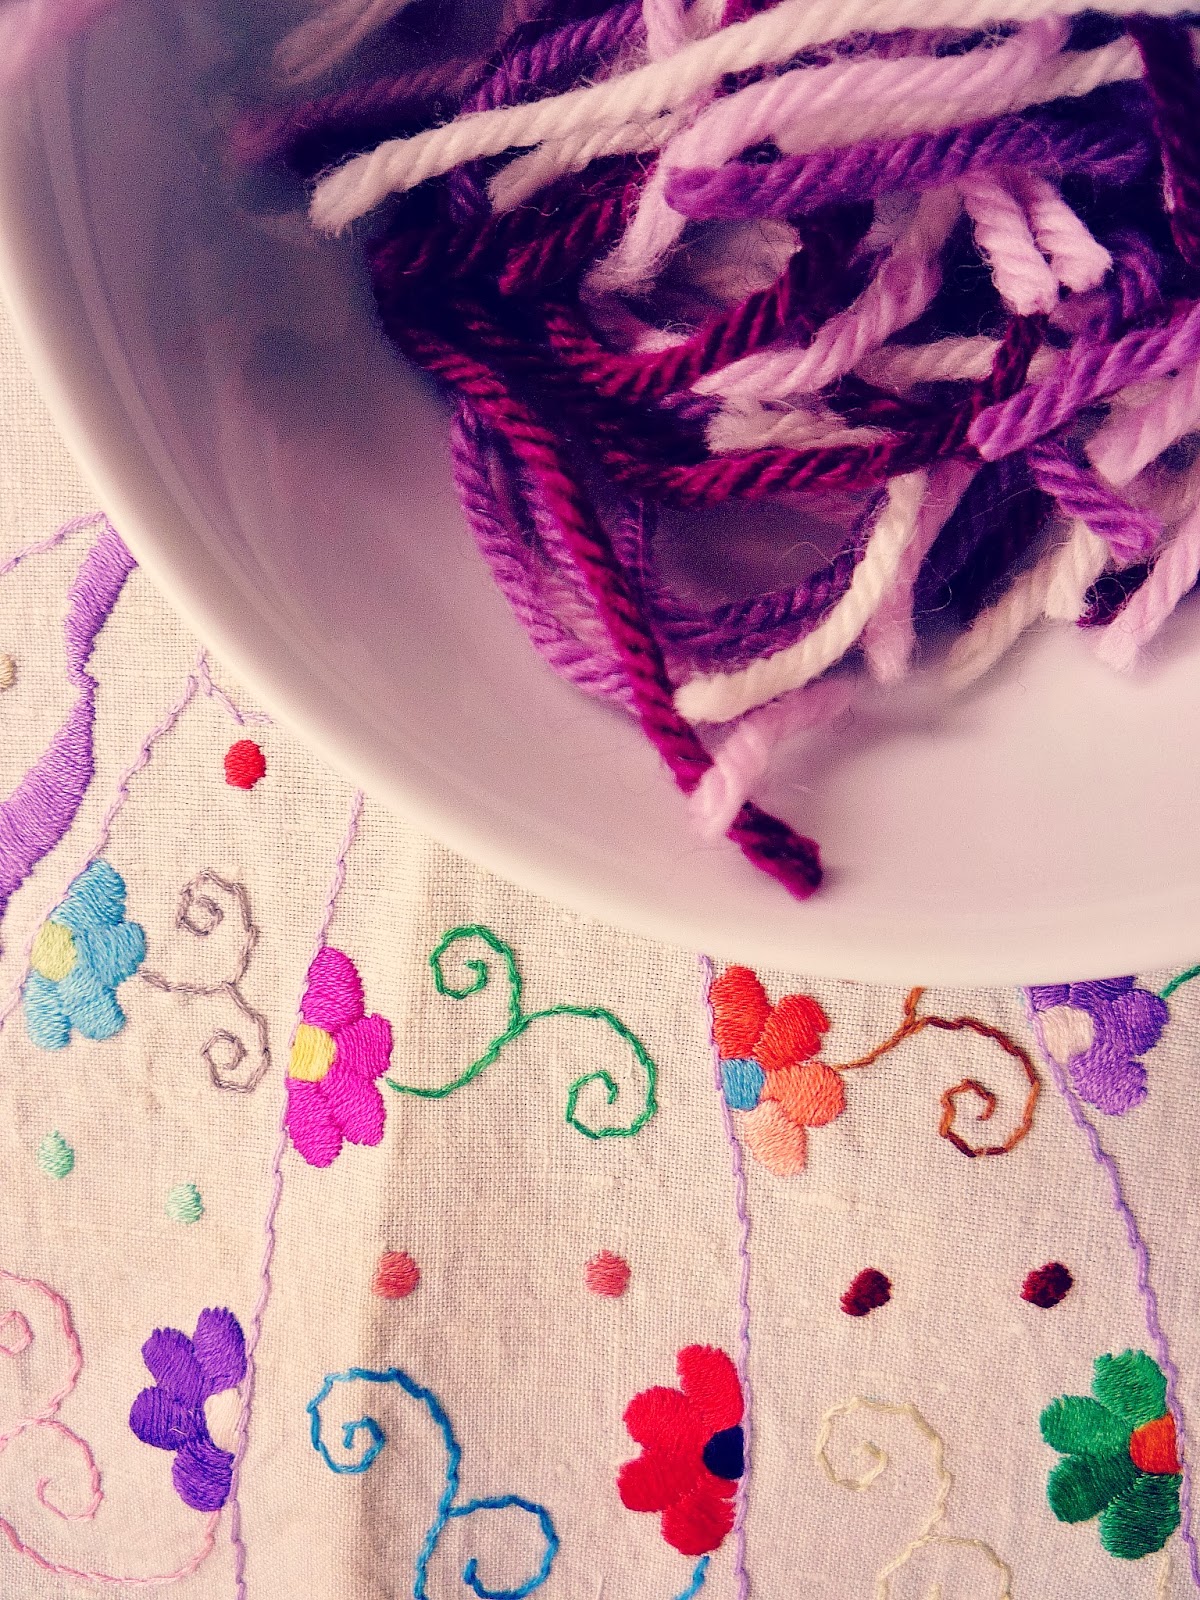
After trimming the fringe I had lots of end yarn bits and I'll be making them into something, but that's for the next post.


Enjoy the rest of the weekend, Ali


15 February 2014

bellinter house

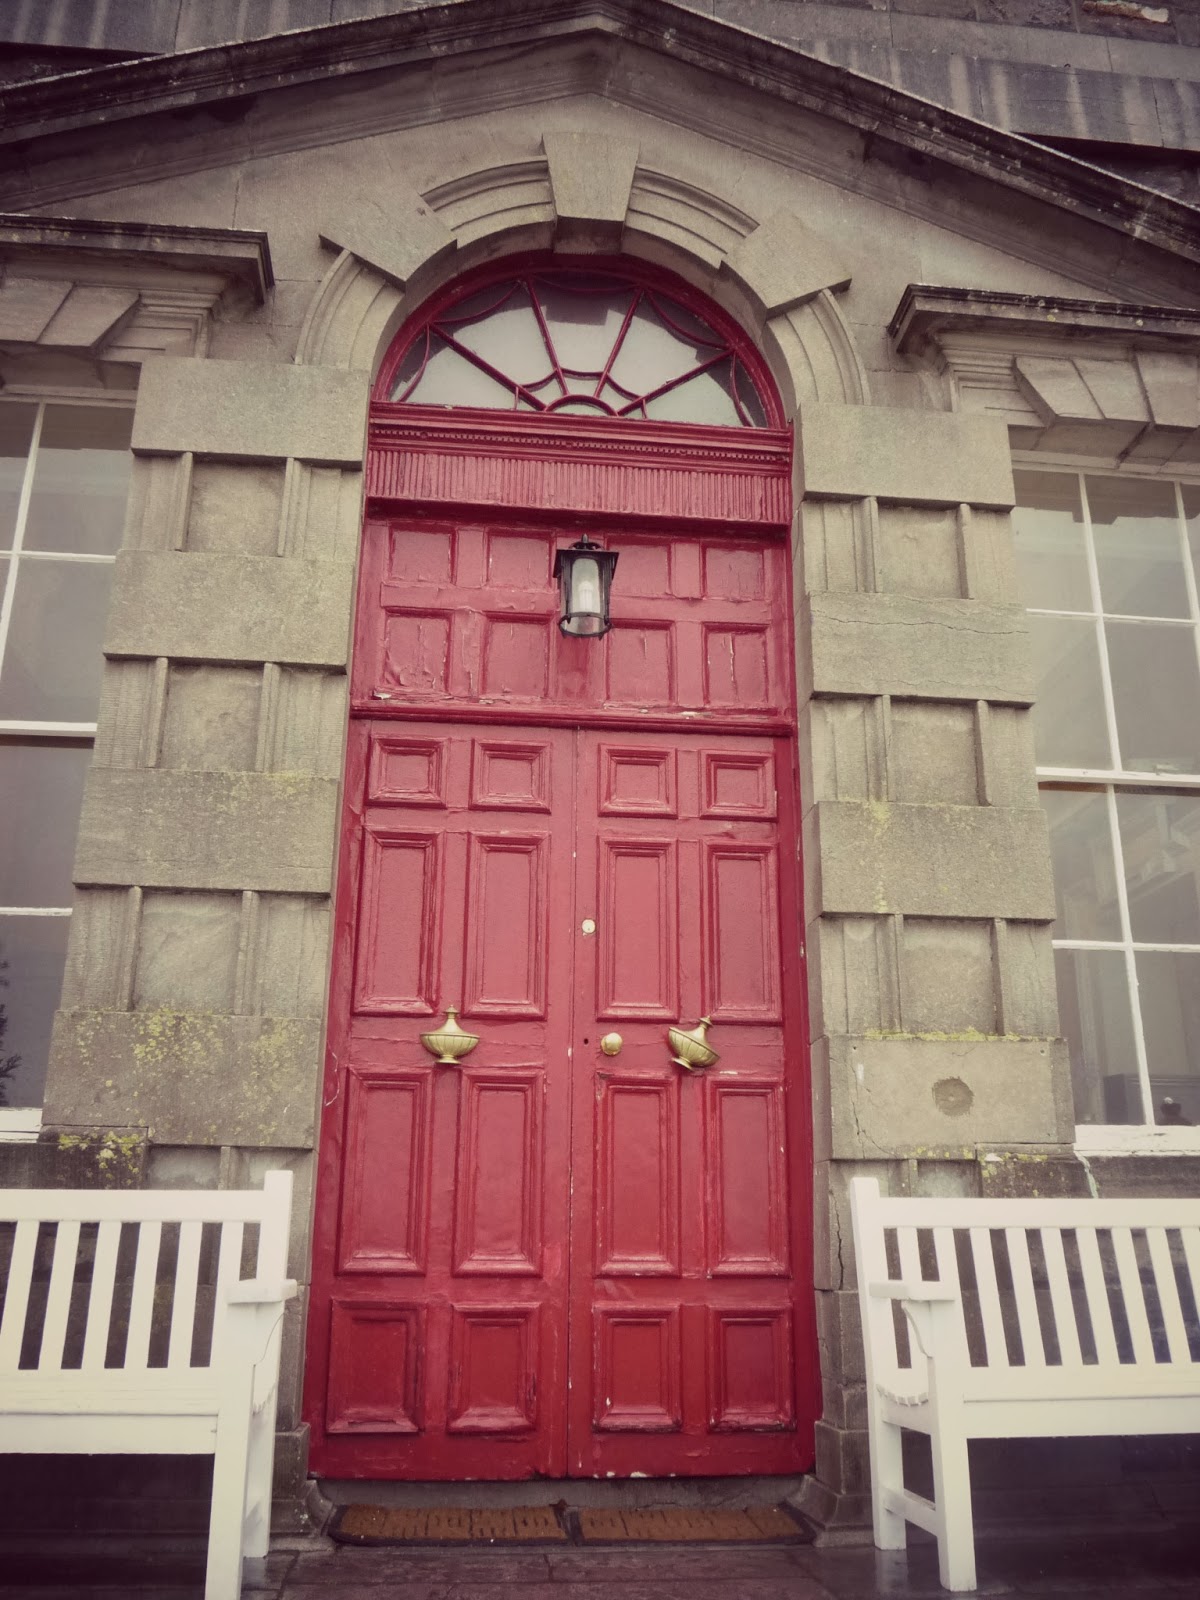
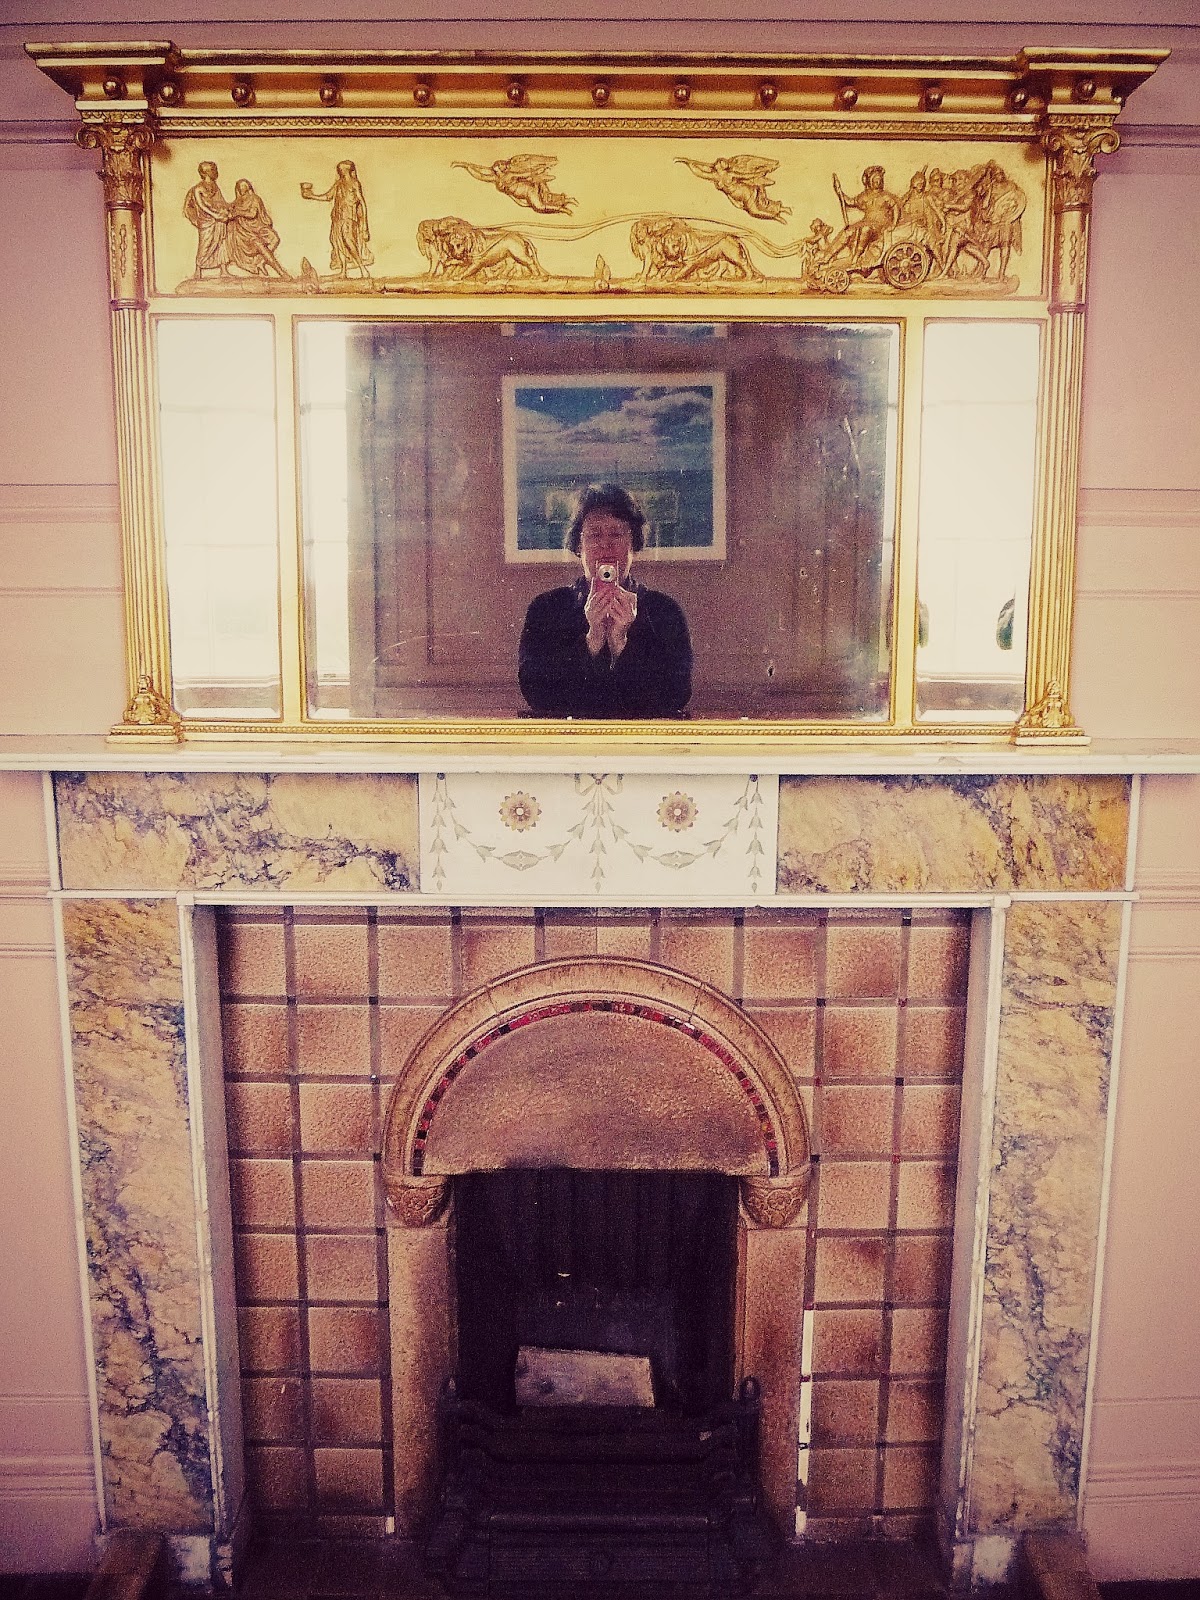
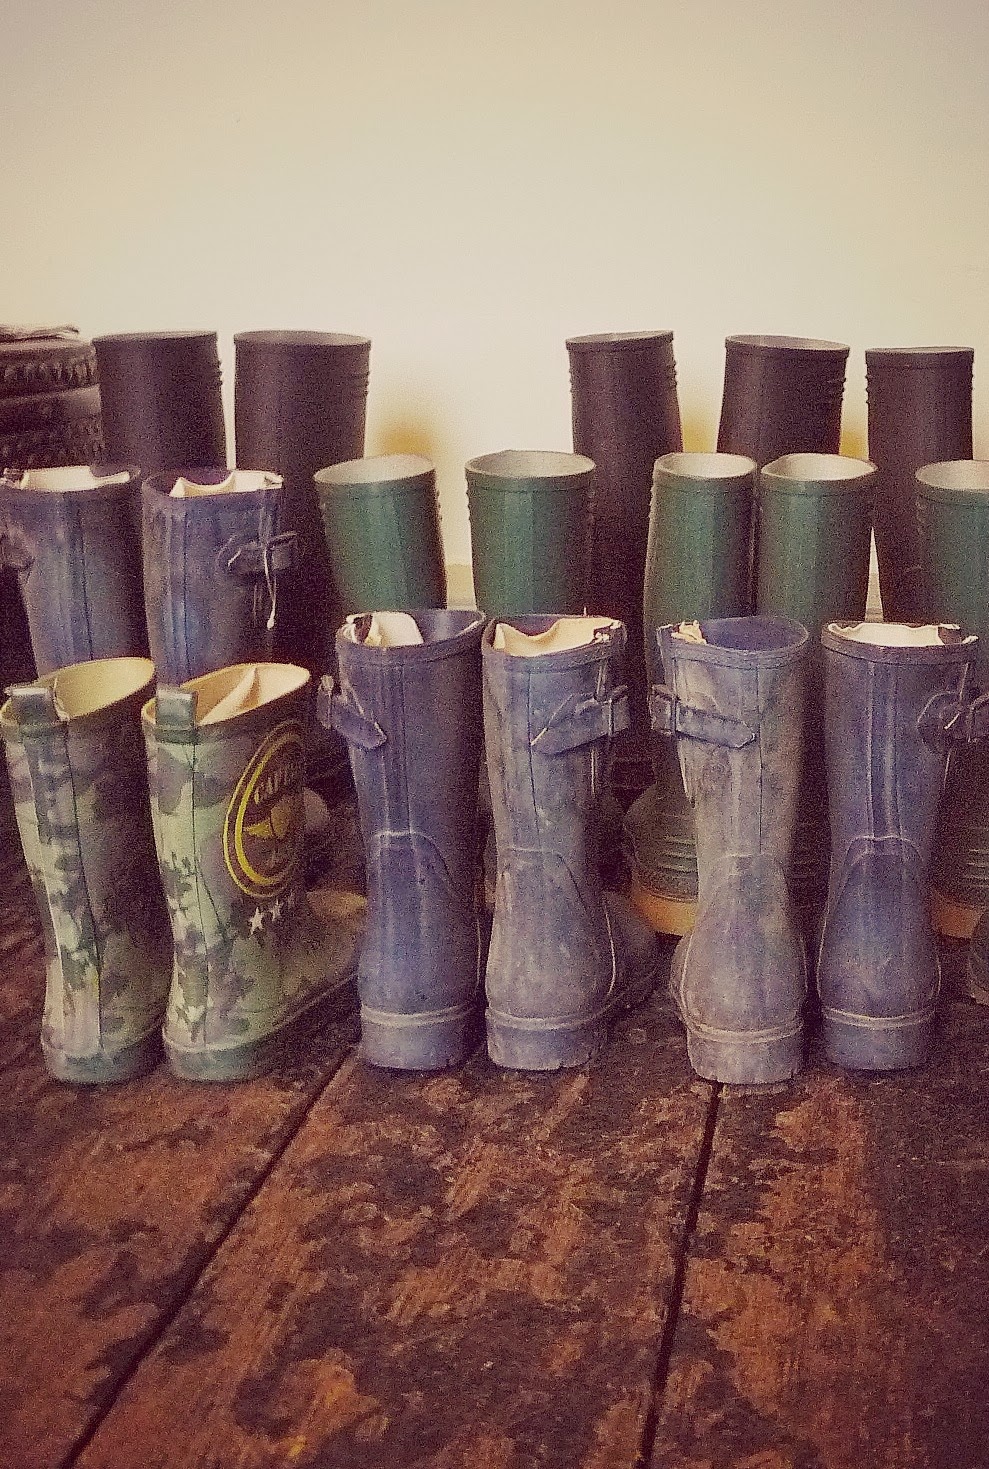
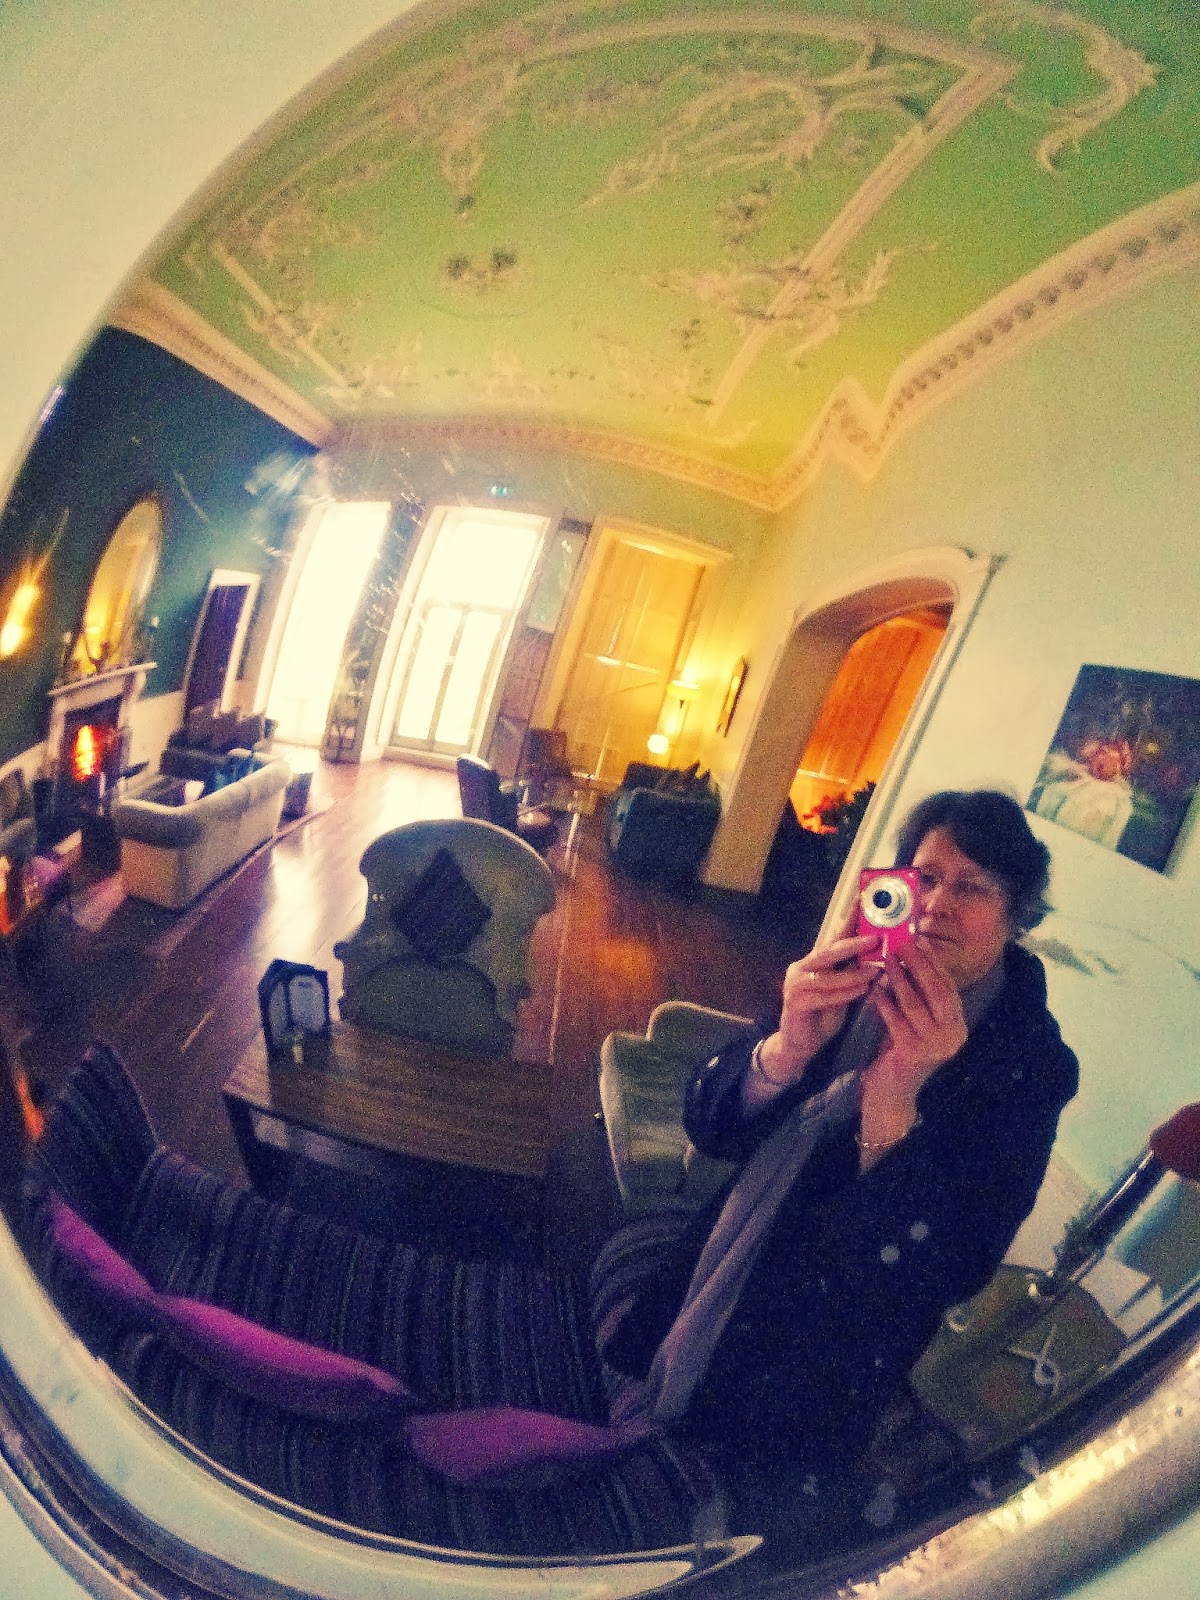
I was lucky enough to spend a few days down South last week. We stayed at Bellinter house, Navan. It was a home from home - mismatched furniture, a few cobwebs and the odd light bulb needing changing. Sounds as if I'm painting a negative picture but far from it, it was great.  The weather just like home was grim, so a but dark for photos but I thought I would share some of them..........
 
grand entrance
 
nice fireplaces in every room
 
the library
 
wellies to explore the banks of the Boyne, pity the weather hadn't have
 been better
 
the drawing room (I snuck into this photo too)
 
And that was Ballinter house, till next time. It would be a beautiful wedding venue and for the website click here.
Enjoy the rest of the weekend, Ali.


11 February 2014

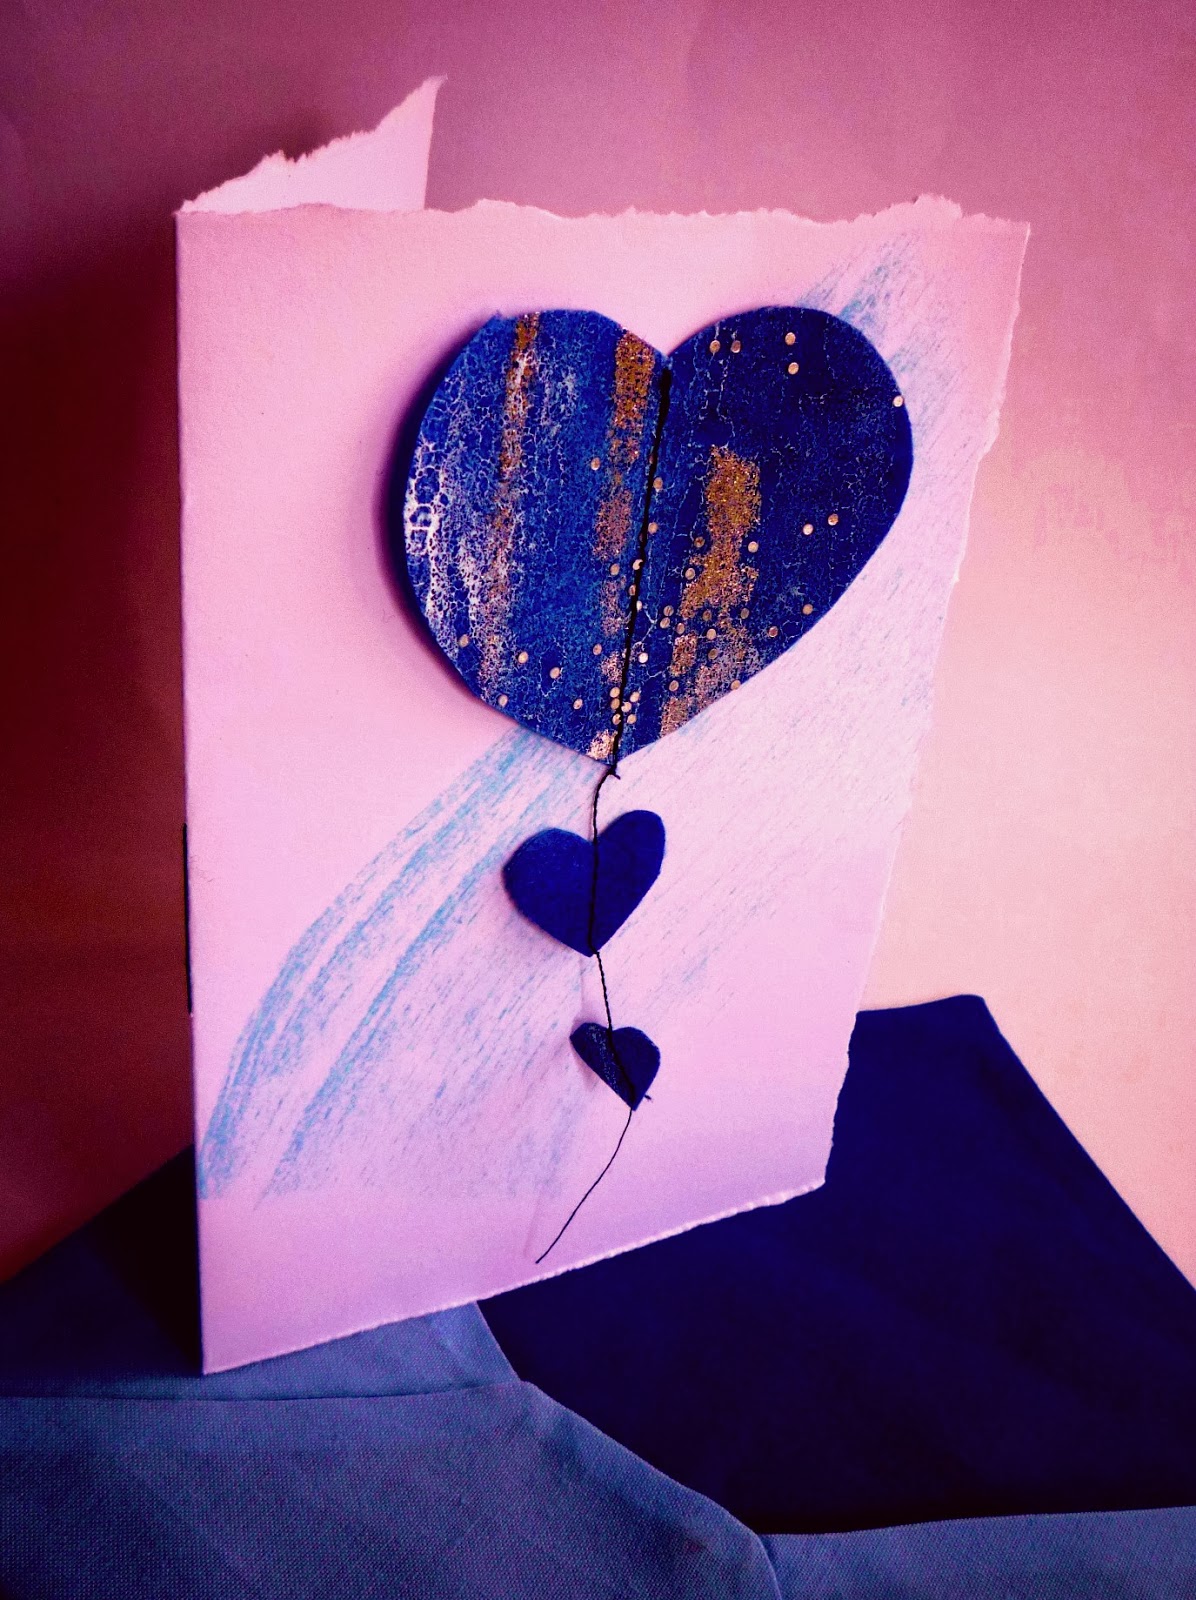
painted bondaweb heart

I recently heard a talk by the experimental textile artist Kim Thittichai and was most inspired by her work. She explained how to create a surface using pelmet Vilene and painted bondaweb. To see her blog click here.
I thought I would make use of her technique to make my Valentine card this year.

 
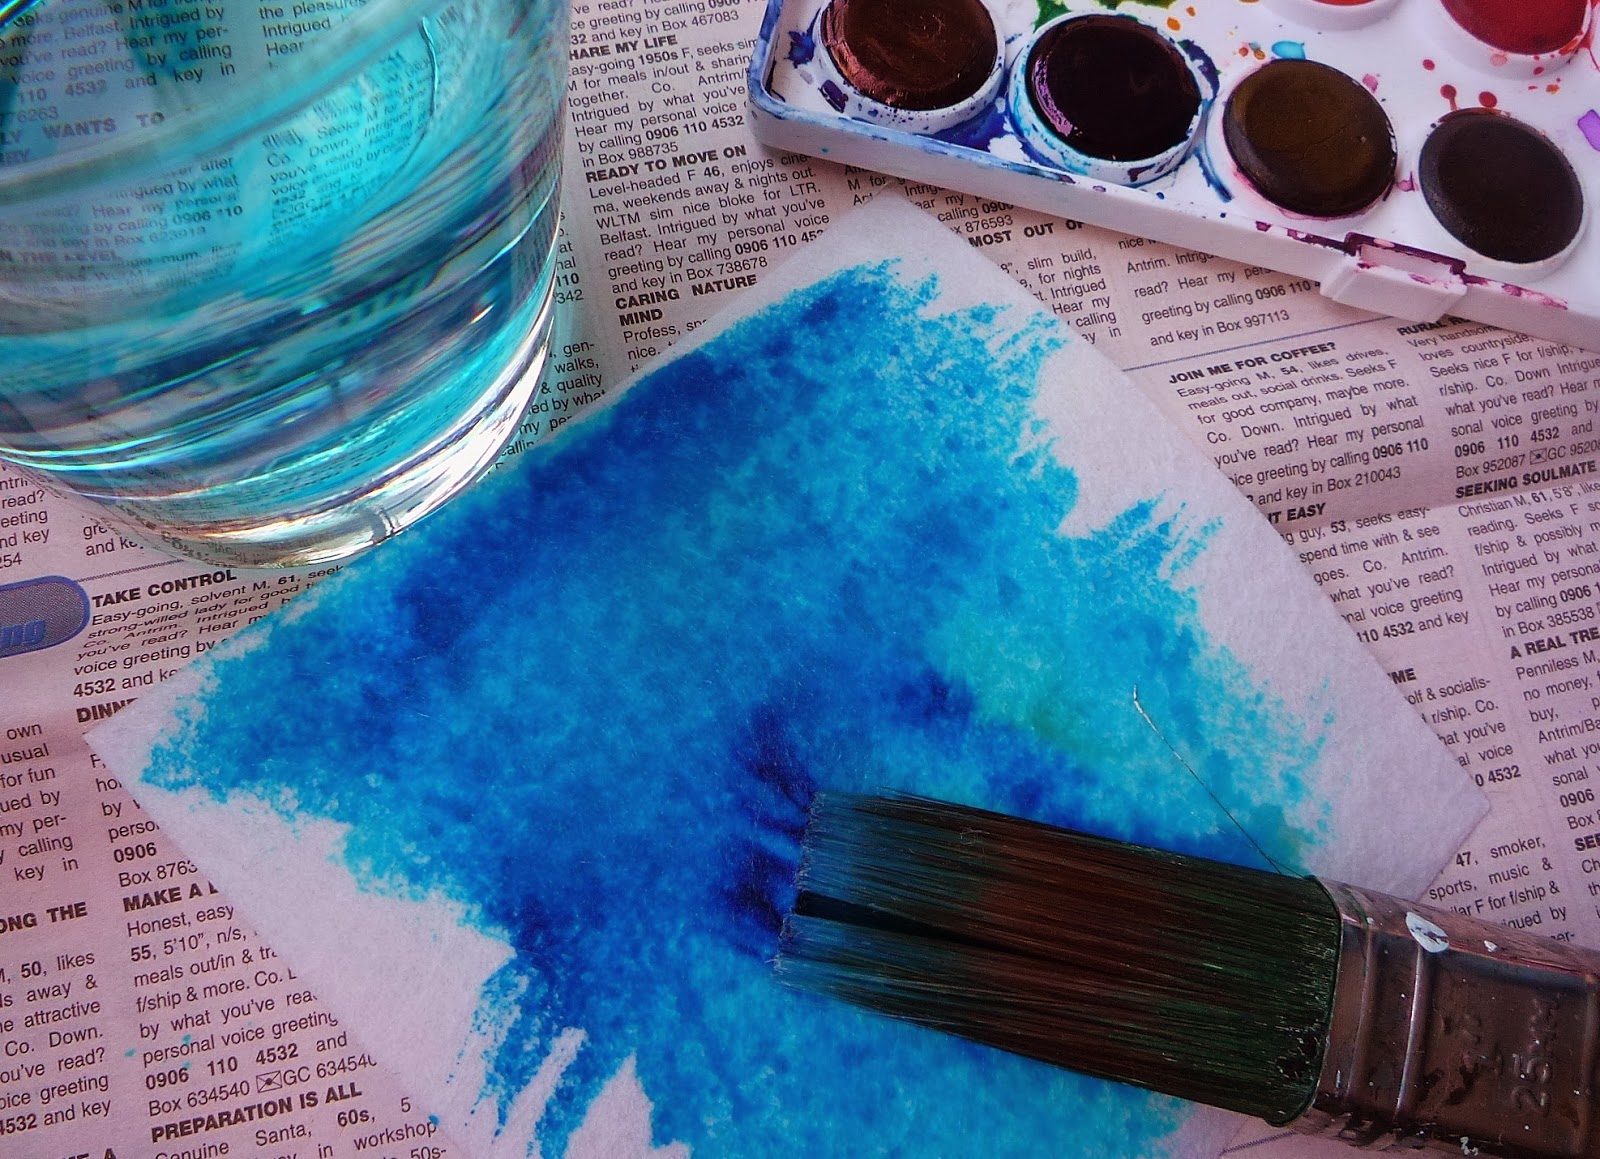
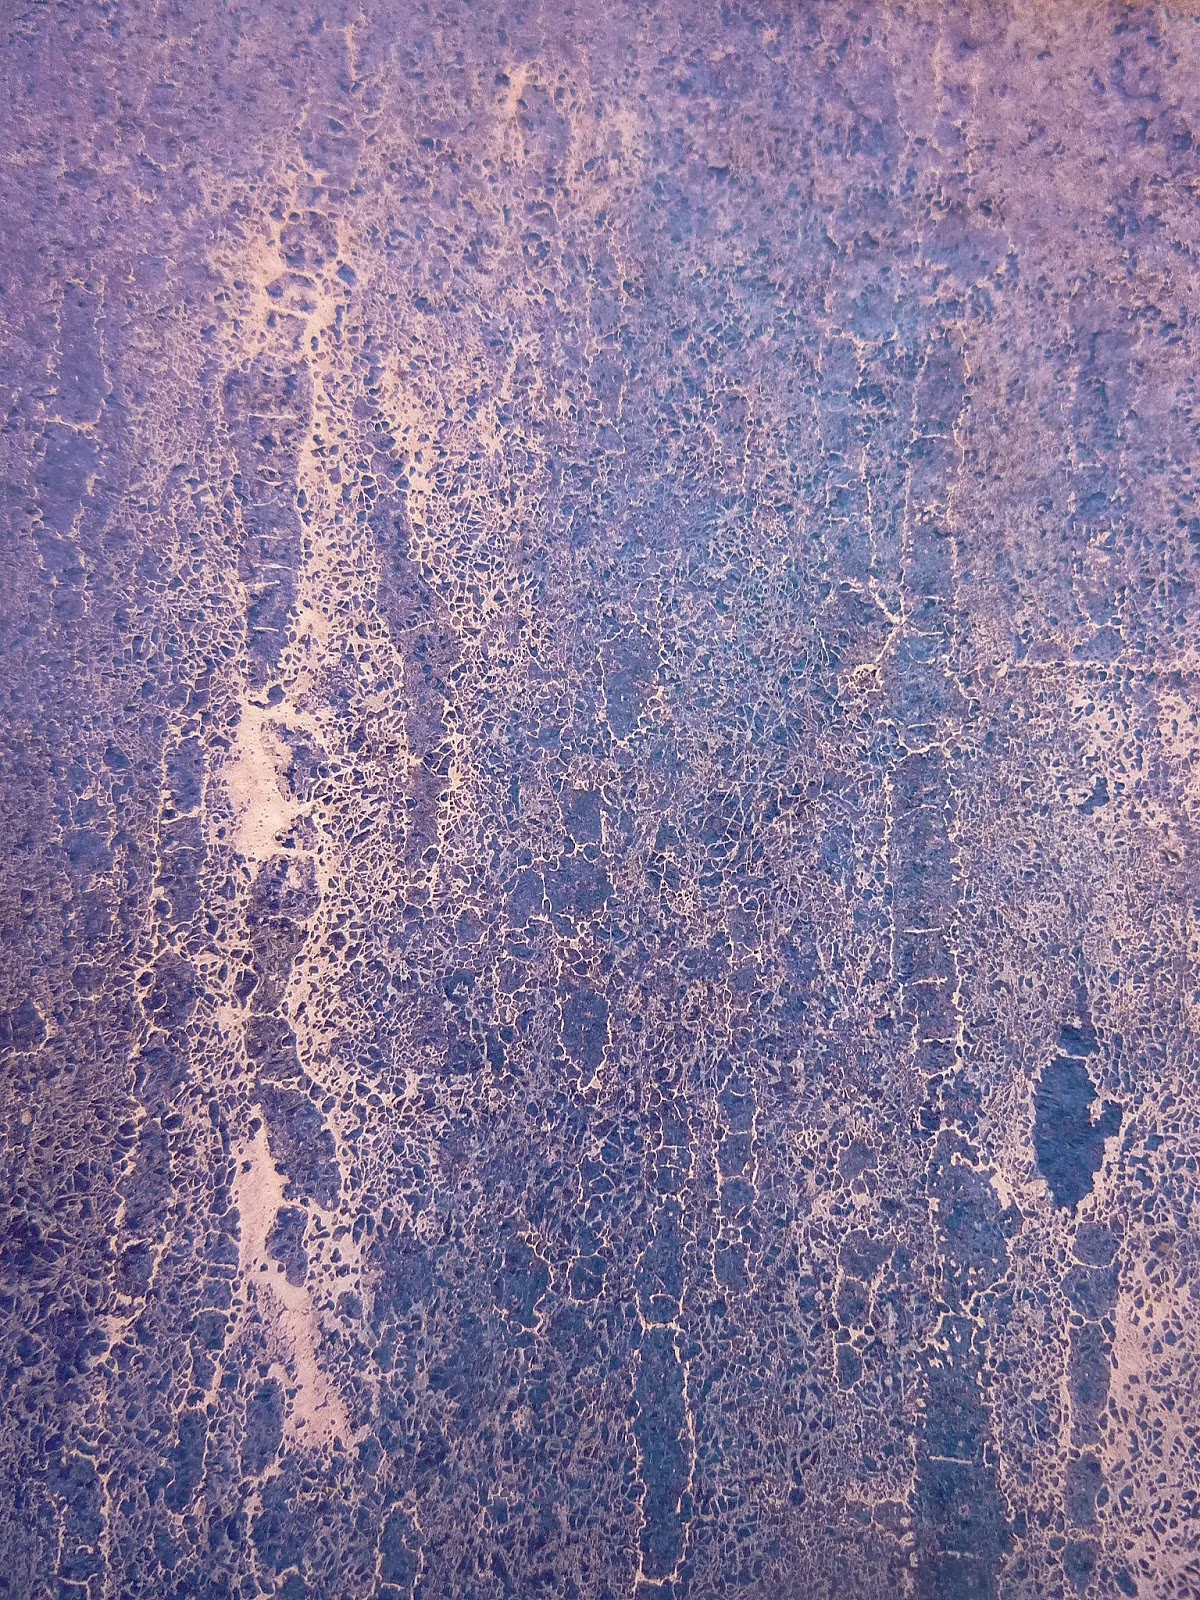
Firstly, I painted pelmet Vilene with Koh-I-Noor dye (I'm very fond of this wee palatte, with its vibrant colours, it is also very easy and convenient to use for small areas).


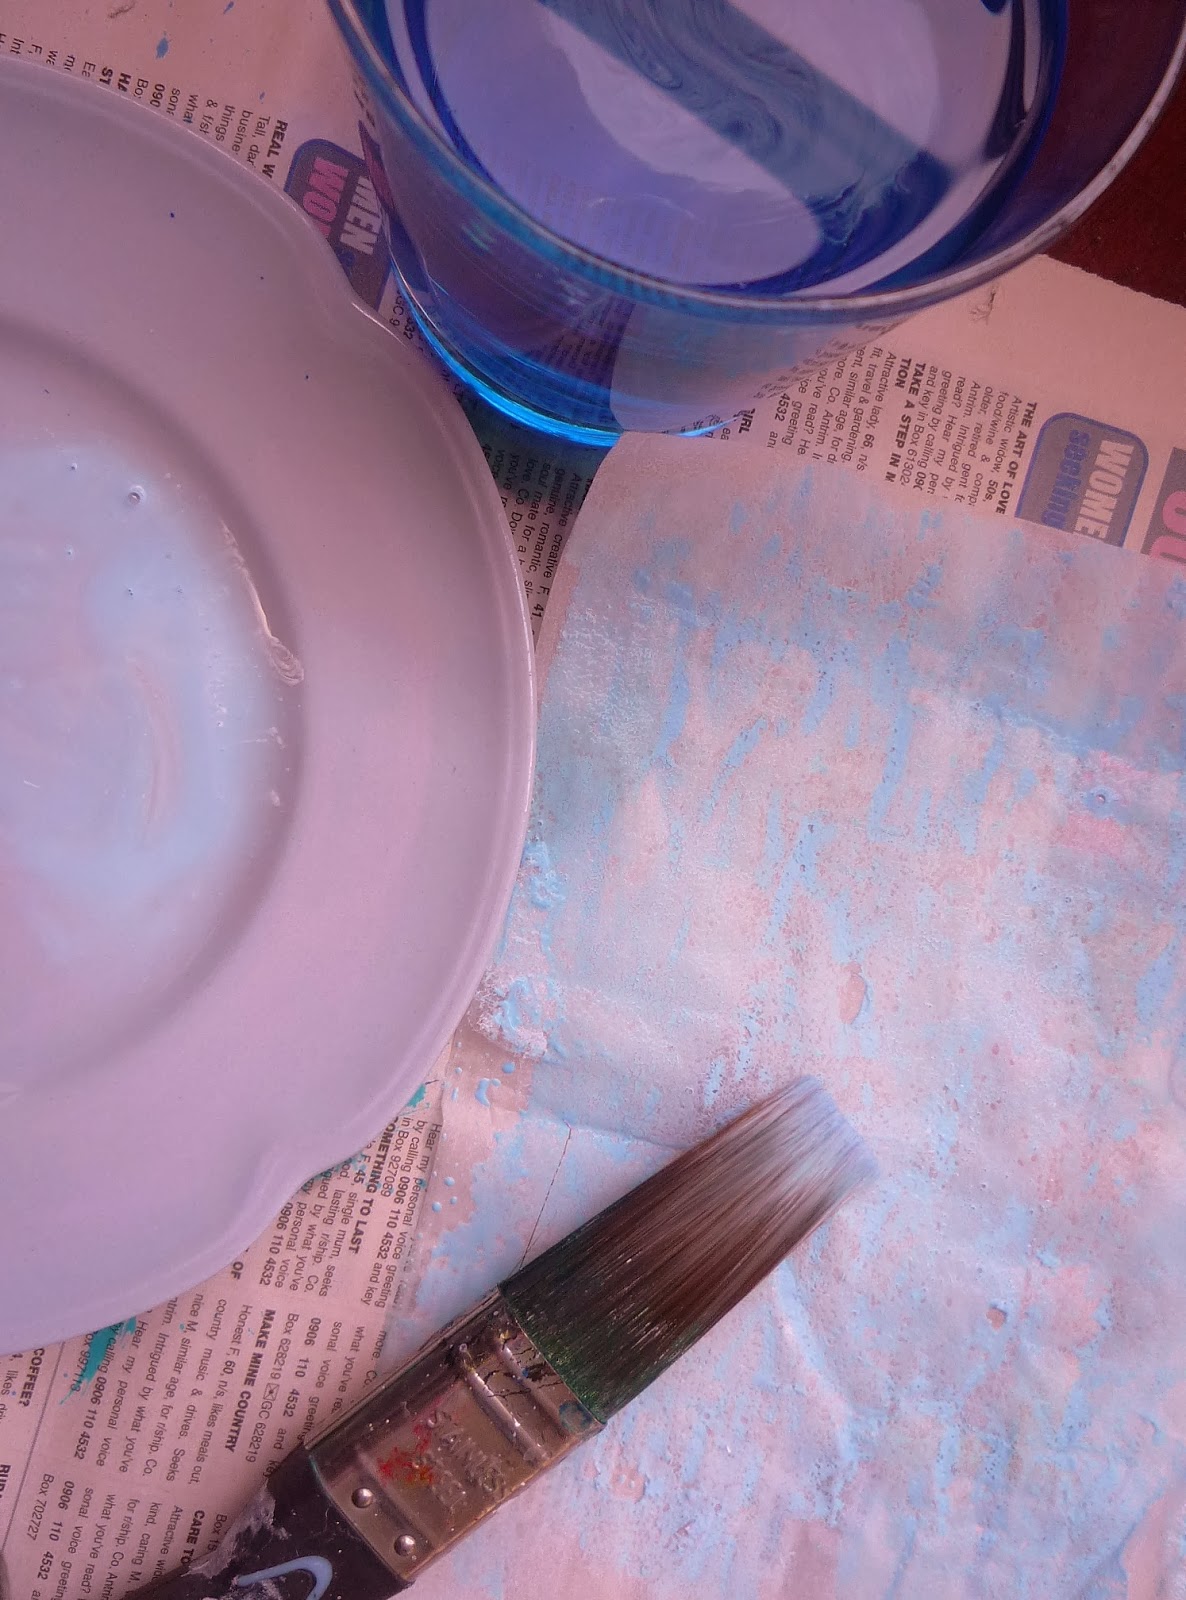
Then I painted the bondaweb on the "glue" rough side with watery acrylic paint (any water based paint will do). Once the bondaweb is wet, it crinkles in lines in one direction.


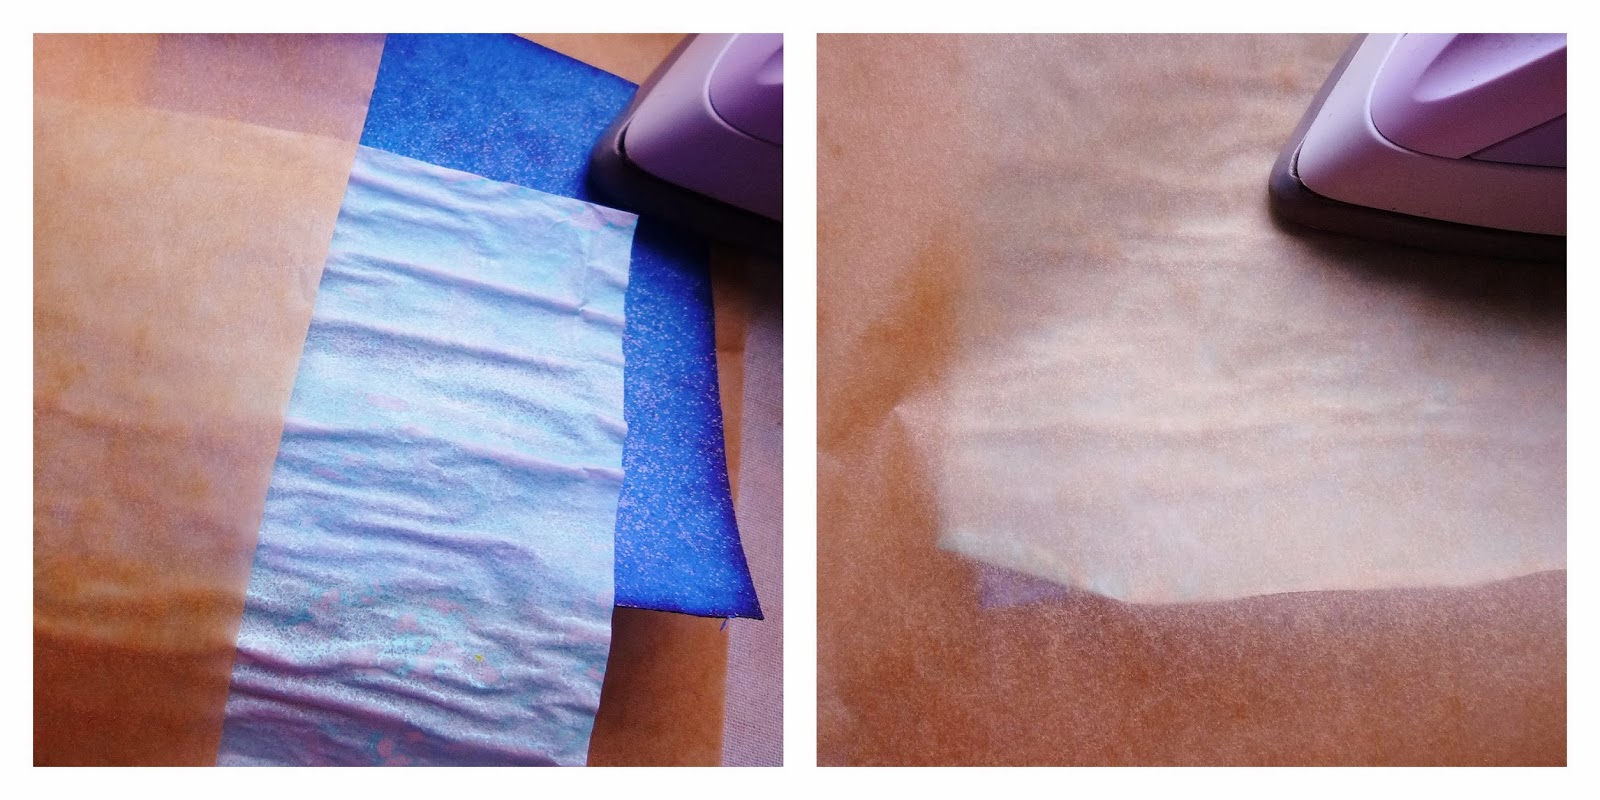
To fuse the two together, I made a sandwich - baking parchment on the bottom, pelmet Vilene, then bondaweb with the painted side down and finally baking parchment on the top.
 
 
 Once ironed, the paper backing on the bondaweb was removed.

 
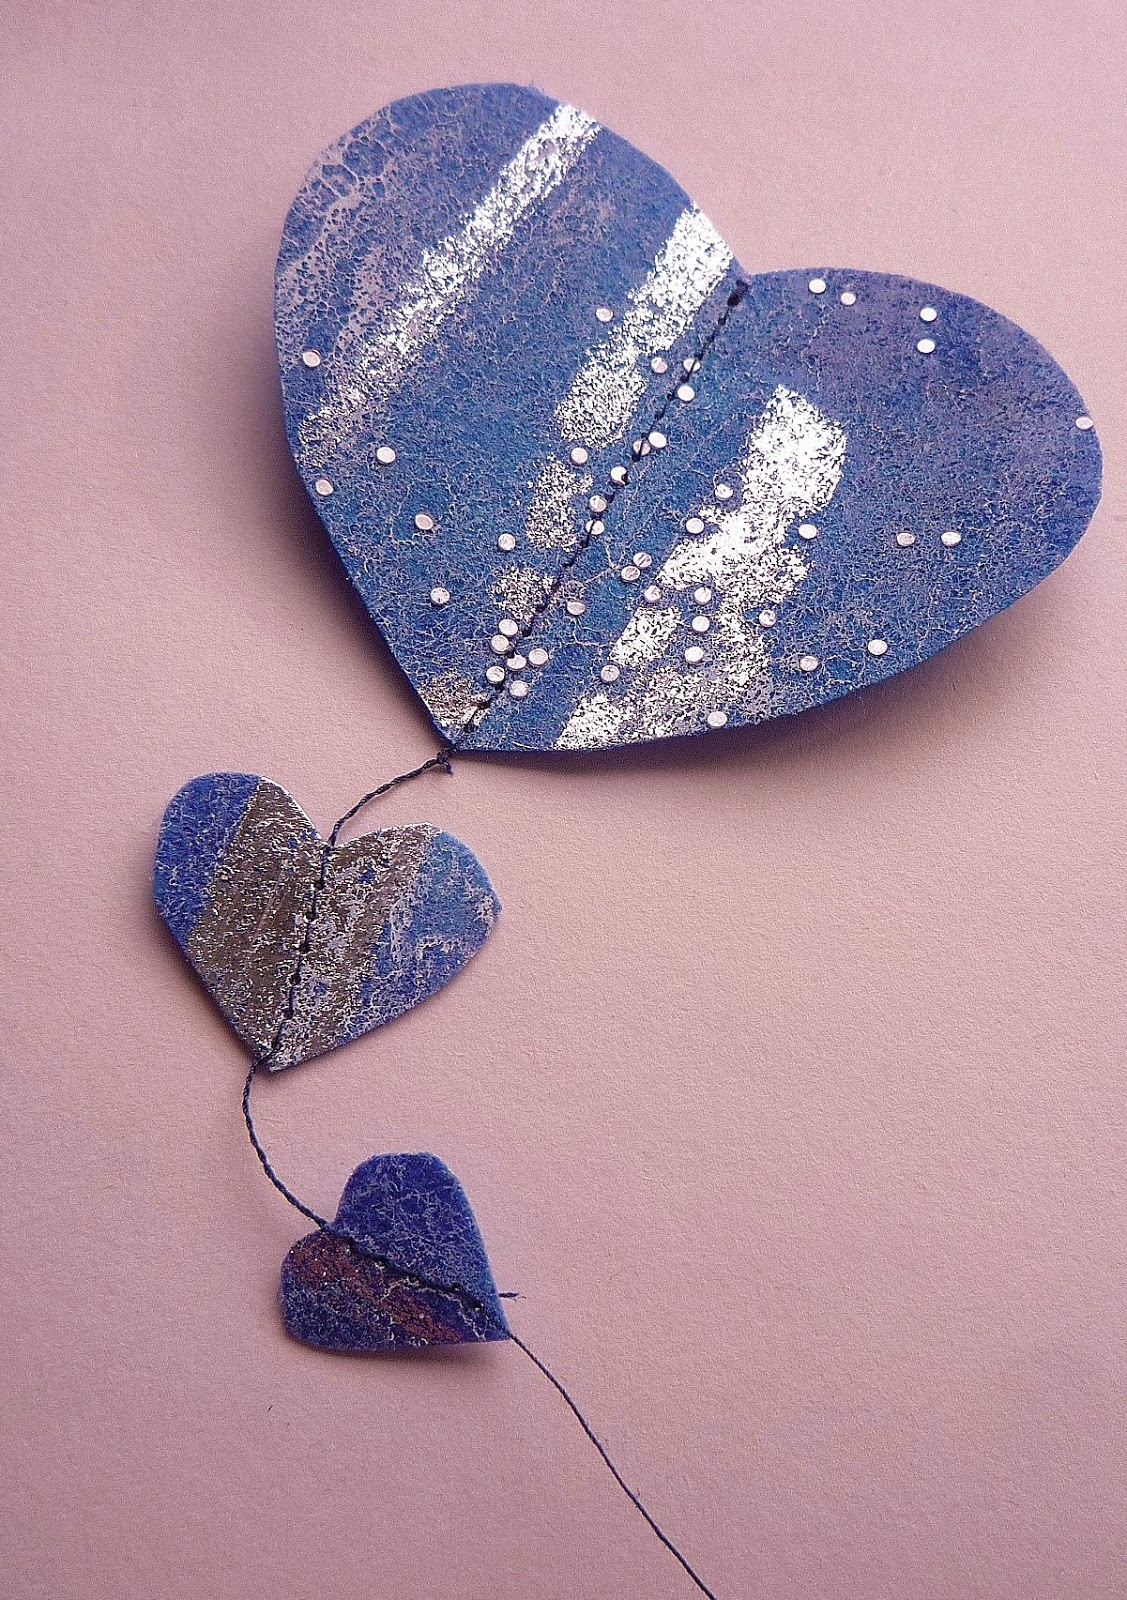
To add a bit of bling, glitter was sprinkled on and foil ironed on with the tip of the iron. Then I ironed the whole piece again, not forgetting the baking parchment.
 
 
The end result is an interesting surface which can be cut with scissors and stitched. Painted bondaweb can also be fused onto fabric.

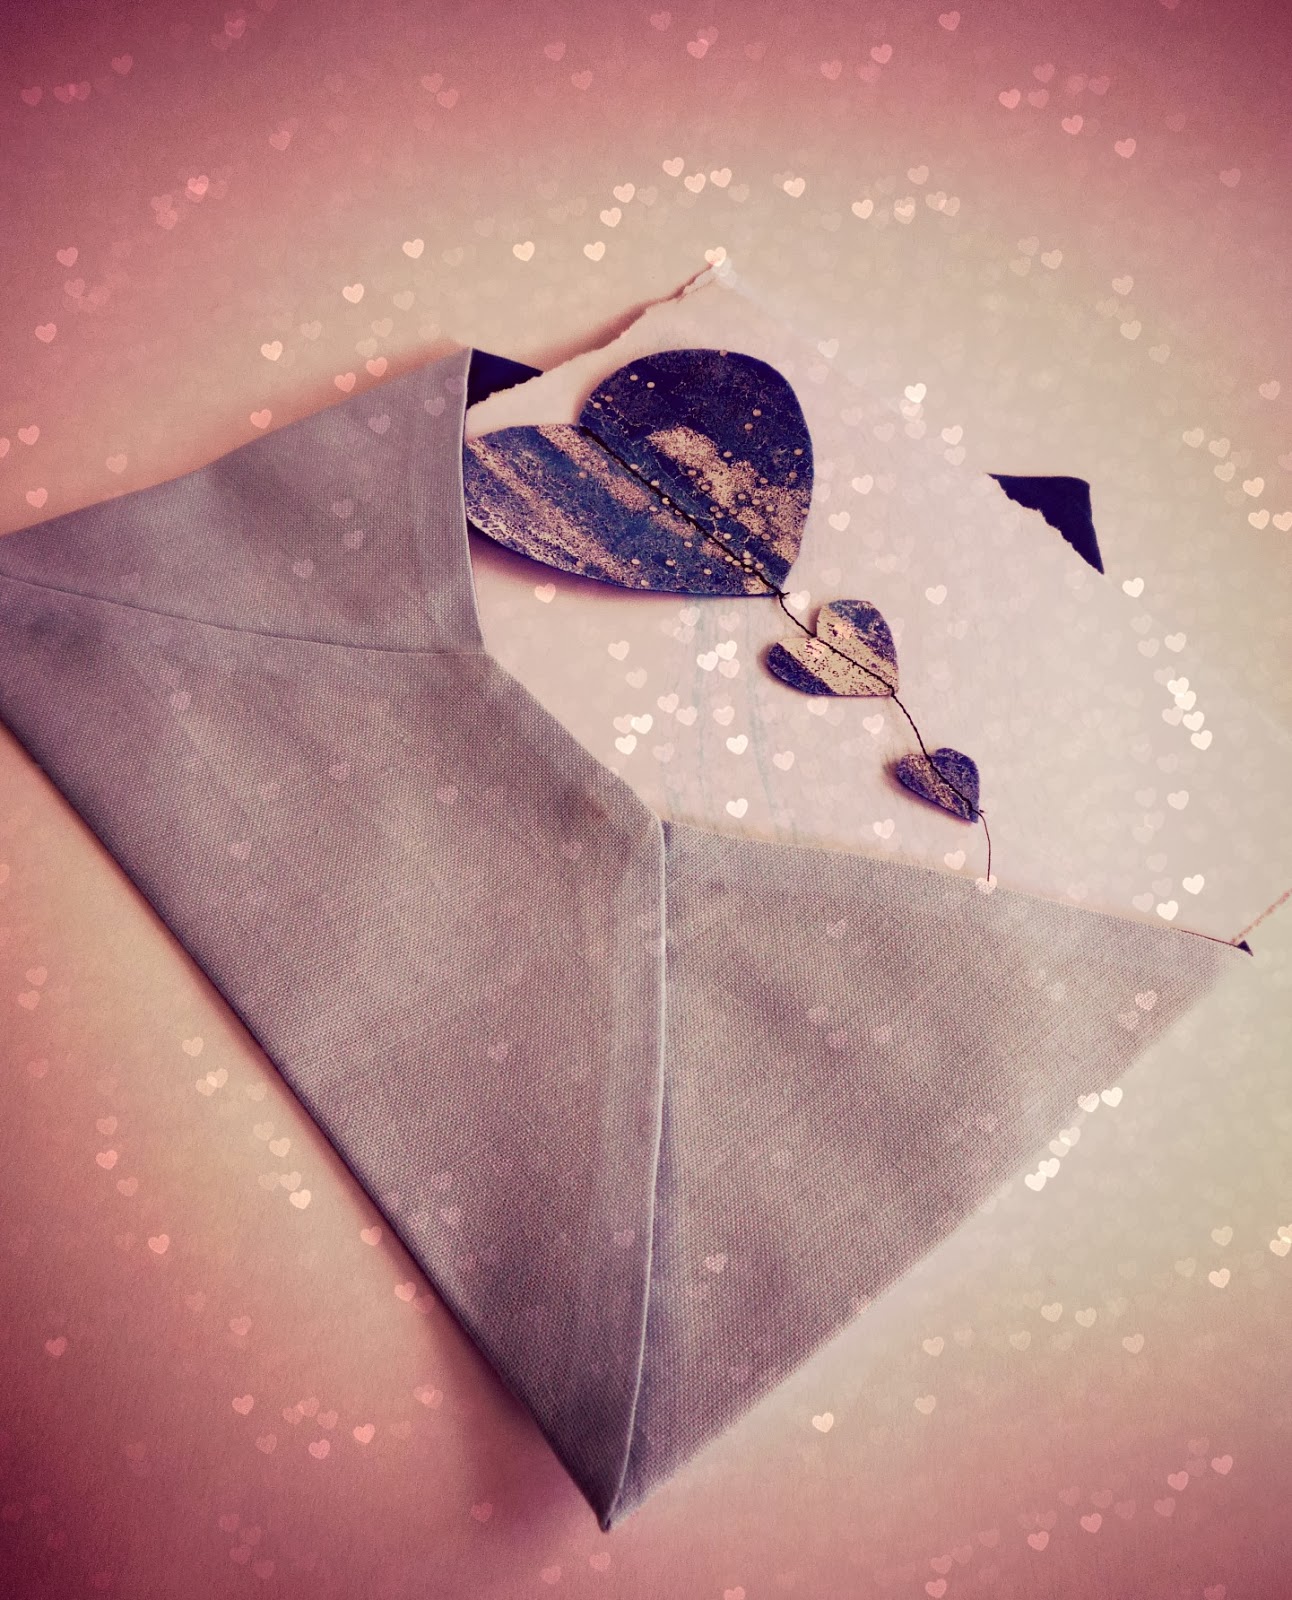
To make the card I sewed the three hearts in a continuous line without cutting the thread between them.Then I machine stitched them onto the actual card.


 I made a fabric envelope using Messy Jesse's  instructions, click here.


Bye for now, Ali.


3 February 2014

paint and stitch

Maybe its the gloom of winter affecting my state of mind, but I headed out to the garden to take photos of snowdrops, spring bulbs etc and was drawn to the withered foliage of last summers plants. Needless to say they have all been left by the lazy gardener (me) who never got round to tidying them away.
Some Shasta daisy heads, Japanese anemones, lavender and some unknown perennial. I thought they looked quite beautiful.

 
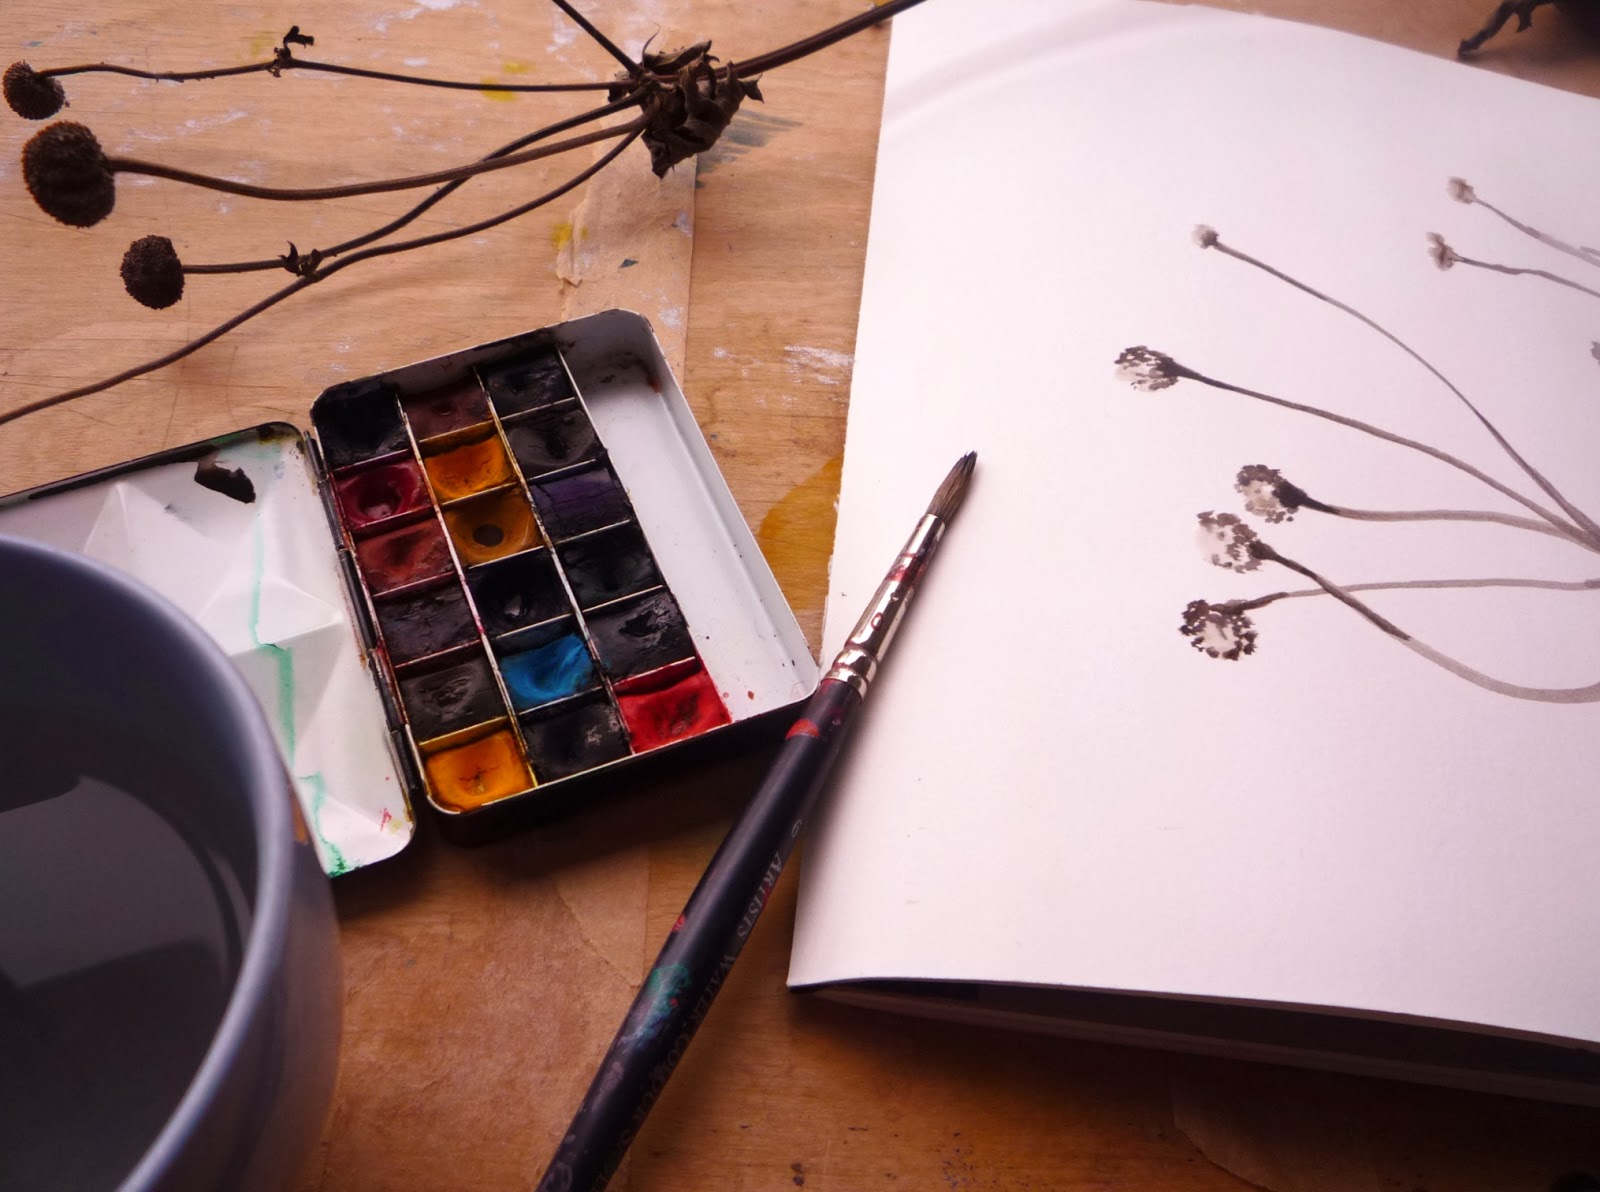
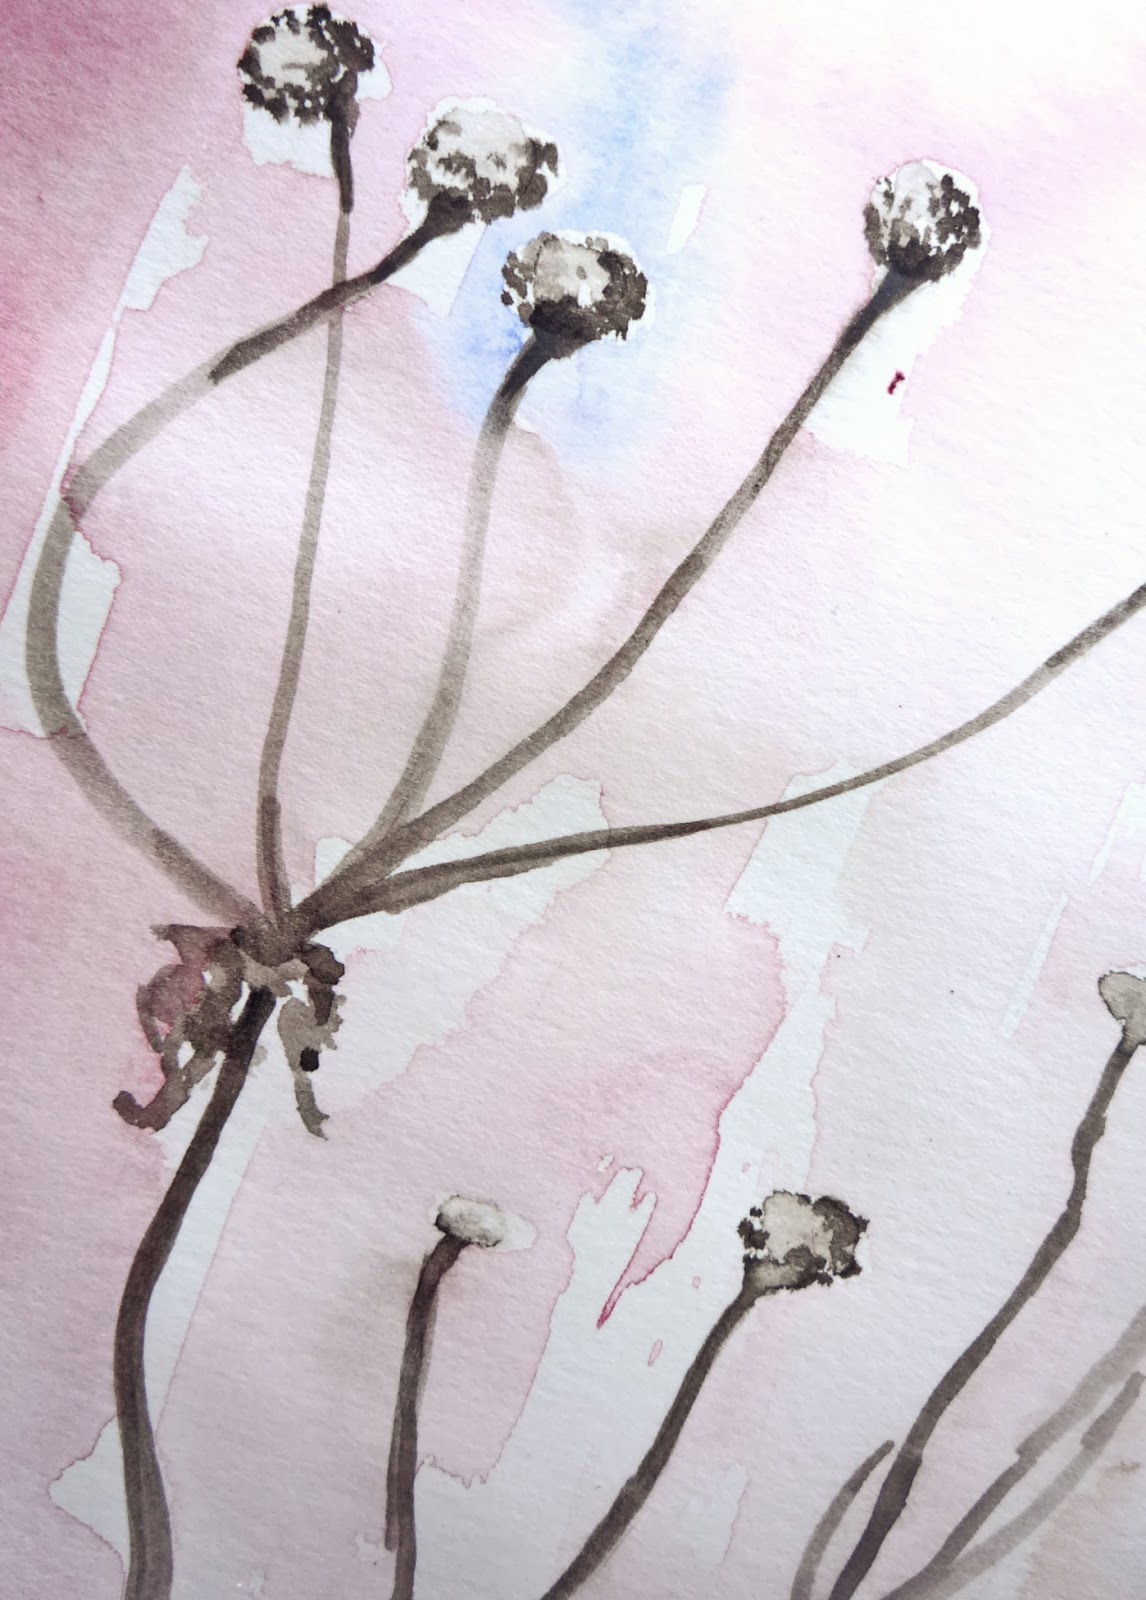
Feeling a little artistic, I tried to catch the last of the daylight to do a quick watercolour of the Japanese anemone.
 
 
...hardly a masterpiece but so much fun nevertheless.
 
 
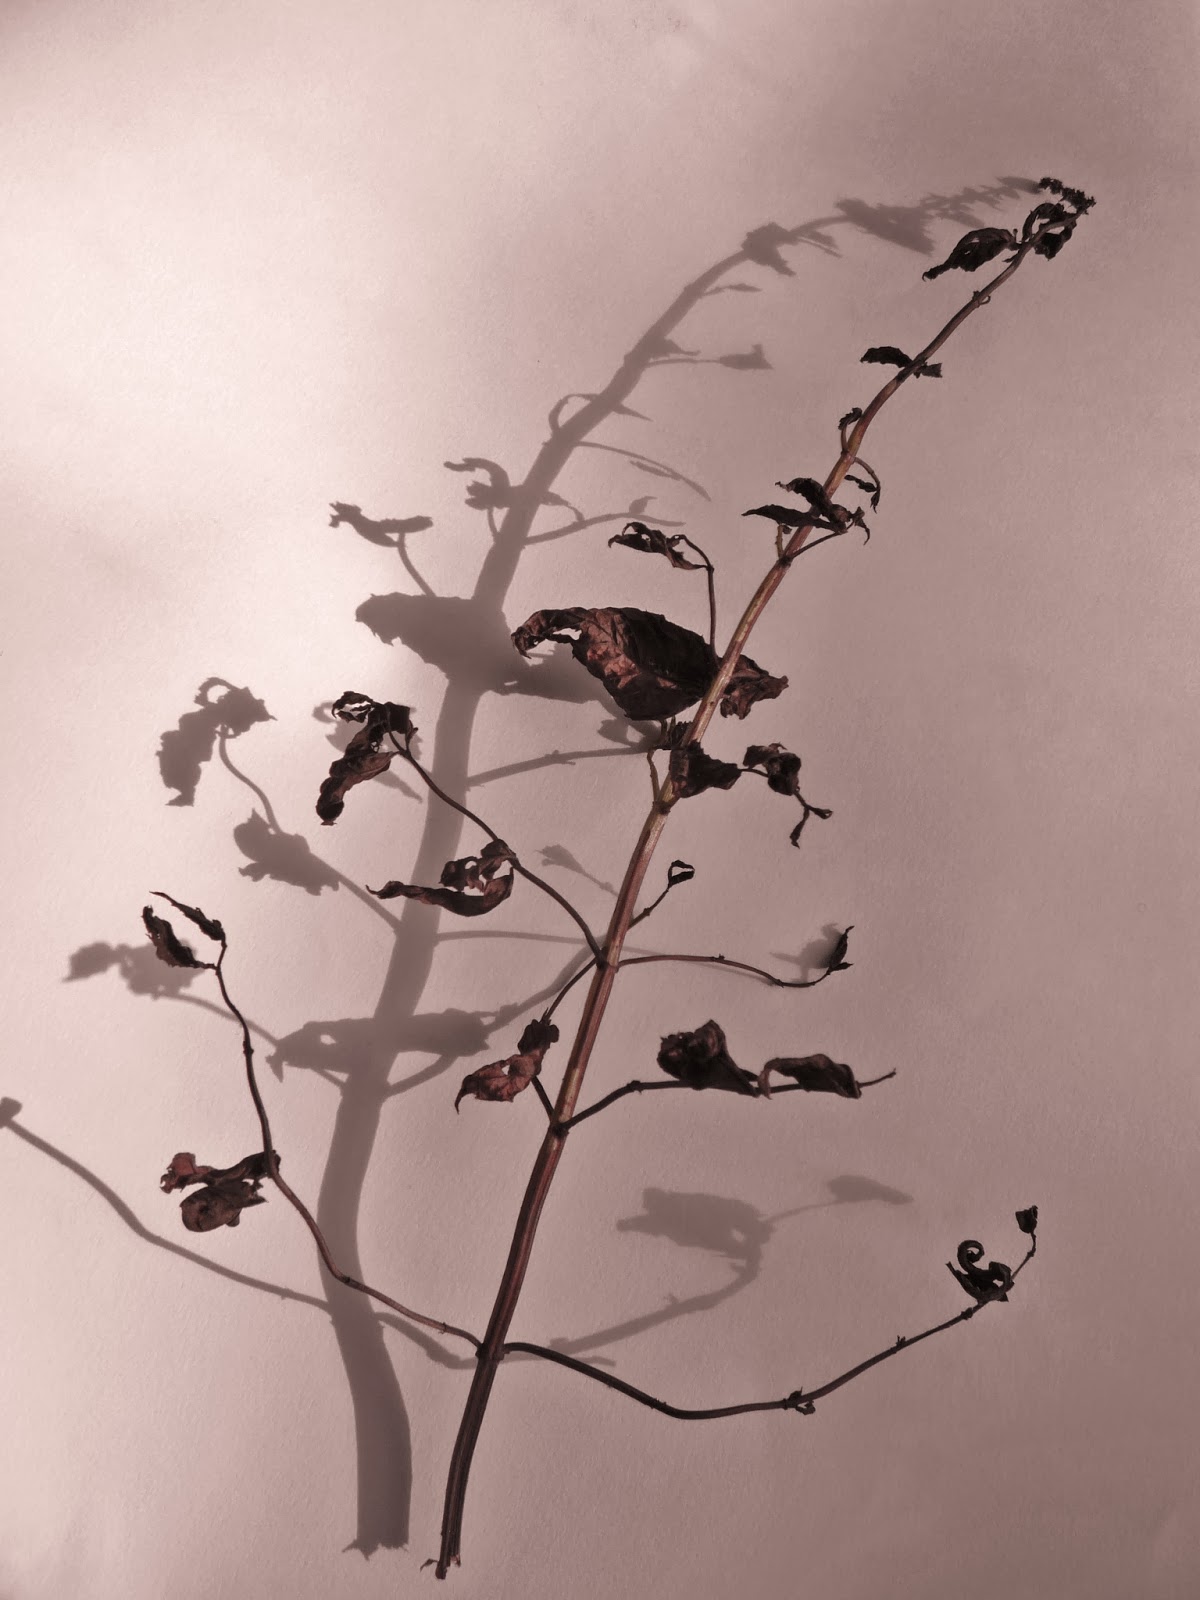
I haven't done much free machining recently so thought this piece of Basil would lend itself nicely to some stitching.
 
 
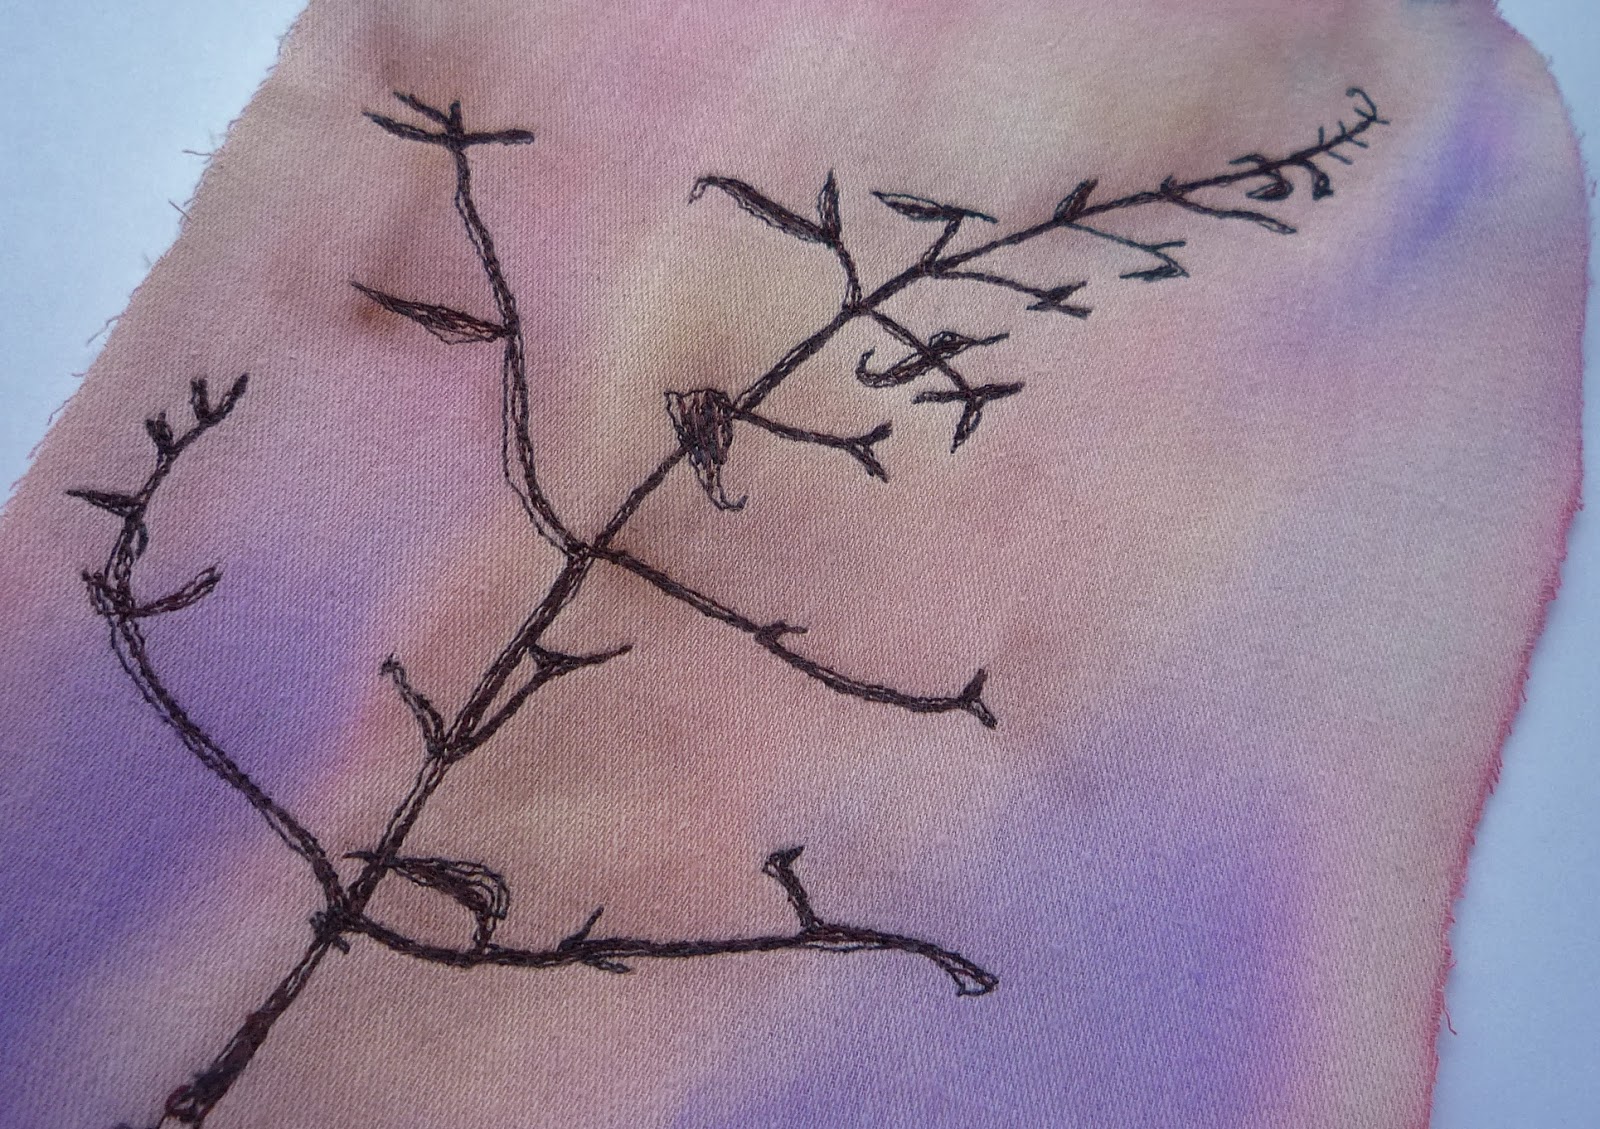
Firstly, I drew a sketch outline with a water erasable marker on heavy weight
bonded curtain lining which is firm enough to avoid using a hoop. I then stitched with brown and then black thread. The background colour was added after sewing with a very wet brush and some colour from the Koh-I-Noor palatte. The watery paint also removed the original guide marks. 

 
Bye for now, Ali.
 

26 January 2014

stitch samples

Some days I do miss the discipline of working towards the City and Guild qualification and other days I'm glad it's all over. This year I decided to do a leisure class in embroidery and I have been trying to brush up my hand embroidery skills. I thought you might like to see some of the samples, I've stitched so far.
Here's one with chain stitch, herringbone and a few french knots sprinkled in. The background fabric was dampened and then painted using the Koh-I-Noor palatte


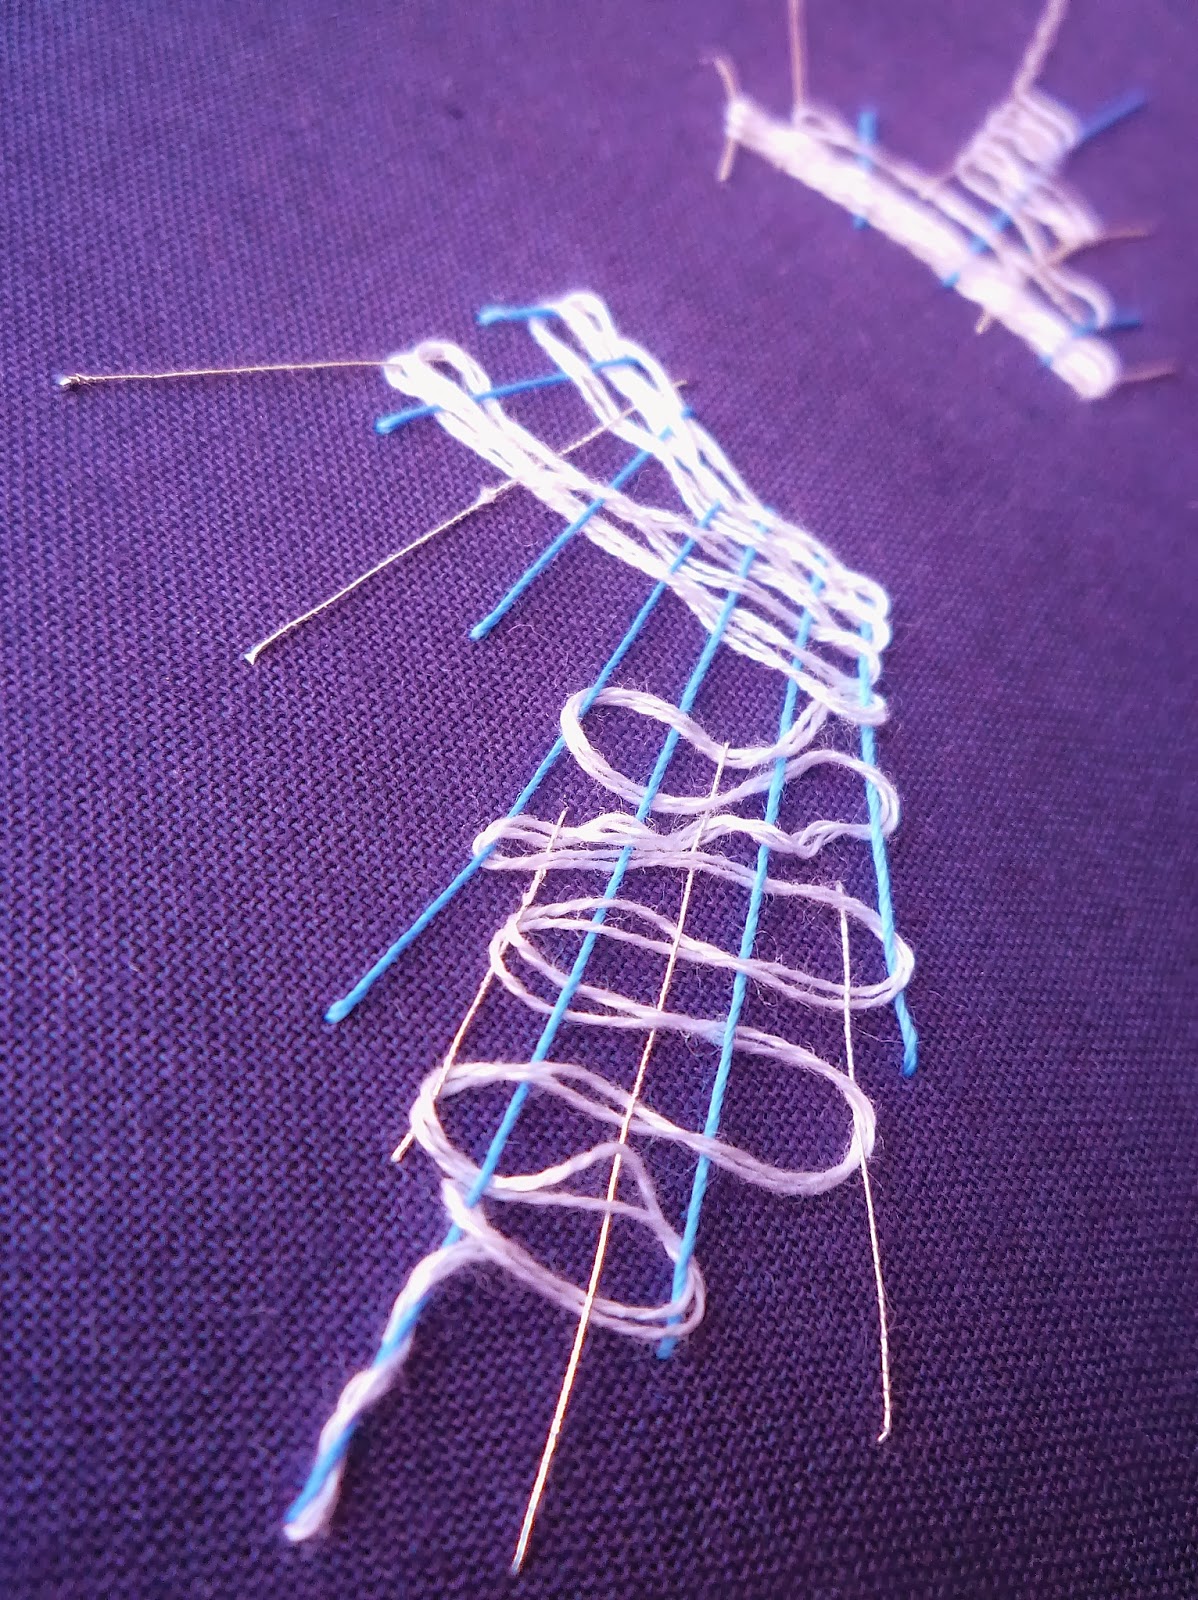
In this sample I was trying out needle weaving.


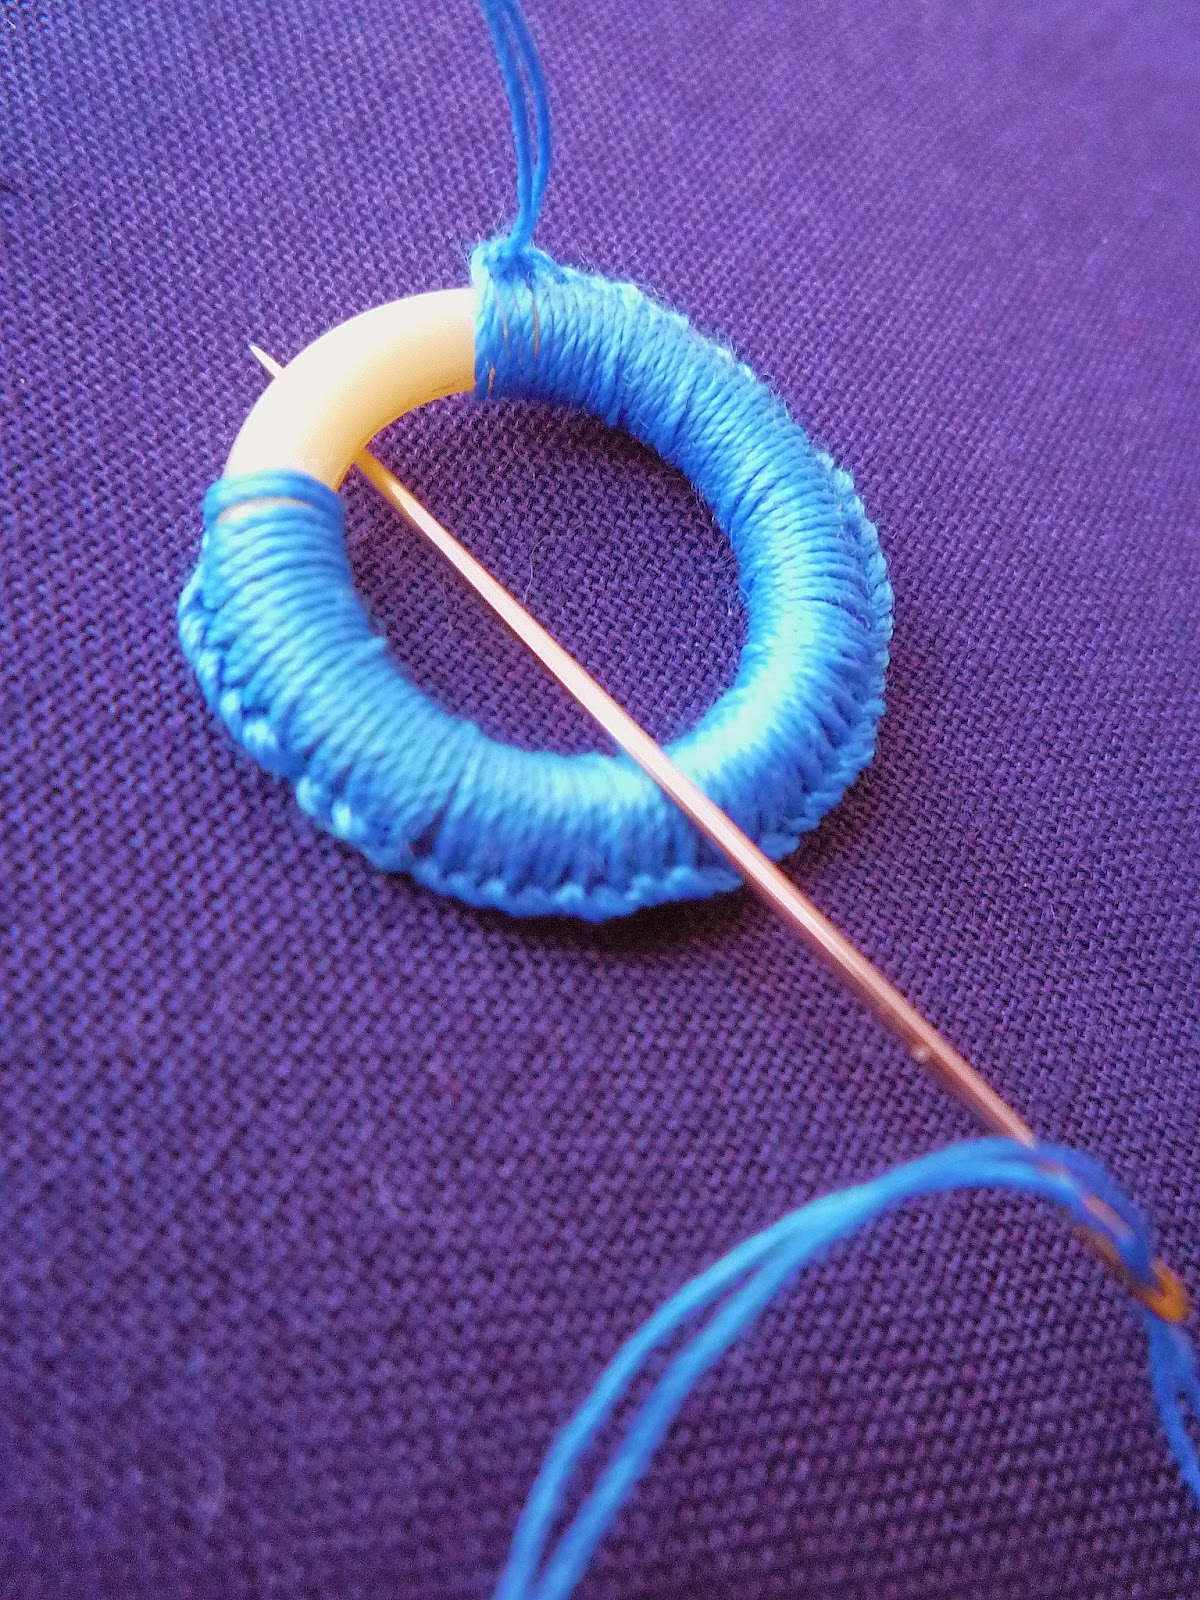
I covered a curtain ring using buttonhole stitch, this would be nice added to any sewing piece or the starting point for a jewellery project.


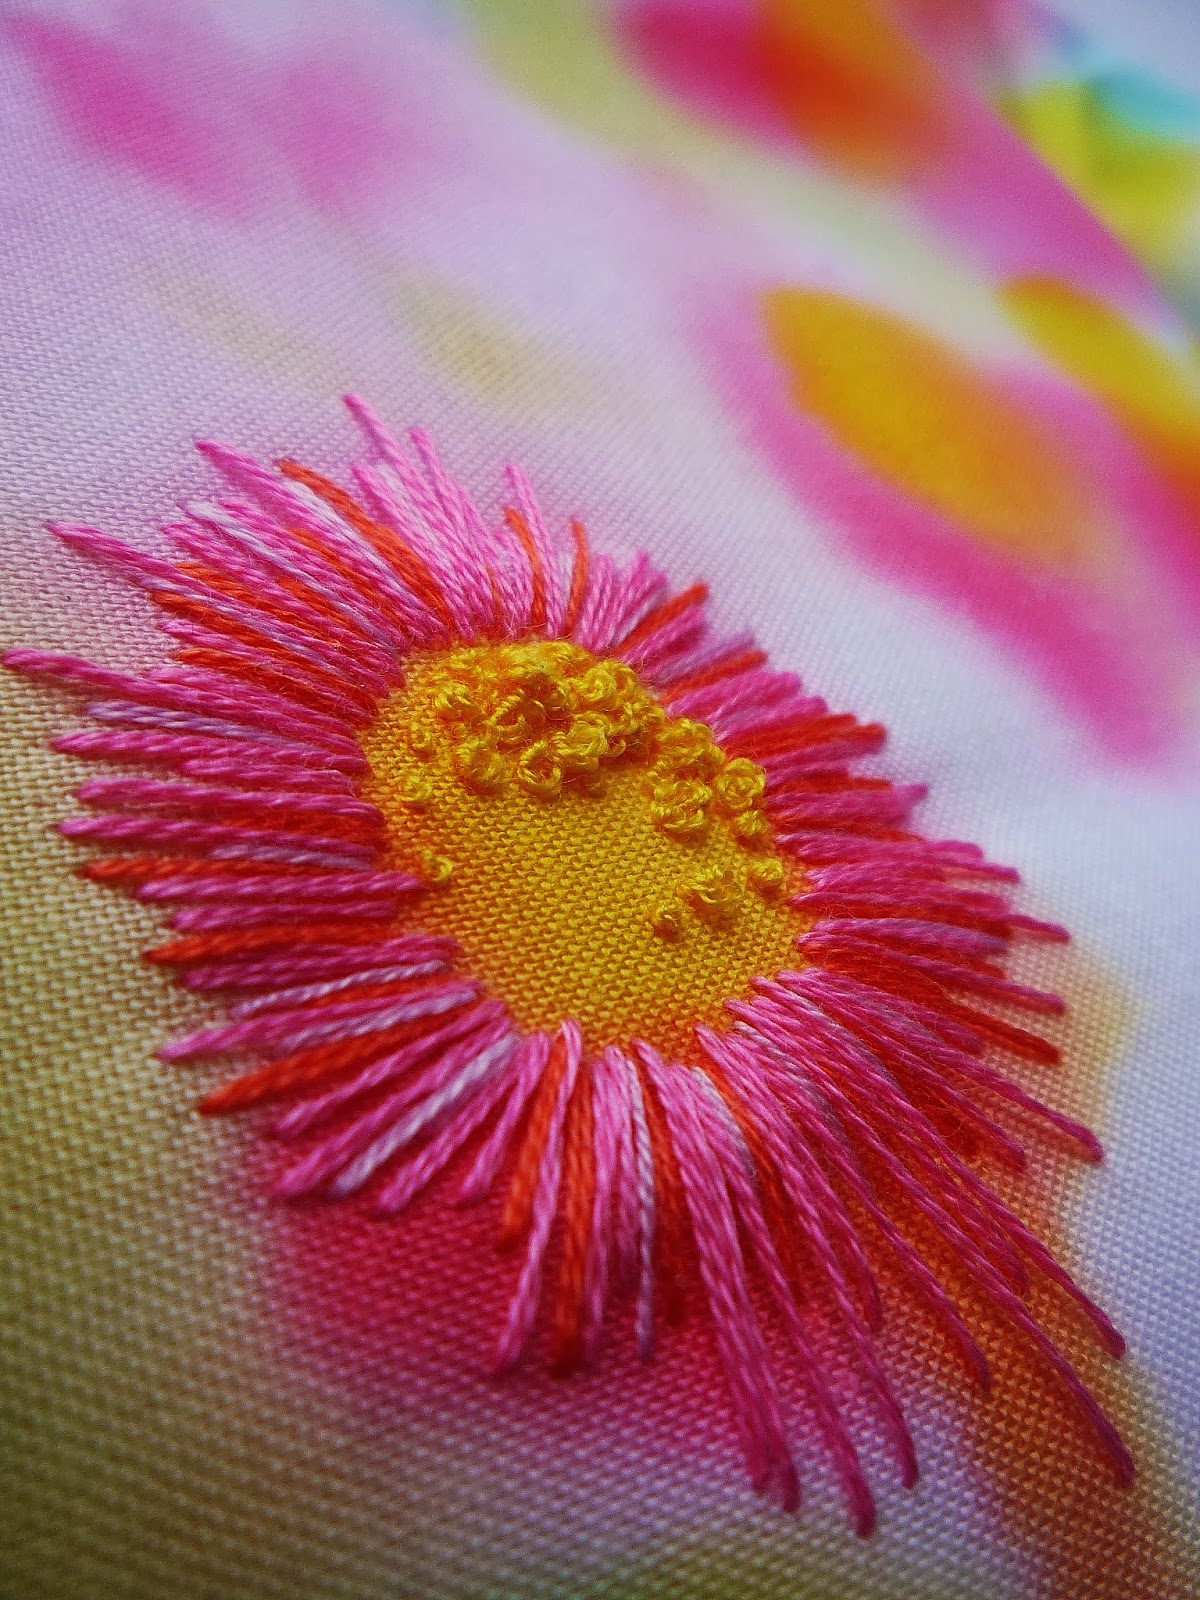
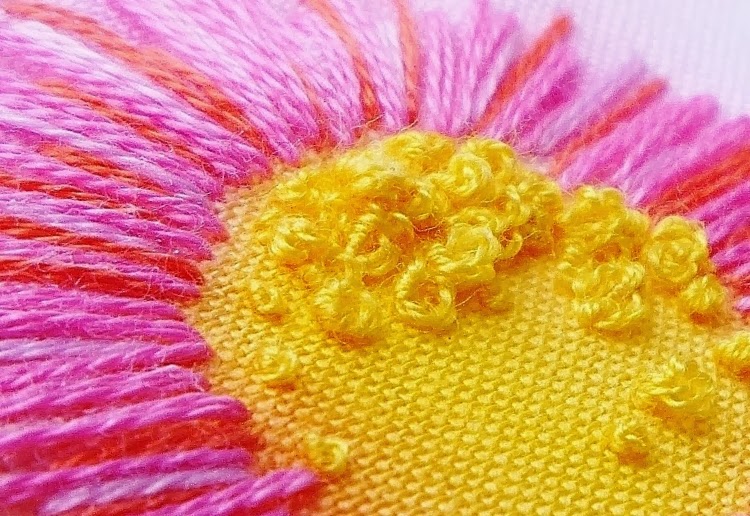
This is my favourite sample, a stab stitch and french knot daisy.


Have a great week, Ali.

19 January 2014

treasure

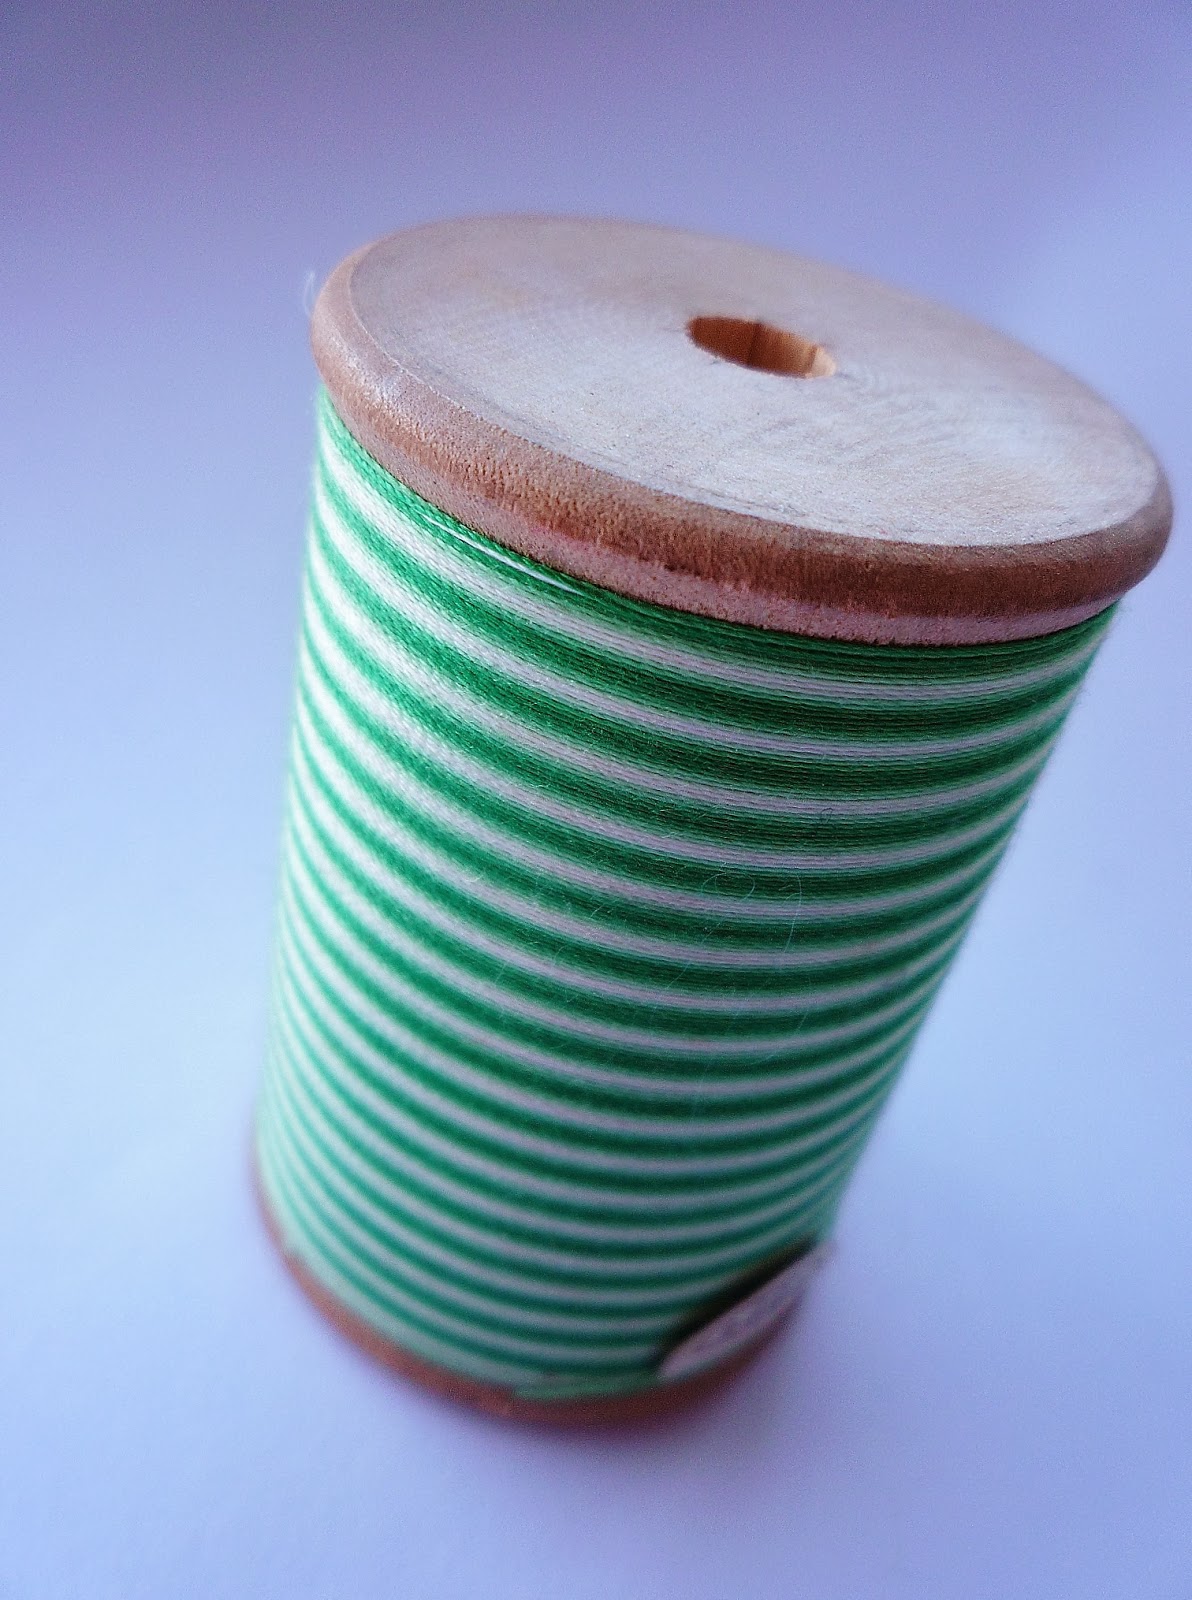
I do like a good rummage around the charity shops...I get quite excited as you never know what is going to be found. Yesterday I came away with what I call treasures. The first is a vintage wooden spool of variegated green thread, probably rayon.

 
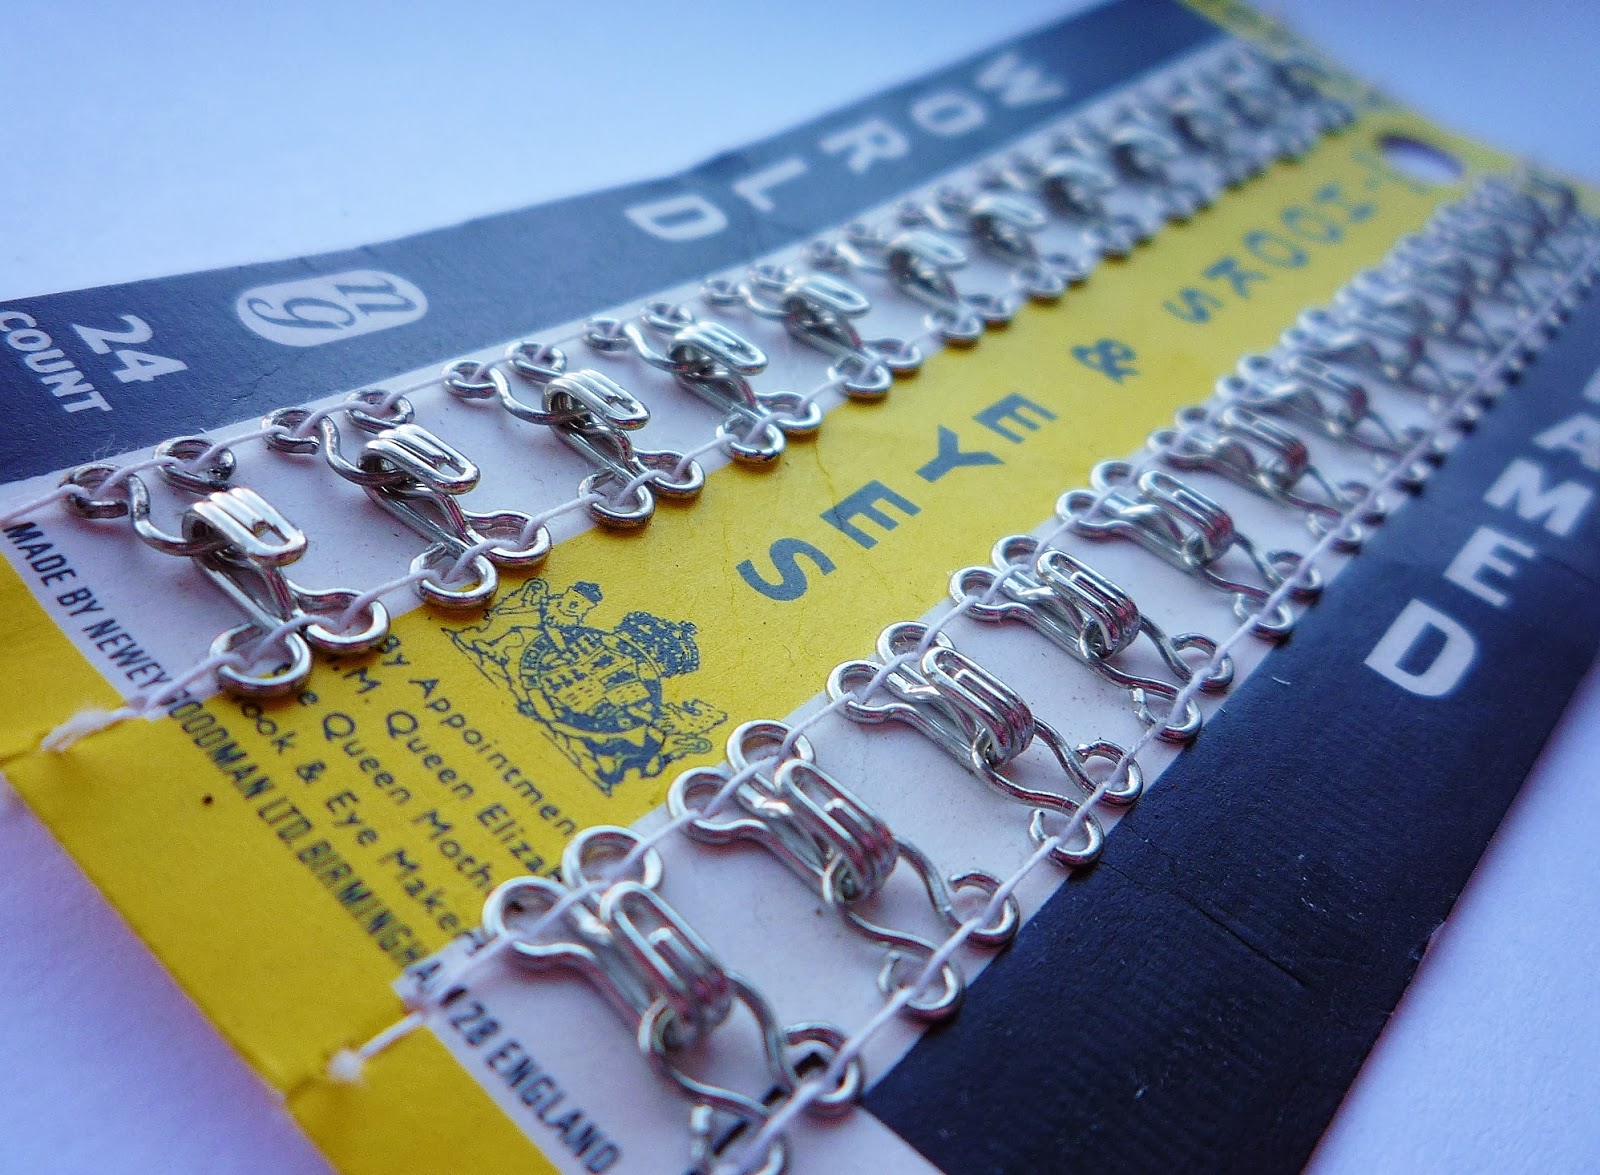
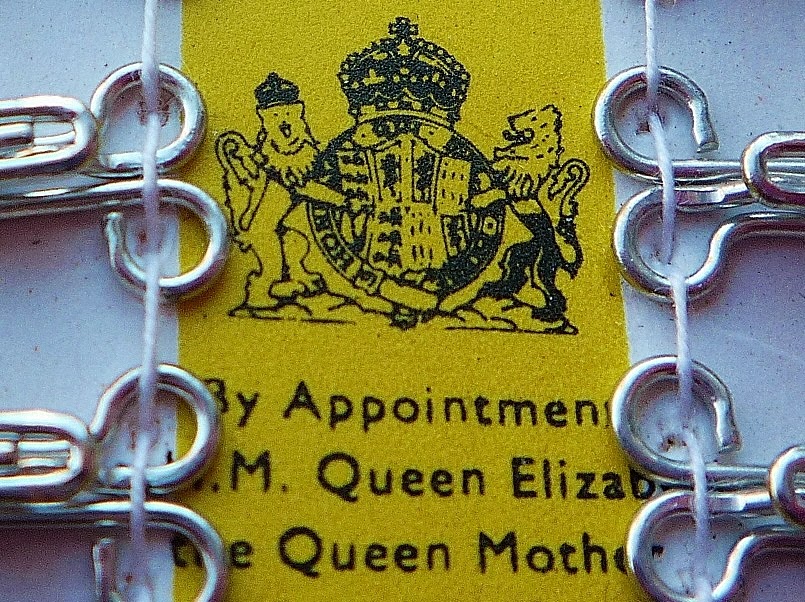
Then I found some metal hooks and eyes from the sixties. I do like the royal seal of approval !


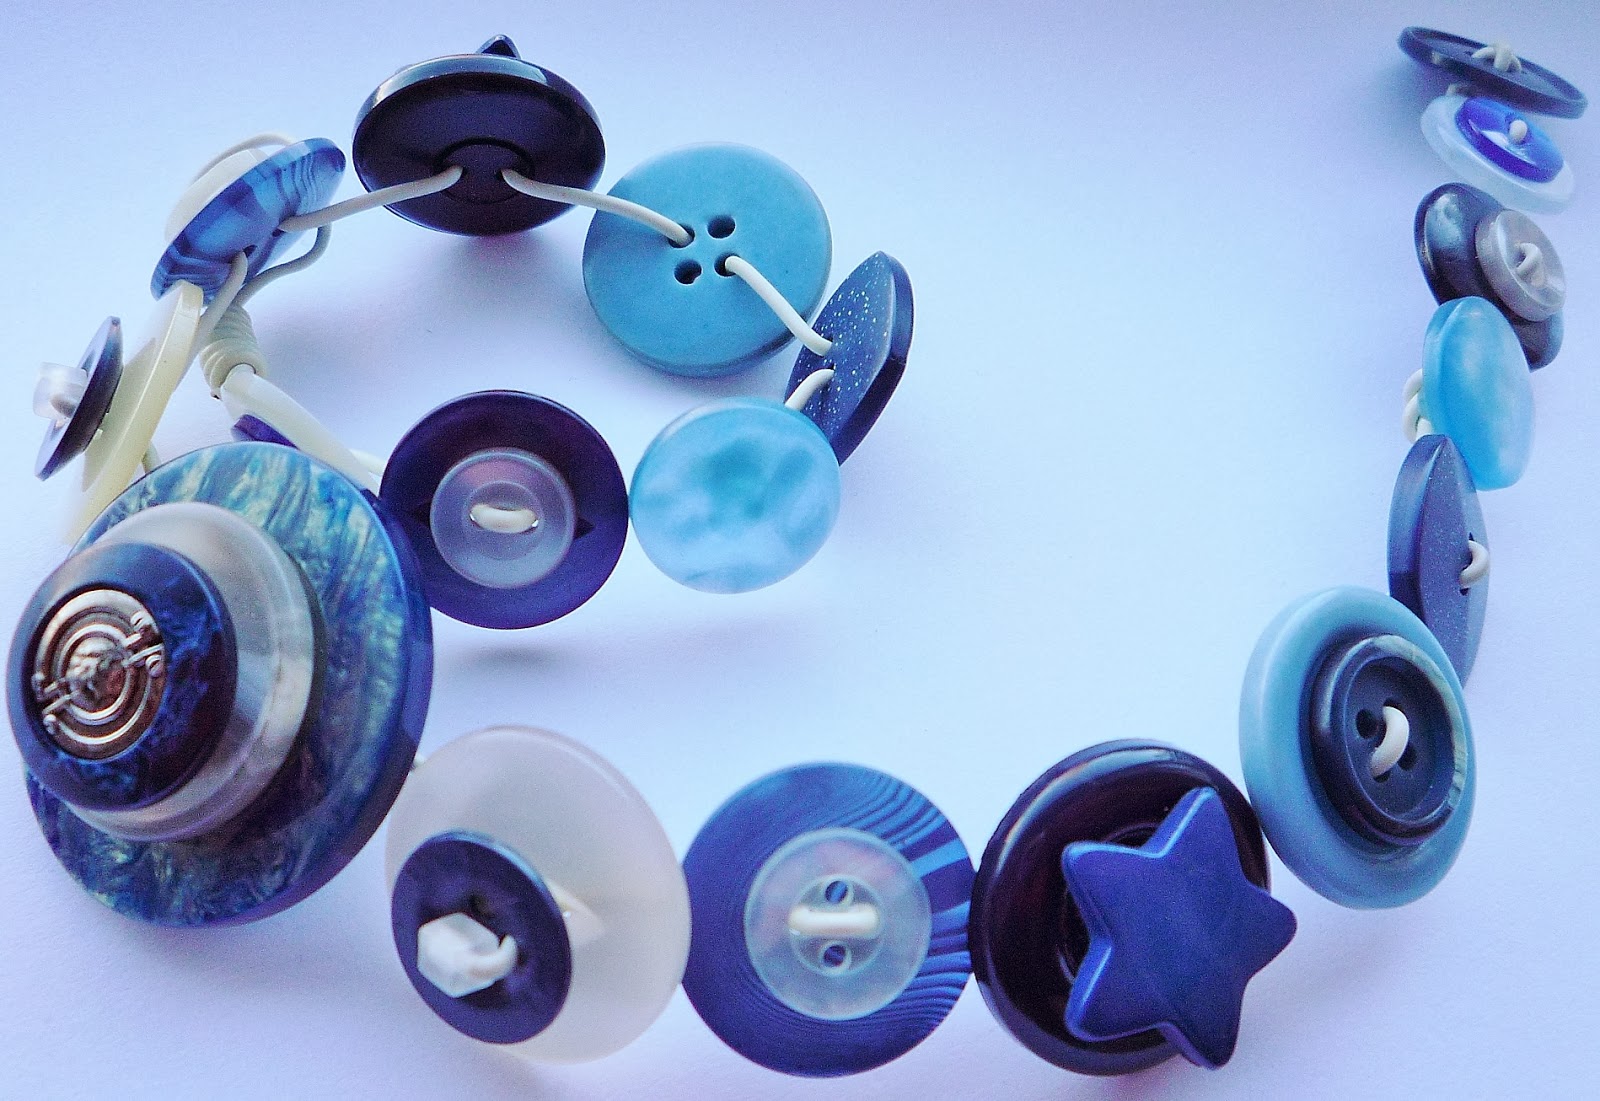
In another shop I found a necklace, someone had made it out of blue buttons.

 
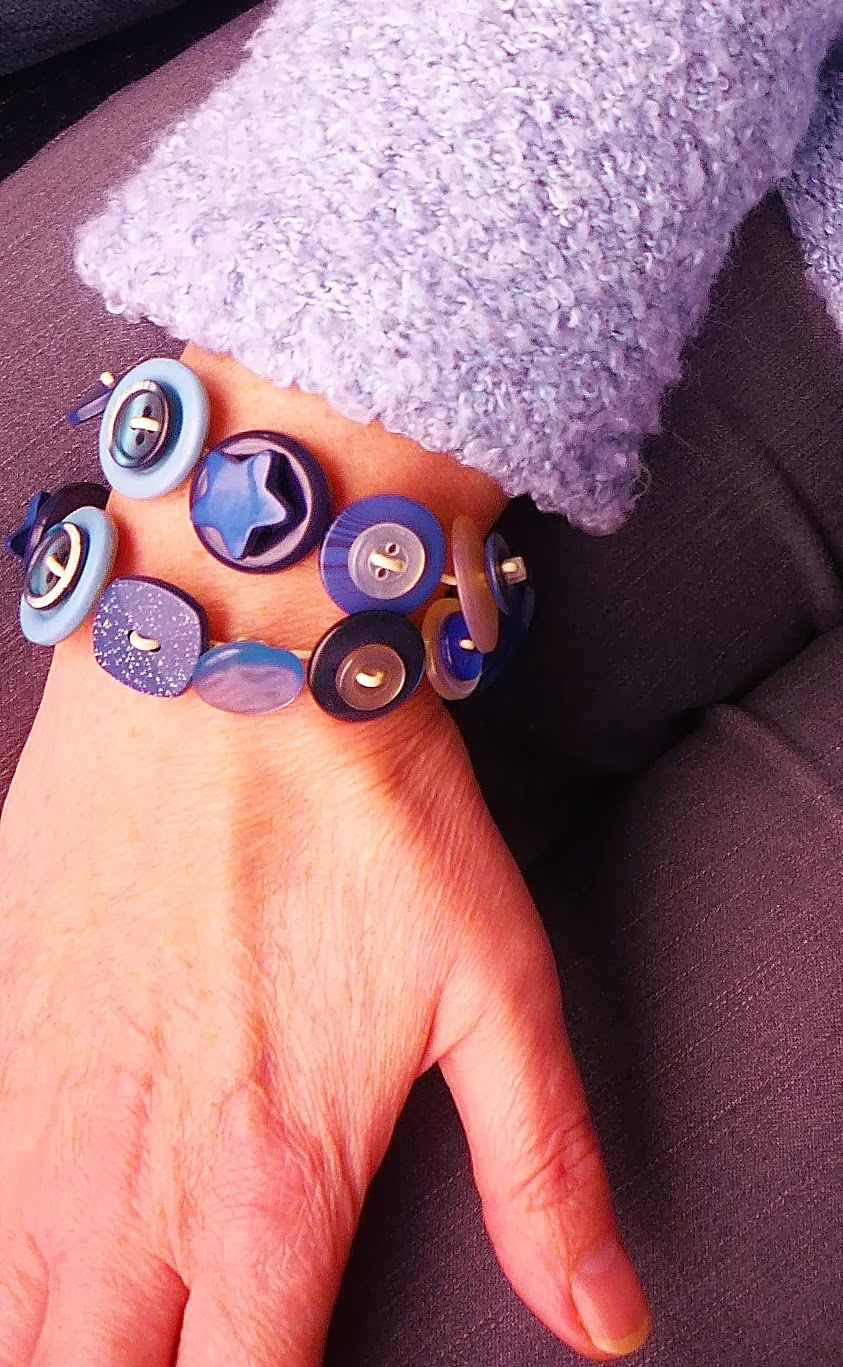
I thought I would buy it and cut it up to use the buttons in sewing projects, but I think its too pretty to do that and it makes a nice bracelet.


Total cost less than £2.50, wonder what I'll find next week.
Bye, Ali.


11 January 2014


CYNTHIA the PSYCHEDELIC
SNAKE
 
THIS PATTERN IS COPYRIGHT PROTECTED
 ONLY FOR PERSONAL OR CHARITABLE USE
ITEMS KNITTED FROM THIS PATTERN CANNOT BE SOLD FOR PROFIT
                DO NOT REPRODUCE OR USE FOR ANY COMMERCIAL USE  

NOT SUITABLE FOR SMALL CHILDREN

A mini snake approximately 32cms / 12 inches long. Bendy body due to the use of a pipe cleaner.

ABBREVIATIONS
st(s): stitch(es)
k: knit
p: purl
M1L: increase (make one left)
M1R: increase (make one right)
For increase tutorials see knitting help
sl: slip
psso: pass slip stitch over
pwt: pull wool through (thread yarn onto needle and then through sts on needle, pull tight and secure with a few sts) 


MATERIALS
four dpns size 3.00mm  (US 2½)
variegated dk (8 ply) yarn for snake body (eg Robin Paintbox)
oddments plain coloured dk (8 ply)  yarn for head
two dpns size 2.25mm (US 1) for tongue
oddments black 4 ply (fingering)  yarn for tongue
two beads (aprox 5mm)/small buttons or embroidery thread for eyes
pipe cleaner (length 30cms/12 ins)
fine fabric similar colour to snake body
darning needle
sewing needle
INSTRUCTIONS
  • Bend the ends of the pipe cleaner back.
  • Cut a strip of fabric, (in a similar colour to the yarn to be used for the snake body) approximately 1cm wide and approximately 60cms long.
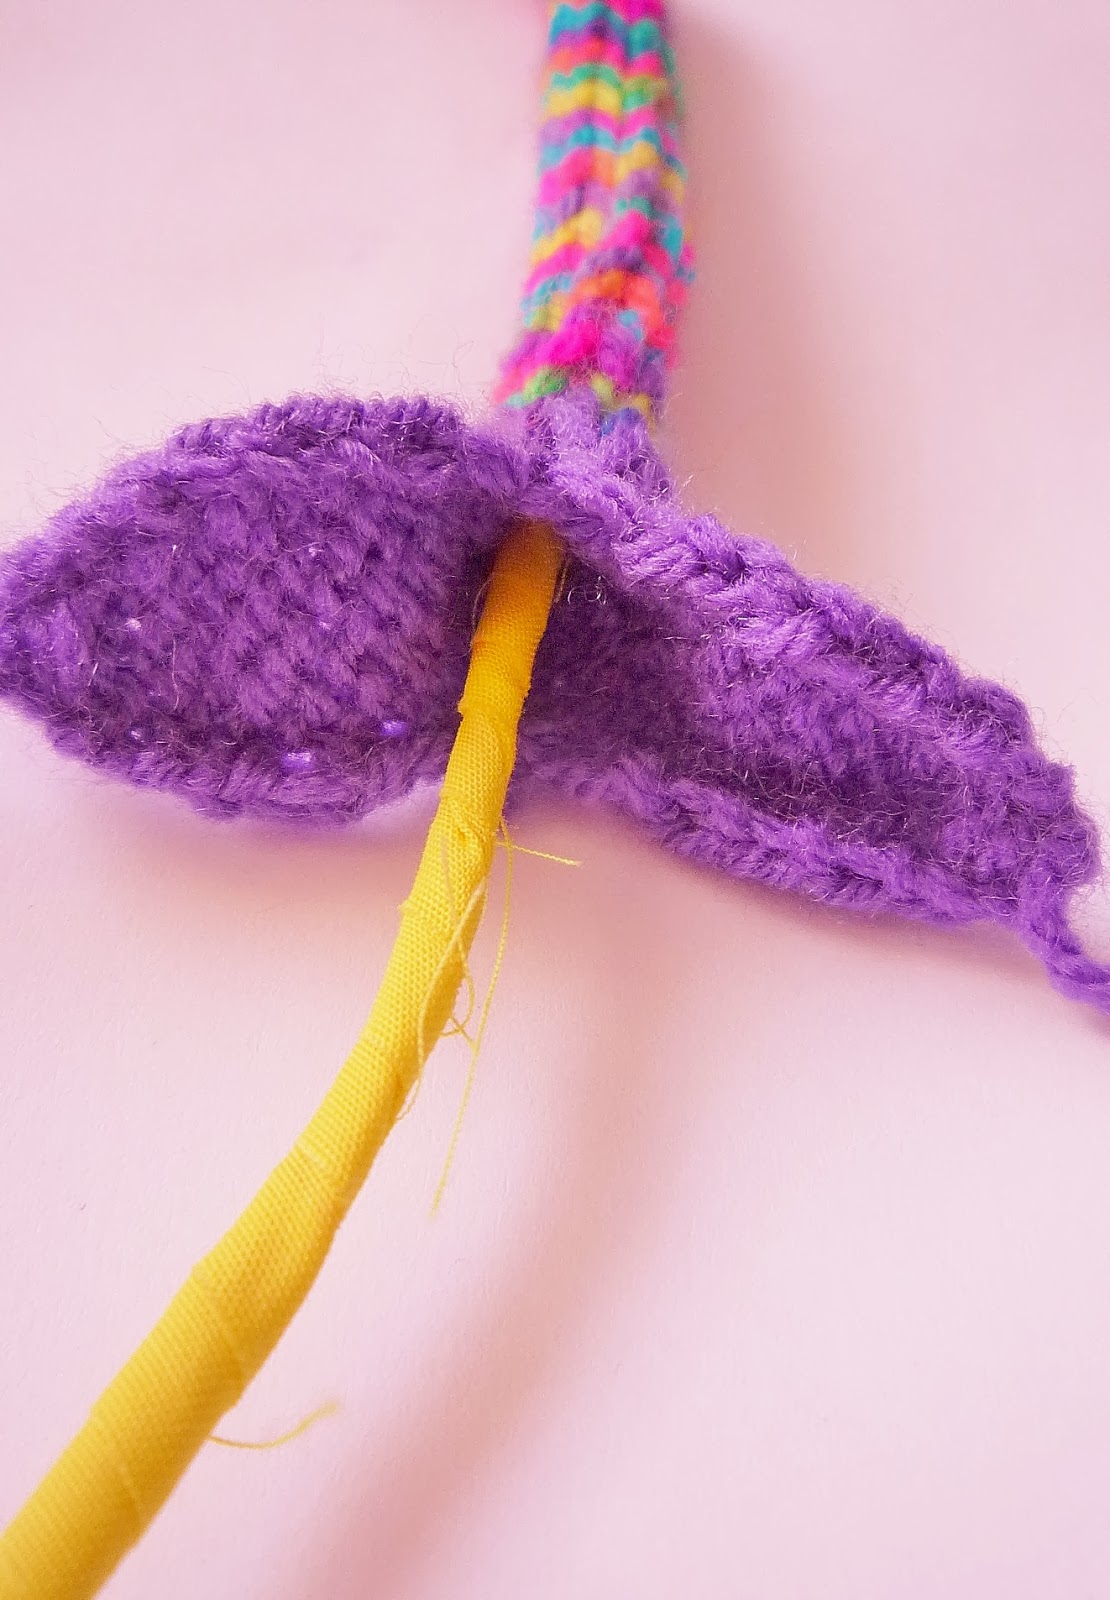
  • Wrap strip around the pipe cleaner.

  • Secure end of fabric with a few stitches or glue. 

SNAKE HEAD AND BODY
Snake is knitted from the mouth to the tail.
The head is knitted flat in two pieces using two dpns size 3.00mm (US 2½) .
Cast on 3 sts with purple yarn, leaving a long yarn tail.
ROW 1: k.
ROW 2: p.
ROW 3: k1, M1L, k1, M1R, k1 (5 sts).
ROW 4: p.
ROW 5: k1, M1L, k3, M1R, k1 (7 sts).
ROW 6: p.
ROW 7: k.
ROW 8: p.
ROW 9: k.
ROW 10: p.
Break yarn and keep 7 sts on left needle. Cast on a further 3 sts, leaving a long yarn tail.

Rpt ROWS 1-10
Next rd joins the two pieces of mouth to form the neck.
Rd 1: k all 14 sts dividing the 14 sts as you knit between three needles
(4, 6, 4) and join in the rd.
Rd 2: k.
Rd 3: k.
Rd 4: (k2tog) rpt to end of rd (7 sts).
Place sts on one needle with the yarn on left hand side ready to i-cord.
BODY
Change to variegated yarn.
Continue with i-cord, pull yarn very tight at the back of work.
Continue working until the snake body measures the length of the pipe cleaner.
Next row: k1, k2tog, k1, k2tog (5 sts).
Continue with i-cord for a further 1.5cms/0.5ins.
pwt.
Weave away all yarn tails. inside the snake, except the two tails at the tips of the mouth. 

INNER MOUTH
Knitted flat with two dpns size 3.00mm (US 2½)
Cast on 3 sts with pink yarn.
ROW 1: k.
ROW 2: p (right side).
ROW 3: k1, M1L, k1, M1R, k1 (5 sts).
ROW 4: p.
ROW 5: k.
ROW 6: p.
ROW 7: k.
ROW 8: k.
ROW 9: k.
ROW 10: p.
ROW 11: k.
ROW 12: p.
ROW 13: sl1, k1, psso, k1, k2tog (3 sts).
ROW 14: p.
Cast off.
Weave yarn tails away on knit side. 

TONGUE
Cast on 2 sts with 4 ply black yarn using 2.25mm (US 1).
Leave a long yarn tail which is one side of the forked tongue.
Continue with i-cord until work measures 3cms (1.25ins).
pwt - leave a long yarn tail.
Attach a second piece of yarn to cast on edge and secure with a few sts.
Trim two yarn ends and knot and trim again close to the knot.
TO ASSEMBLE
Insert covered pipe cleaner into the head through the mouth.


Push and manipulate along snake body.
Insert inner mouth (purl side facing outwards) inside head.
Using yarn tails of mouth over stitch two pieces together.

Sew tongue to the centre of the mouth.
Sew two beads on for eyes or embroider two French knots.


copyright Alison Hogg 2014

3 January 2014
out with the old and in with the new

I'm a bit late doing my New Year Post, but better late than never!
Very windy, wet and cold here, so it's nice to have a full log basket to toast the tootsies.


But it's out with the old....winter, and in with the new........"pre-spring" and I have Vivienne from Green Rabbit Designs to thank for this new season.

And it's out with the old.....all the Christmas trappings, but I'm still holding on to my Christmas posy. A lovely gift with brightly coloured, summery flowers.


And out with the old knitting projects.....I've finished with sock knitting for a while and in with a new knitting project just for me. I'm using lovely Drops Lima wool from The Textile Studio.


I'm also working on a new freebie pattern, which will hopefully be posted soon.

Best wishes for the brand new 2014, Ali.