31 March 2013

ooooh i must not

oh I must not
oh I must
oh I
oh
 
Surrounded by so much chocolate, its hard not to give into to temptation. I have to admit to having one or two, or quite a few nibbles of chocolate today.
A few images of the chocolate egg eating day....


Hope you all had a great Easter Sunday, enjoy the rest of the holidays, Ali

29 March 2013

easter

There weren't too many brave souls walking in Barnetts park today, when I went to find some twigs for my Easter tree. There was a bitter wind, so I quickly collected my twigs, took some photos and left.


and the hope that maybe things will turn a little spring like soon.

 
Last year I wrote instructions on how to make a paper leaf tree - if you want to see how click here

Have a very Happy Easter, Ali.


19 March 2013

painted dolly pegs


what you need

wooden dolly pegs
acrylic paints
sandpaper
clear gloss varnish
paintbrush
string or ribbon


how to
  • Sand the pegs to smooth any rough or uneven surfaces. If the sanding has caused a lot of dust, wipe the pegs with a cloth dipped in white spirit.
  • Paint the background colour with acrylic paint. Paint the inside and bottom part of the peg first, leave to dry then paint the top part. Several thin coats are better than one thick coat. Acrylic paint dries quickly so no need to wait a long time between coats.
  • Once the inside of the peg is painted and dry the pegs can be supported on a shoe box.
  • Paint a pattern of your choice on the pegs such as flowers, spots
  • Once dry varnish pegs. I used yacht varnish which I found in the garage. It took 24 hours to dry and brushes had to be cleaned in white spirits.
  • Tie pegs in a pretty ribbon or string.
 
  • If you have problems keeping the pegs in place while tying the ribbon, use and elastic band and then tie the ribbons on top
  •  
    I'm not sure it would be a good idea to hang your best silk blouse with these pegs but they look pretty.
     
    embroidered peg bag bought in the Cath Kidston shop


15 March 2013

new pattern

I have finally finished (started last summer) my new pattern - Sweet Treats.


It is four patterns in one, containing instructions on how to knit a slice of cheesecake, cherry pie, chocolate cake and birthday cake. I have had comments regarding my birthday cake/gateau pattern, that the slices when knitted up are too large. Taking this on board these slices are a smaller version.
You could even knit yourself a whole cake if you wanted as eight slices make up a whole chocolate cake.


The pattern is for sale as from today on my etsy shop or if you are a member on Ravelry.
Oh dear I feel the need for a cuppa and a sugar binge! Ali.
 

10 March 2013

urban garden

 
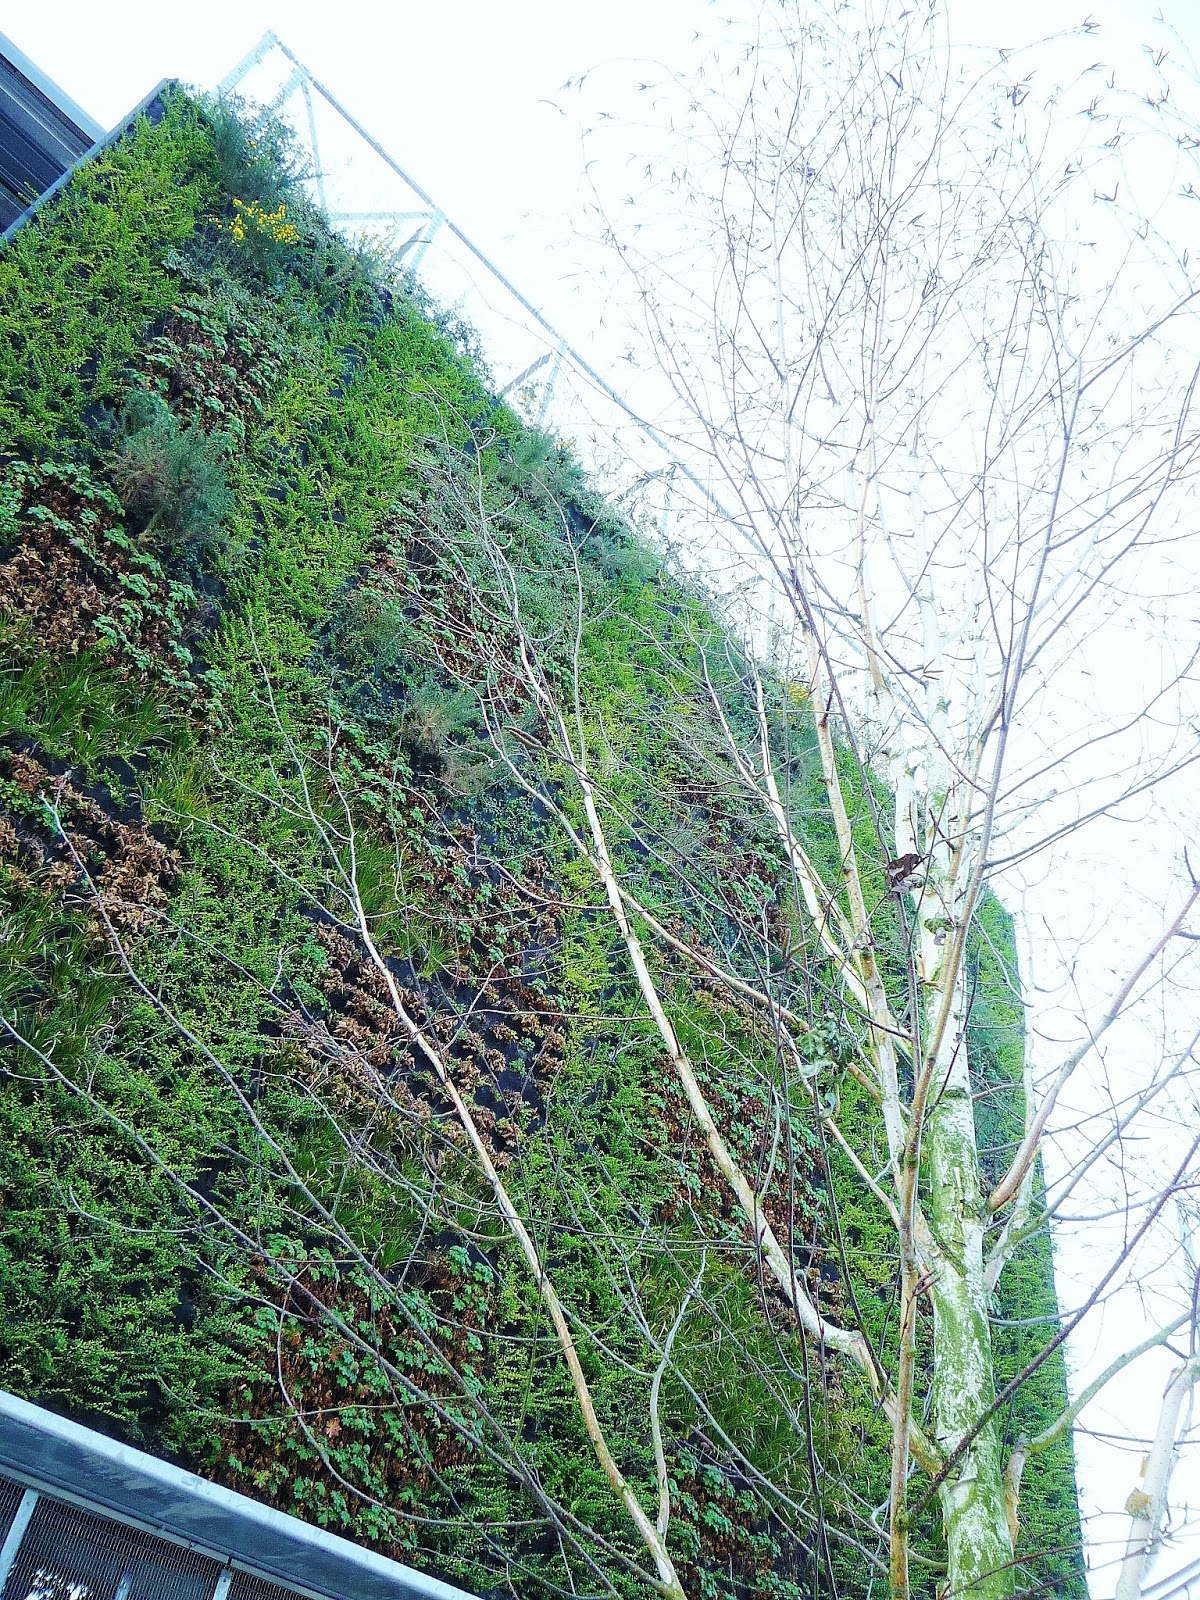
My love of rummaging through charity shops takes me all over the place. One favourite spot is the Newtownards Road. Driving up the road I pass the spectacular vertical garden, the only one of its kind in Northern Ireland. It is part of the Skainos project and was commissioned by the East Belfast Mission.
I like it, its a bit of an oasis in this part of the town.
 

I wish my own garden was as maintenance free. It's a bit tatty and neglected at the moment and there is a scene of carnage where the trees had to be cut down.


To look on the bright side we will have a years supply of logs! The only prettiness at the moment is the brave little tete a tetes.

 
Although I have not been tidying the garden, I have been working on some samples for my City and Guild felt book.
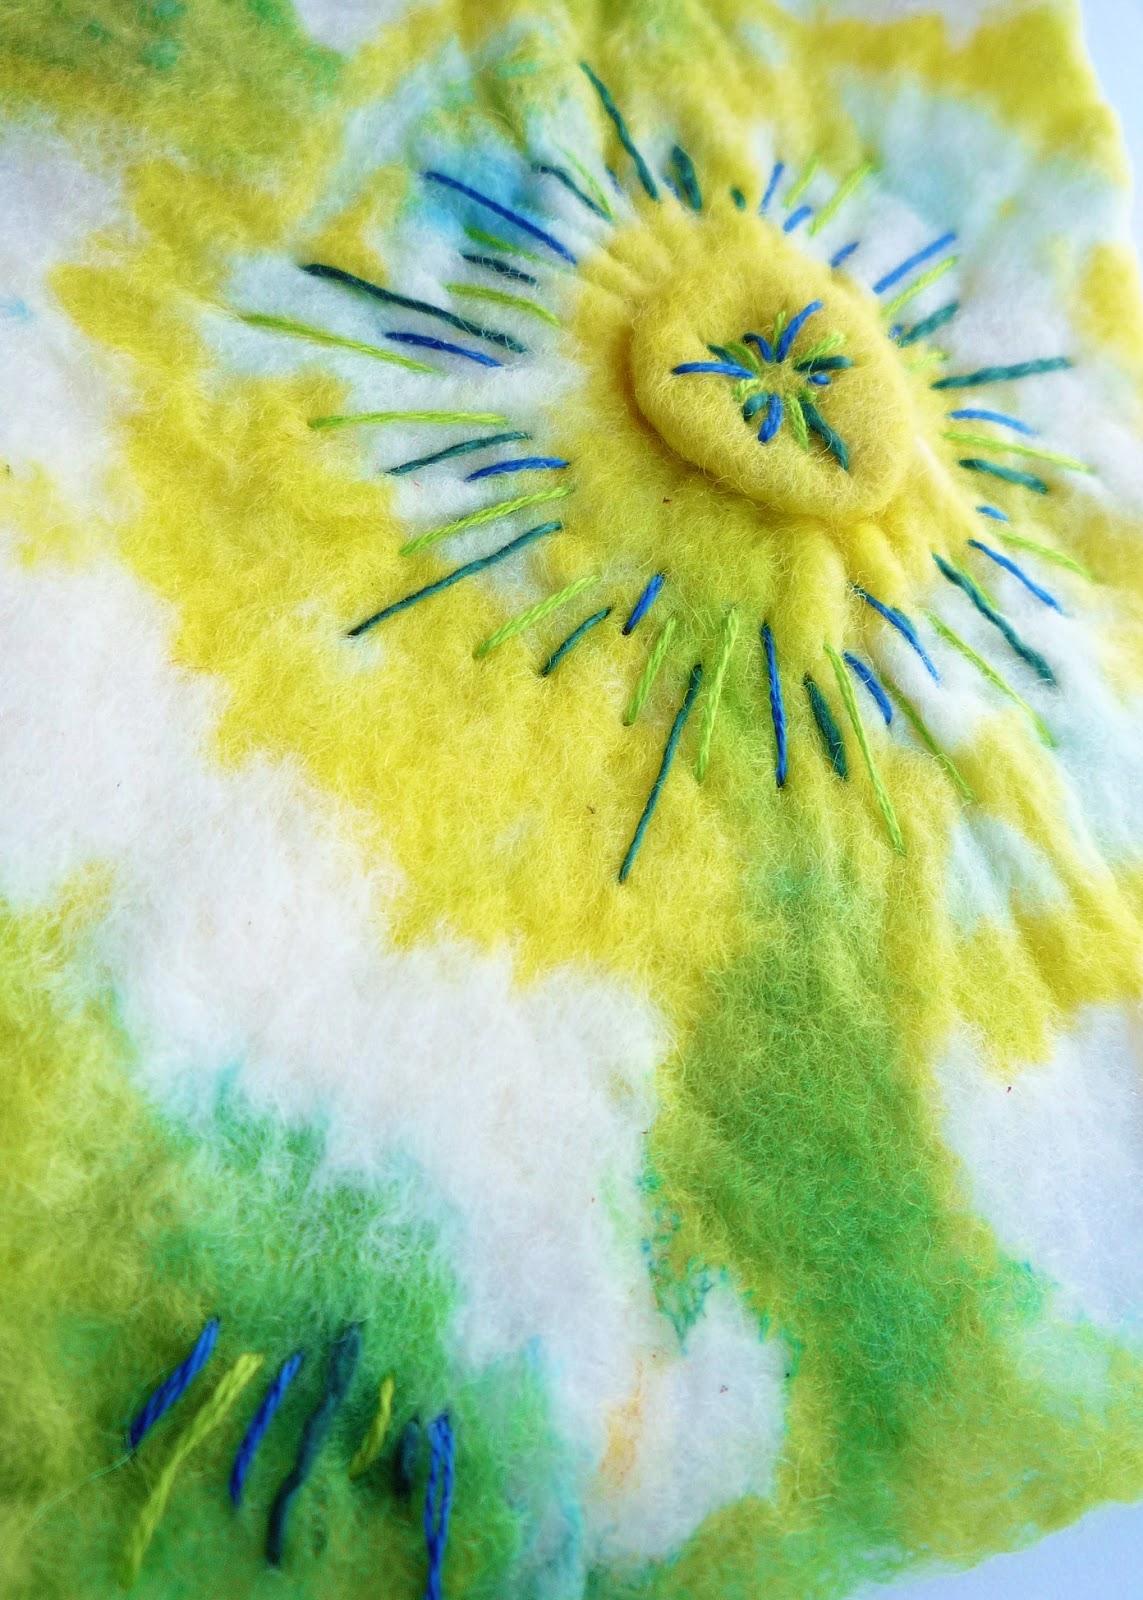
This one was tied, dipped in acid dyes, then steamed for thirty minutes to fix the colour. I then embellished it with hand embroidery.

 
This sample was white felt, painted with food colouring (a form of acid dye), then embellished with machine embroidery and beads.


For this one I made a piece of felt with different colours of fibre for each of the three layers. When it was still wet, I distressed it my ripping and poking it. Once dry the felt was singed with a candle and a soldering iron and then free machined.

 
Till next time, Ali.


1 March 2013

CHICK AND NEST PATTERN


THIS PATTERN IS COPYRIGHT PROTECTED.
 DO NOT REPRODUCE PATTERN.
DO NOT SELL ITEMS KNITTED FROM THIS PATTERN FOR PROFIT - ONLY FOR PERSONAL OR CHARITABLE USE
 
NOT SUITABLE FOR YOUNG CHILDREN DUE TO SMALL PARTS
 
ABBREVIATIONS
rd(s): rounds(s)
st(s): stitch(es)
k: knit
p: purl
ssk: decrease, slip, slip, knit
kfb: increase, knit front and back into same stitch
tog: together
 
MATERIALS
Nest
4 dpns size 6.5mm (US 10.5)
double knit (8ply) yarn - two different colours, works well if one type of yarn is textured / fluffy
darning needle
 
Chick
4 dpns size 3.00mm (US 2.5)
double knit (8ply) yarn
scarps of fluffy yarn
polyfill stuffing
two 6mm beads or embroidery thread for eyes
scraps of felt similar colour to yarn to line the head
scraps of orange felt for beak.
darning needle, long sharp needle, sewing needle
sewing thread for eyes and beak
 
 
NEST


With 6.5mm (US10.5) dpns and two strands of dk (8ply) yarn, cast on 10 sts.
Divide sts between three needles, join in the round and place marker.
Rd 1: kfb into each st (20sts)  wrong side.
Rd 2: k.
Rd 3: (k1, kfb) rpt to end of rd (30 sts).
Rd 4: k.
Continue k for a further 17 rds.
Rd 22: (k1, k2tog) rpt to end of rd (20 sts).
Rd 23: k.
Rd 24: (k2tog) rpt to end of rd (10 sts).

To Assemble
  • Break yarn leaving long yarn tails.
  • Thread yarn tails through stitches on the needles but do not pull tight.


  • Return to the yarn tails at the cast on edge. Stitch around the cast on edge and pull tight so there is no gap. Make a few stitches to secure and weave away ends on the side facing front.
  • Turn work through the top end so that loopy side is facing front.


  • Pull yarn tight. 
  • Fold the top half down to form nest shape and with yarn tails stitch back and forth through layers to secure.
  • Loose yarn tails.


 CHICKS


BODY
With 3.00mm (US 2.5) dpns and dk (8ply) yarn, cast on 18 sts, leaving a long yarn tail.
Divide sts between three needles, join in the round and place stitch marker.
Rds 1 - 2: k.
Rd 3: p.
Rds 4 – 5: k.
Rd 6: k4, (ssk, ssk, k2, k2tog, k2tog), k4, pull yarn tight between sts,
forms tail  (14 sts).
Rd 7: k.
Rd 8: k4, (ssk, k2, k2tog), k4, pull yarn tight between sts (12 sts).
Rds 9 – 12: k.
Rd 13: (k2tog) rpt to end of rd, pull sts tight between sts, forms neck (6 sts).
Rds 14 – 16: k.
Rd 17: (kfb) rpt to end of rd (12 sts).
Rds 18 – 24: k.
Break yarn leaving a long yarn tail and thread through stitches on the needles.
Do not pull tight. 
 
WINGS (make 2)
With two 3.00mm (US 2.5) needles and dk yarn cast on 4sts. Leave a long yarn tail on one of the wings.
Continue with i-cord for 4 rows.
Do not slide sts down needle instead turn work.
Next row: knit flat – p.
Cast off knitwise.
Weave away yarn tails except for the long one on one of the wings.

To Assemble
  • Return to body cast on edge, with yarn tail, stitch around base, stuff, then pull yarn tight. Fasten off with a few stitches to secure then loose yarn in body of chick
  • Place a rectangle of felt measuring 3.5cms (1.25ins) by 2cms (0.75ins) on the inside behind the "face" of the chick. This will be used for a backing to sew the eyes and beak on later. Stuff head. Then pull yarn tail tight, make a few sts to secure and loose yarn tail in head.
  • Cut a diamond shape of orange felt for beak. Vertical axis - 2cms (0.75ins) / horizontal axis 1cm (0.5ins). Fold in half and attach to chick head using a sewing thread in a matching colour. Sew along fold line and a few stitches at both corners of the beak.
  • Sew beads onto head or alternatively embroider two French knots.Sew wings to body. With a long sharp needle and the long yarn tail sew a few sts back and forward through the body


  • Attach fluffy yarn to top of head and tail. Alternatively ordinary dk yarn can be used but split.
  • First thread the doubled yarn through a darning needle. Pull the yarn through the head.


  • Insert the two end tails through the loop and pull tight. Separate yarn by pulling a darning needle through to split it and give a fluffy appearance.


 copyright alison hogg 2013

27 February 2013

chirpy chirpy cheep cheep

Due to a "request" from our neighbours, at lot of our trees have had to be lowered along the boundary line. Unfortunately this will deter birds nesting this year. The magpies which live and nest in one of the trees have already found alternative accommodation. With nesting and spring in mind, I've come up with a wee pattern - two chicks in a nest.


The pattern is for the nest and the chicks. The knitted nest, alone could be used as an Easter gift by adding a few mini eggs or a creme egg. Alternatively you could knit the baby birds to fit inside. Ive taken the photos this morning so just have to finish writing the pattern. Hopefully I will be posting it in the next few days, for the start of the nesting season.
 
 
Bye for now, Ali


23 February 2013

fingerless mitts

This started out as a Christmas project, to be finished over the holiday period. However I just finished it last week! Despite the pattern being clear and well written I found it hard to concentrate on the "wave" pattern and therefore there was a lot of ripping out. Here's some photos.........


The pattern - Splatterdash Wristwarmers by Dagma Mora is available on the Knitty website, click here. I used Lang Yarns, Mille Colori and the colourway was Berry. It was a pretty yarn, but difficult to knit up as it split.
Now that this project is out of the way, I'm writing a pattern for a nest complete with chicks. There is also the small matter of the City and Guilds final piece - I'm hoping to do a felt panel but it is very much on "the drawing board" at the moment.
Enjoy the rest of your weekend, Ali

17 February 2013

andy warhol

The Andy Warhol exhibition has arrived in Belfast and can be seen at the MAC, St Anne's Square.


There is a selection of 232 of his works, spanning his entire career. Here's a snippet of the exhibition.......
Self portrait Strangulation (1978)


Silk screen poster.


Silver clouds (1966) - Helium filled metallised plastic film. This piece was my favourite it looked like floating pillows.


The exhibition is on until the 28th April so plenty of time to go and see it, I'll probably make a return visit.
Bye, Ali


13 February 2013

woolly heart


Although I'm not a great romantic I thought I would make a wee bit of an effort this year, for St Valentines Day. While browsing in Ravelry's pattern base I found a knitted heart card. It's a free pattern by Elizabeth Murphy, details on her site The Sitting Tree. Here's a sneak preview of my finished card.


The card was quick to make, the pattern easy to follow and well written. I didn't have any worsted weight yarn so used two stands of double knit (8ply). Hope he appreciates my efforts.


Bye, Ali.


10 February 2013

birthday flowers

My birthday was last week and I received the loveliest bunch of flowers, indigo anemones and pale pink tulips. The anemones where shut tight when I received them but have burst into life today....


I couldn't resist a bit of photo editing......


I was also inspired to get the paints out. This one was sketched with watercolour pencils and then painted.

.


 For this one I just used watercolours - its a bit looser and I much prefer it.
 
 
Not exactly masterpieces but great fun to do.
Bye for now, Ali,
GWRVNCDM5MEM