25 May 2014

order out of chaos


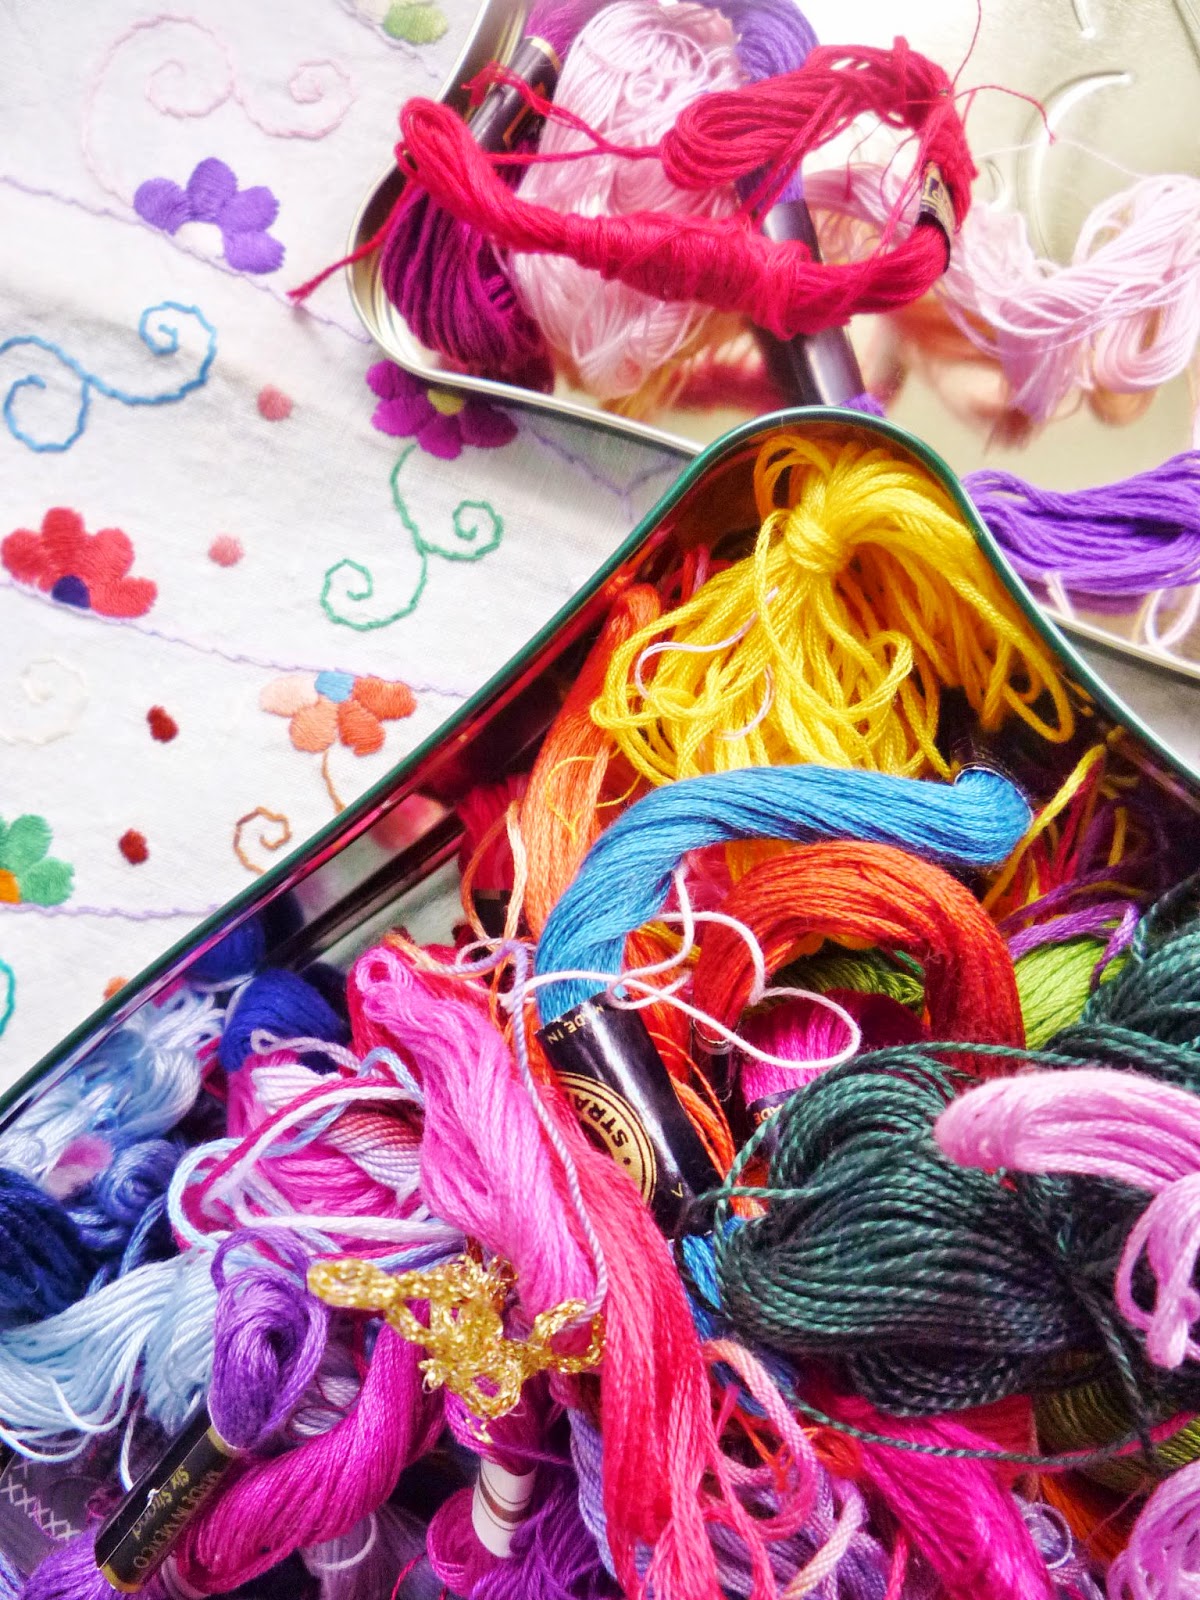
I'm a great fan of Professor Brian Cox .......well who isn't really! and I watch all his TV programmes. In the Wonders of the Universe, he talks about a phenomenon called entropy, a law of physics that tells us any system tends towards disorder. That's certainly true about my large stash of craft materials. But I have I have disproved this law. Here is my messy tangled collection of embroidery floss in their old biscuit tin........


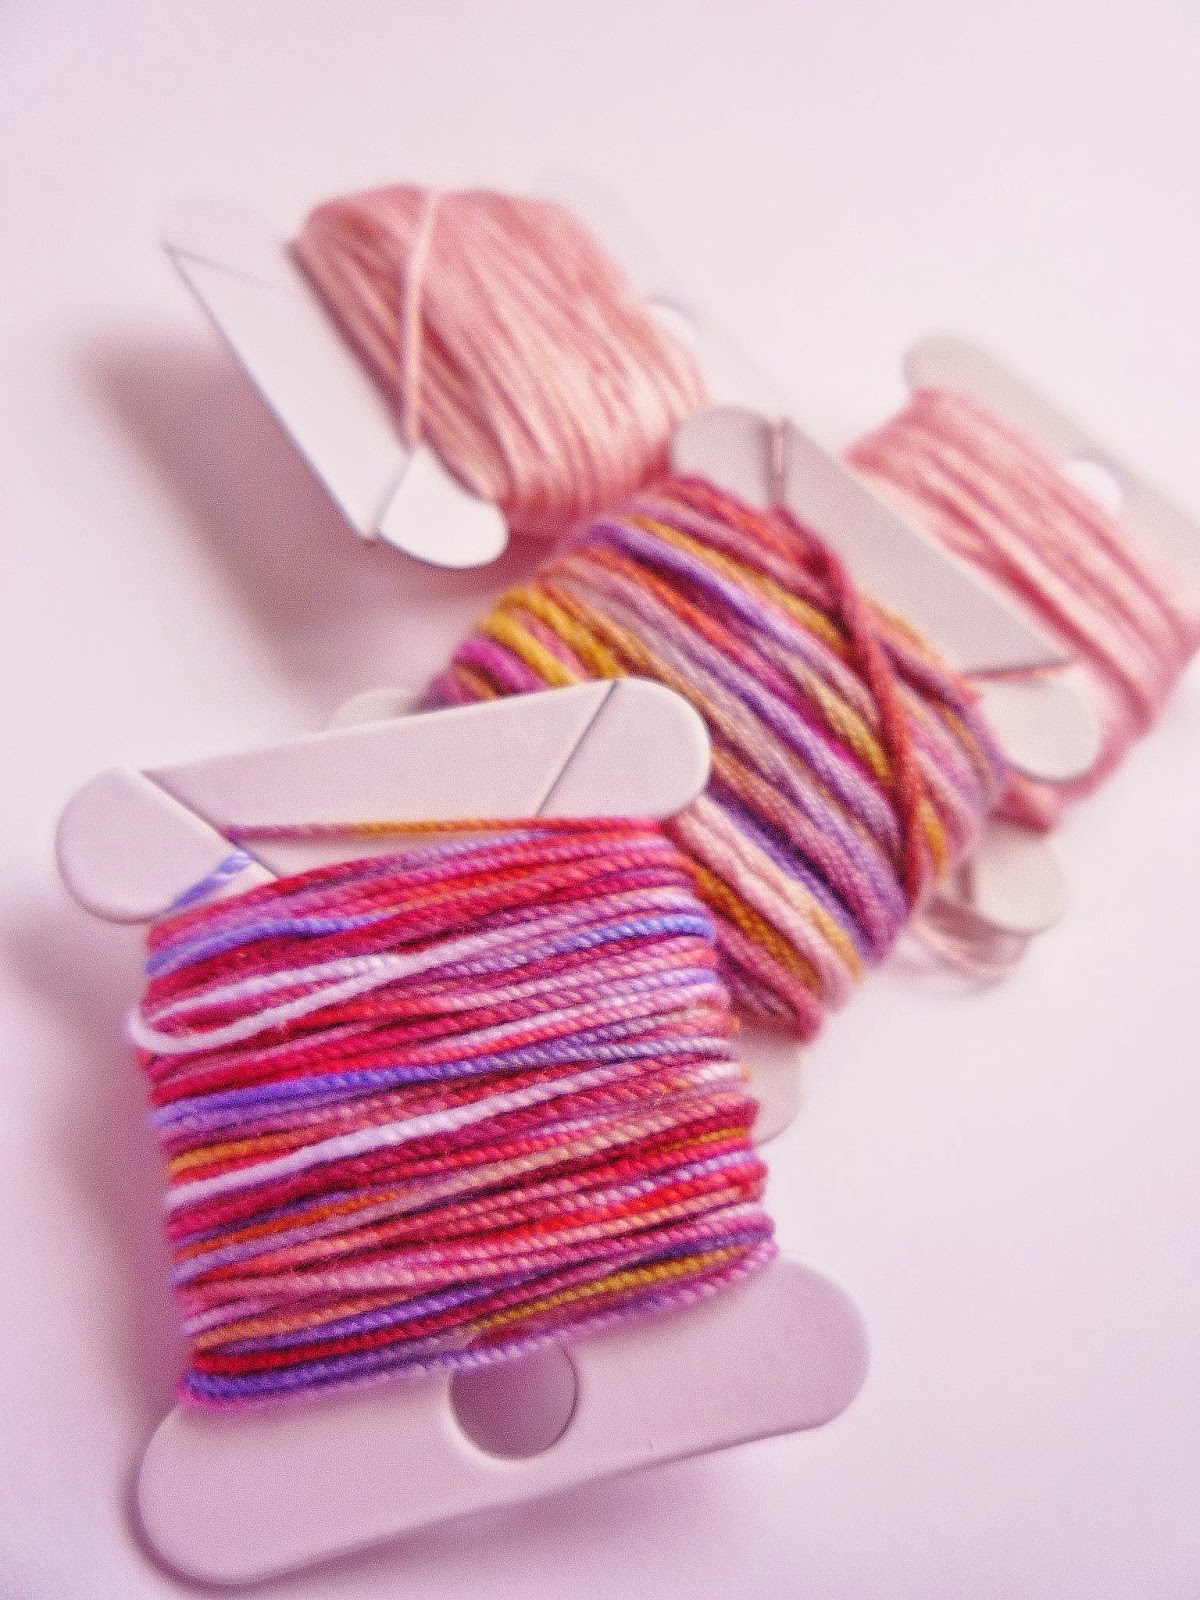
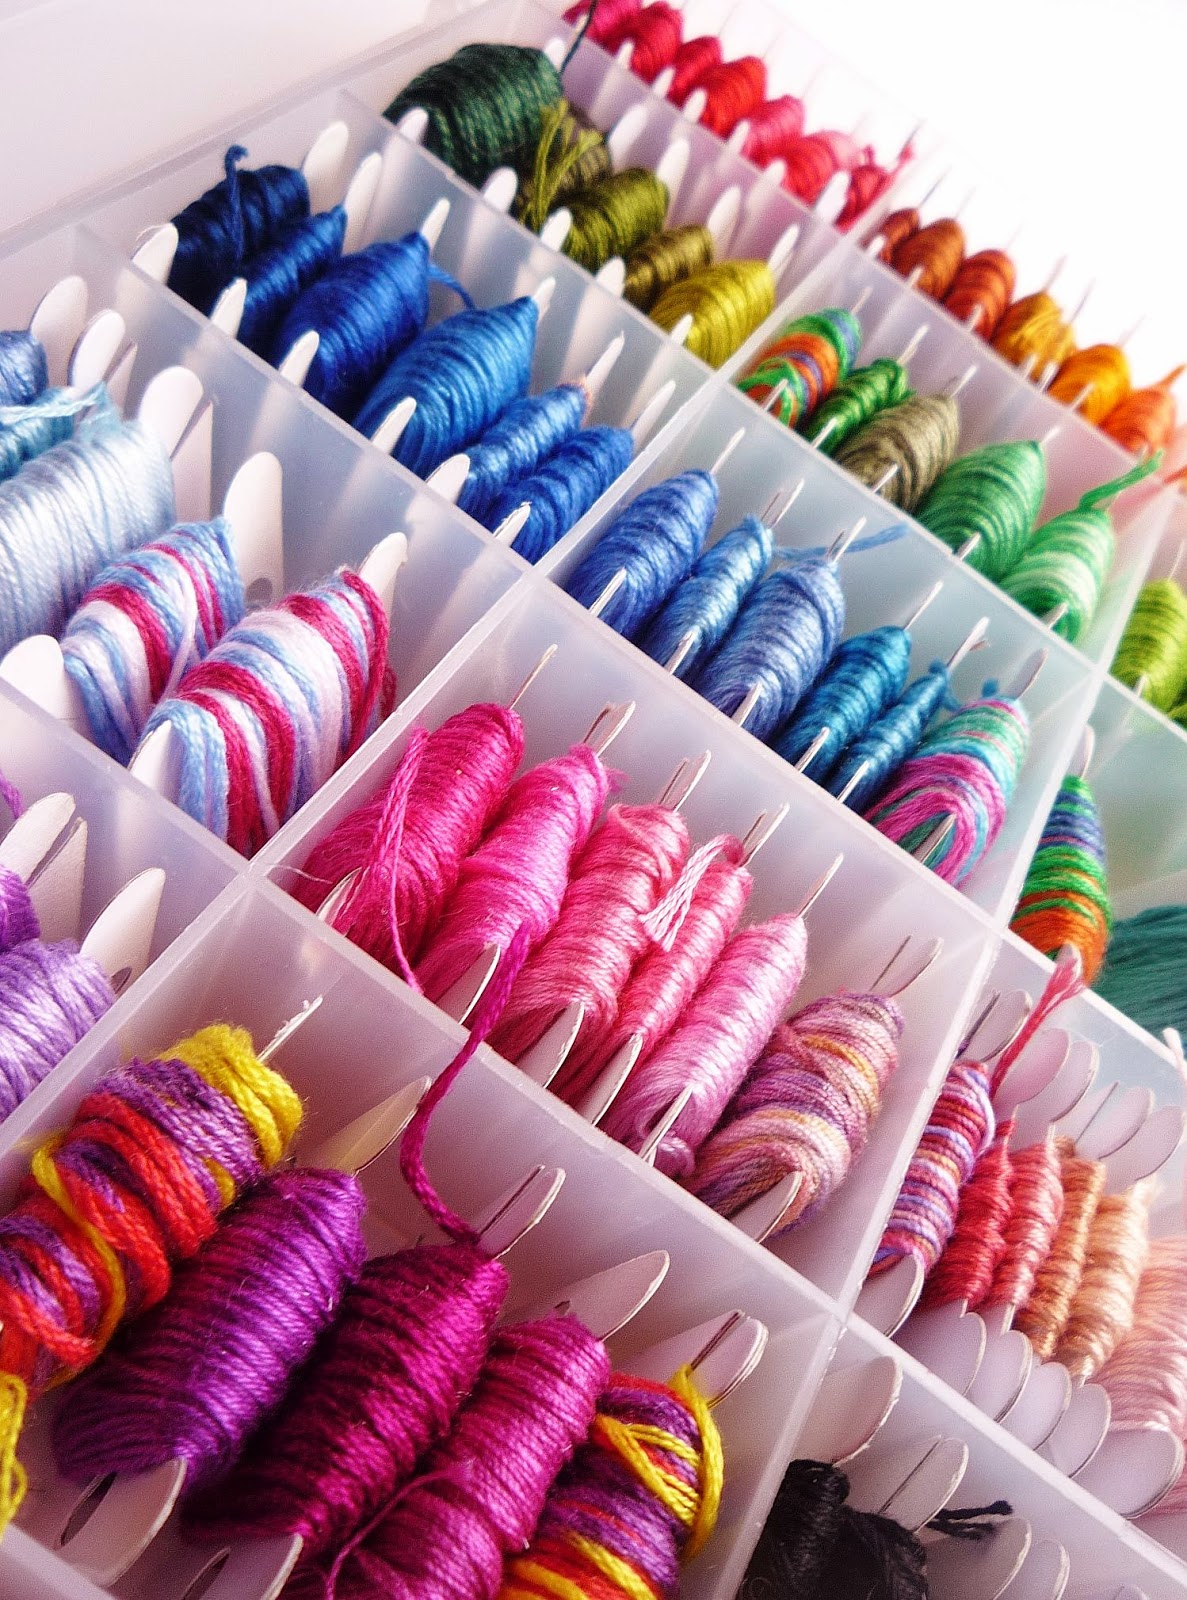
However I untangled them and wound them onto separate cards......

 
and put them in their new box, all colour co-ordinated. Just waiting for a new sewing project. Problem is how long will they stay in this orderly neat fashion, as I am such a messy worker.
 

Till next time, Ali.

18 May 2014

another scarf

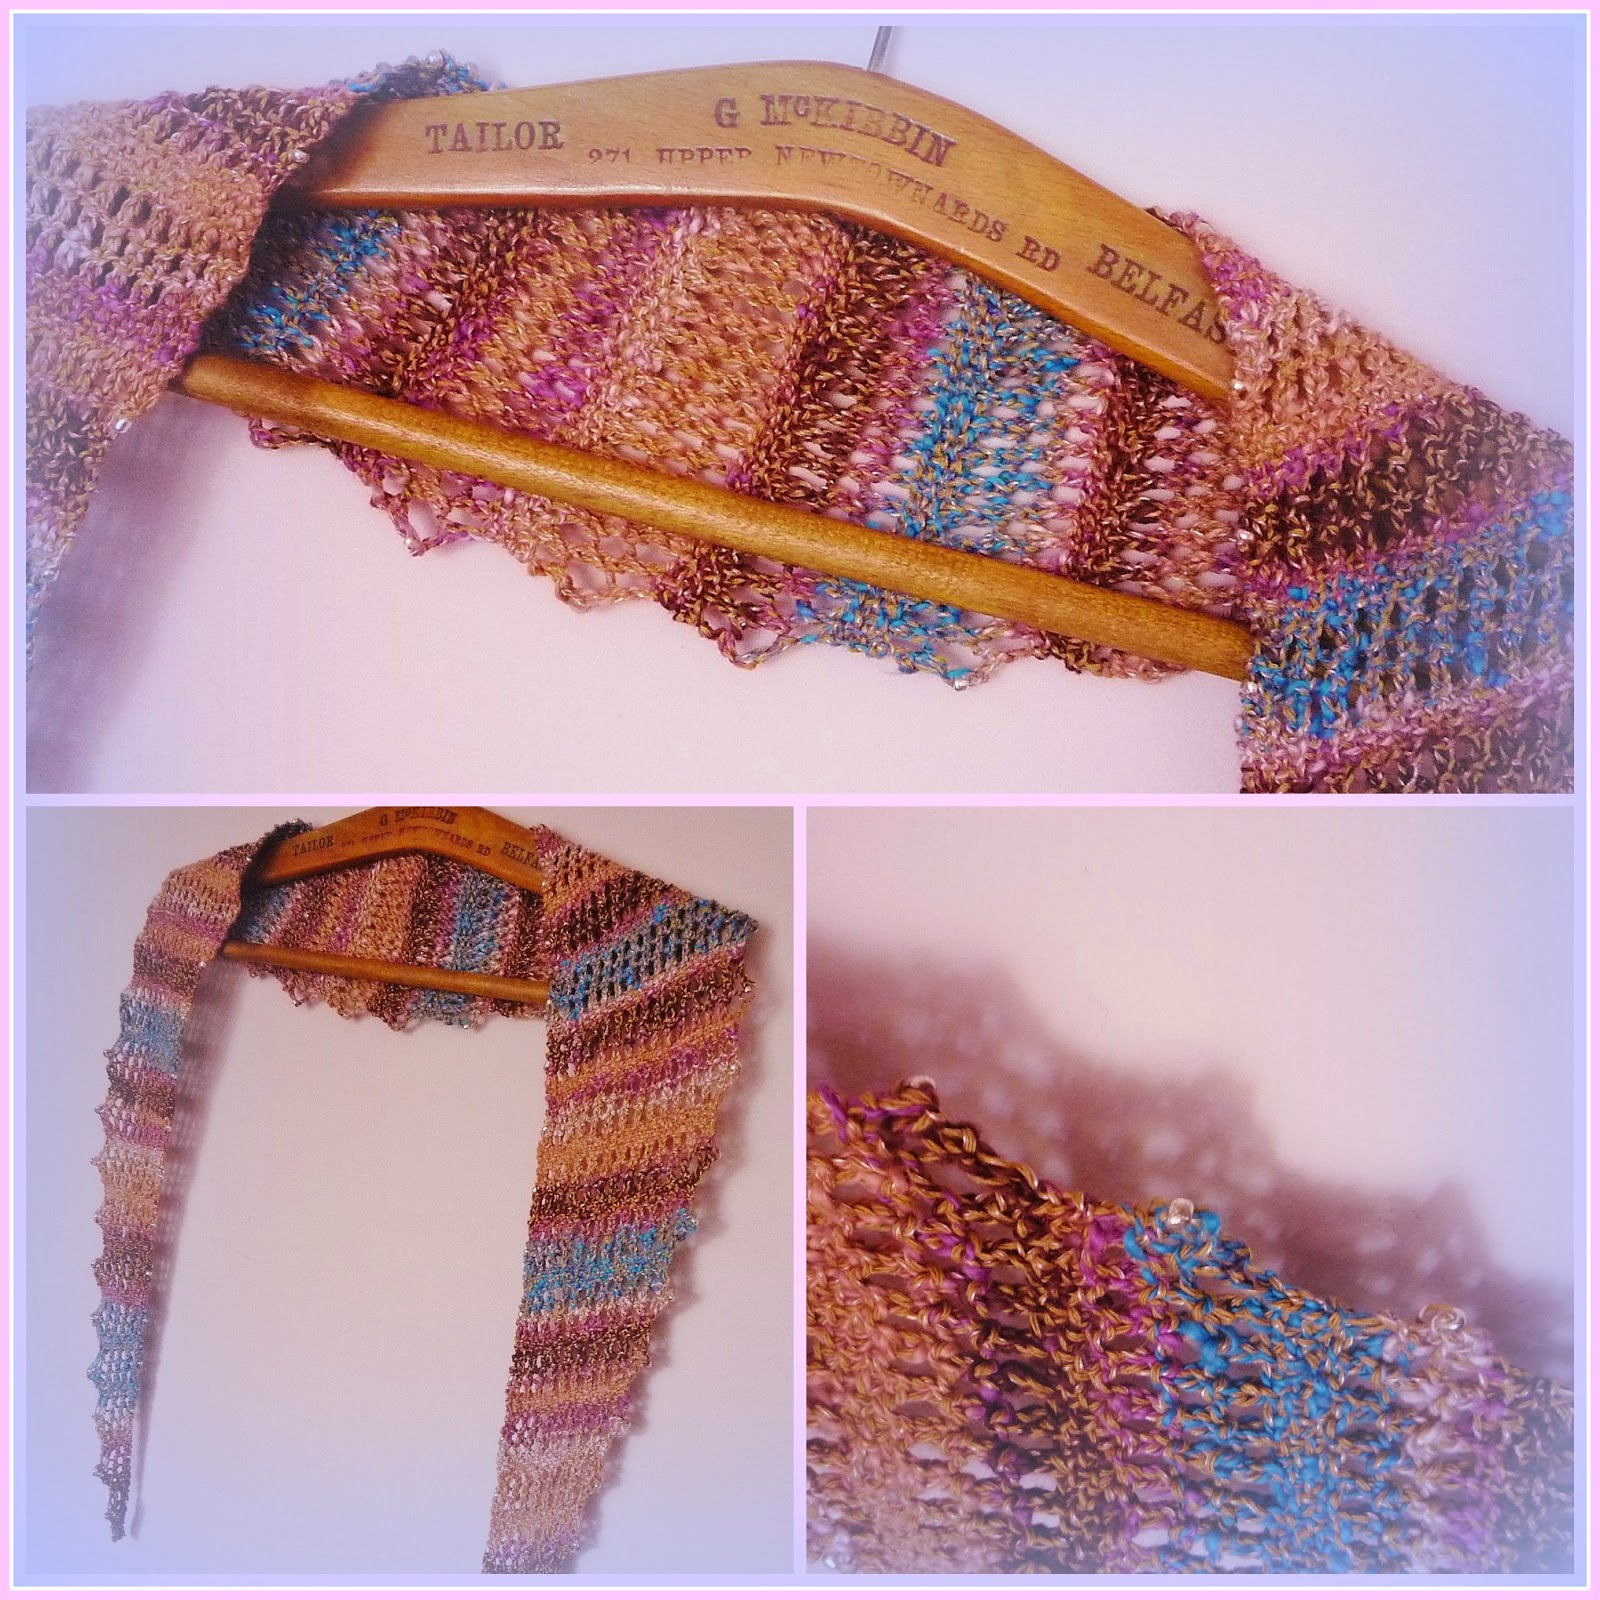
Some people love shoes, but I love scarves, whether it be woolly winter ones or cotton/linen summer ones. My latest addition is one I knit up from a pattern by Sharon Squire - Good Neighbour's Scarf, for more details of the pattern click here. I used a beautiful Louisa Harding yarn, Noema.


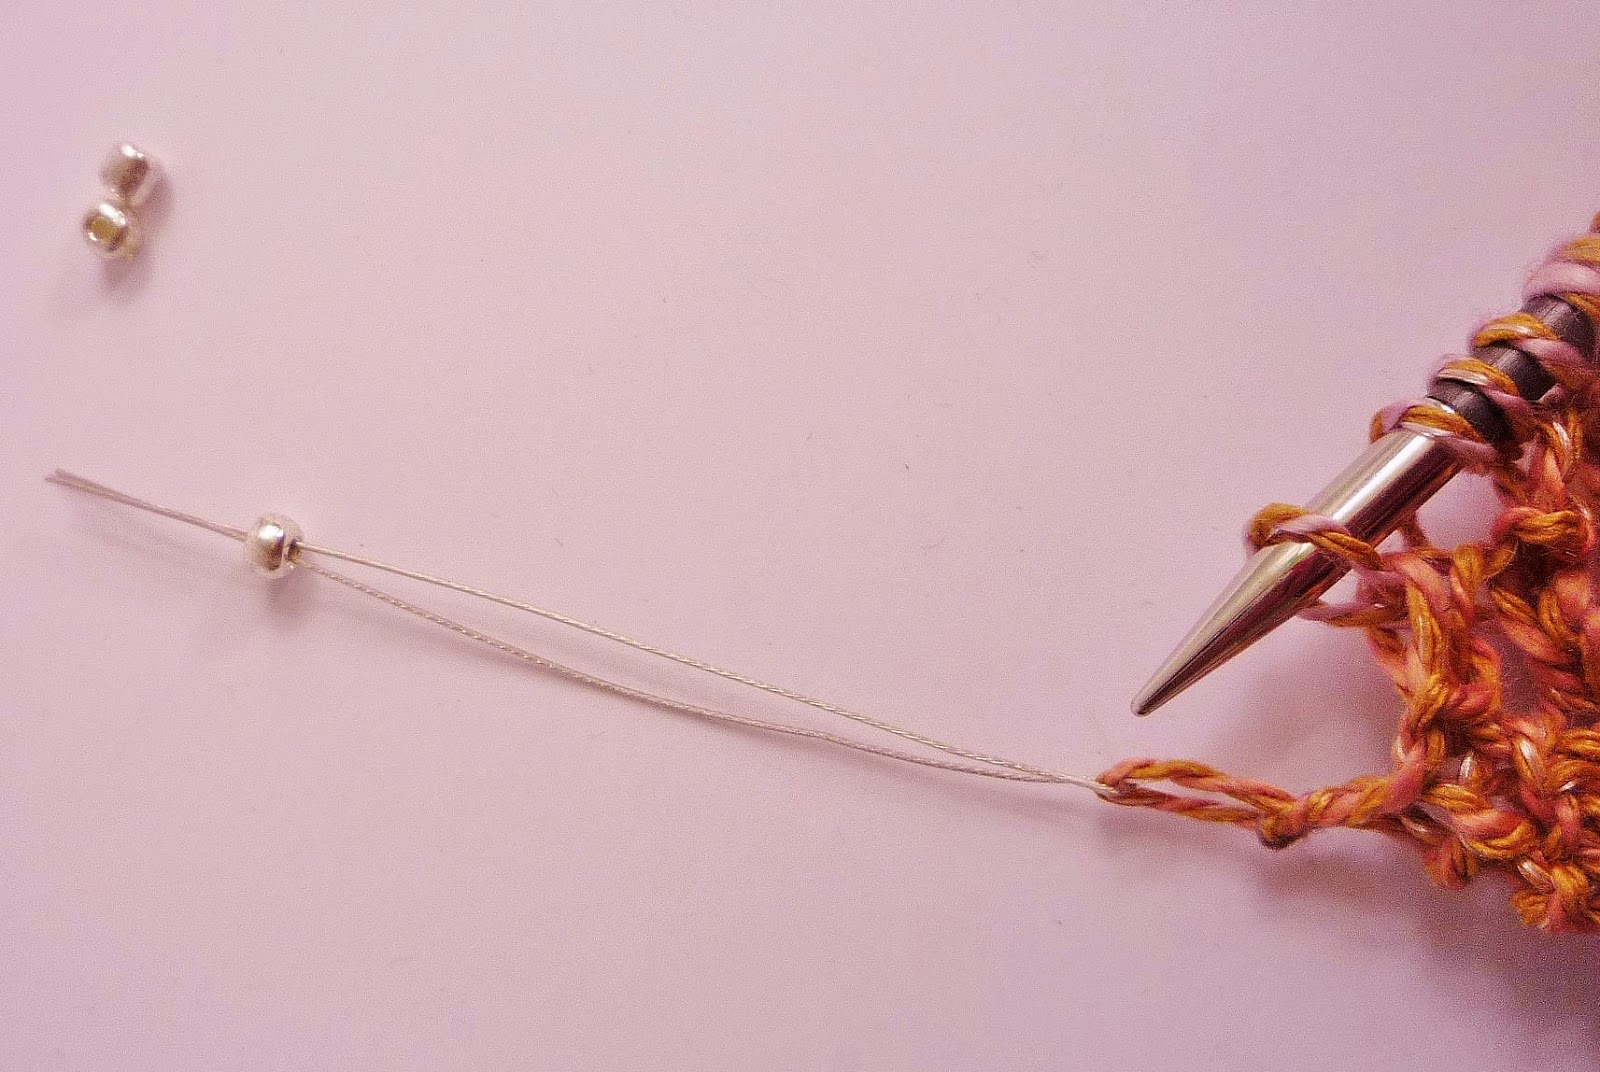
The pattern required adding beads. My beads had a very tiny hole so I couldn't use a crochet hook to pull the yarn through the bead. Instead, I used a piece of jewellery wire.

First, I folded the wire in half and then slotted the wire through the stitch.
(The stitch in the photo was the last in the row).

 
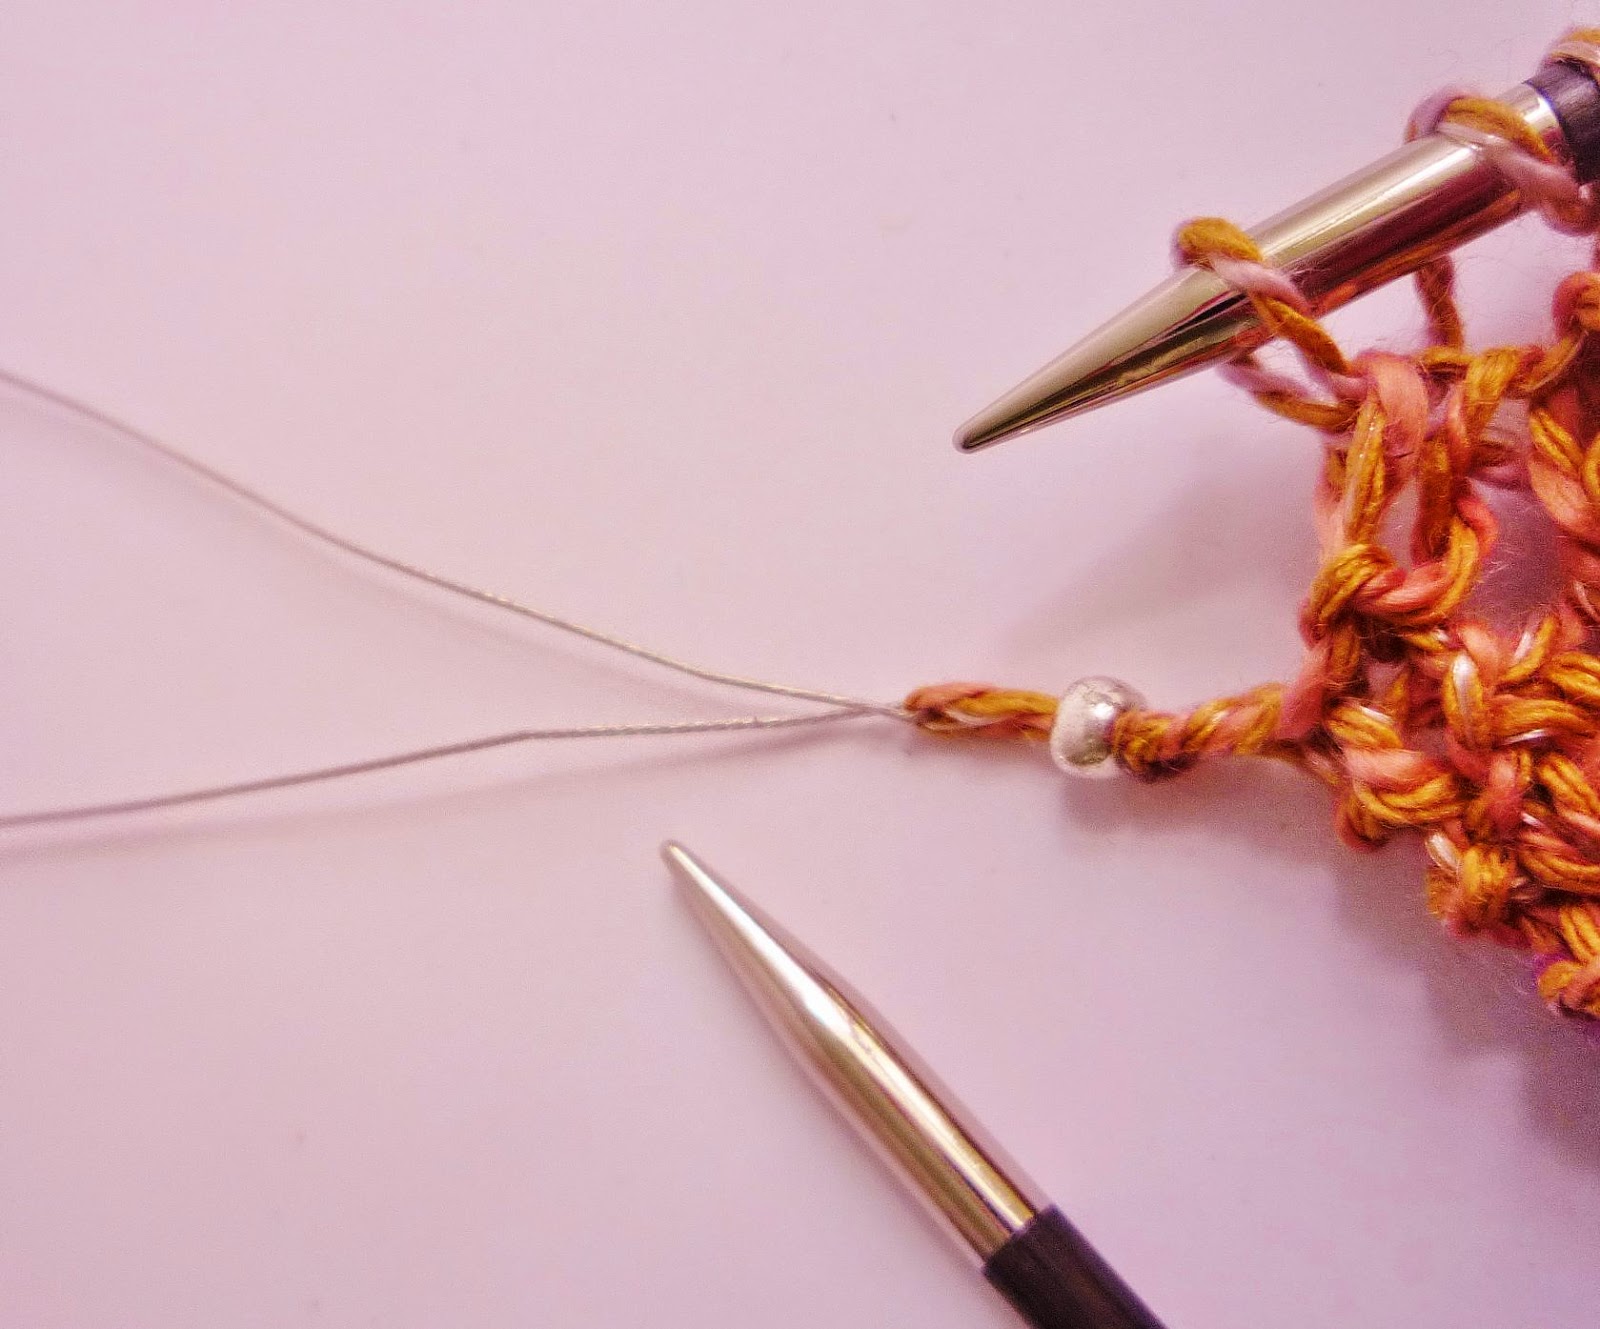
I then threaded the two ends of the wire through the hole in the bead.....


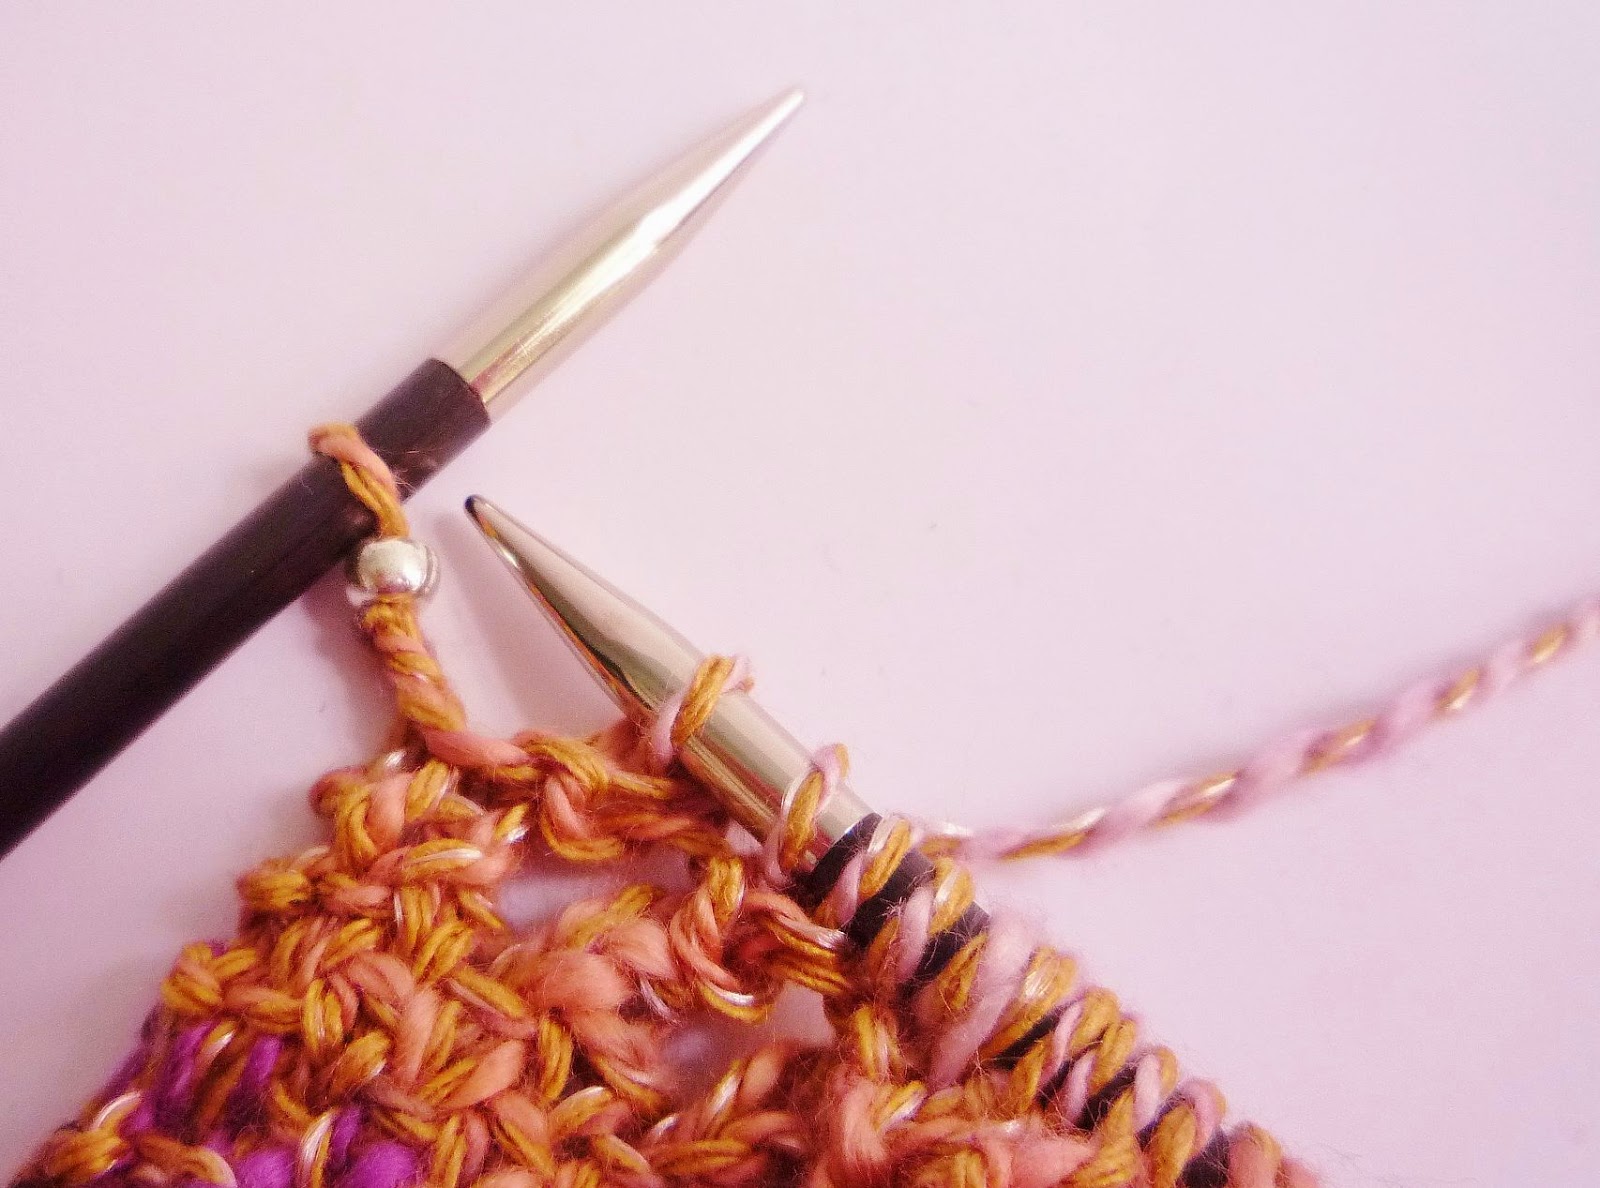
and then pushed the bead over the stitch.


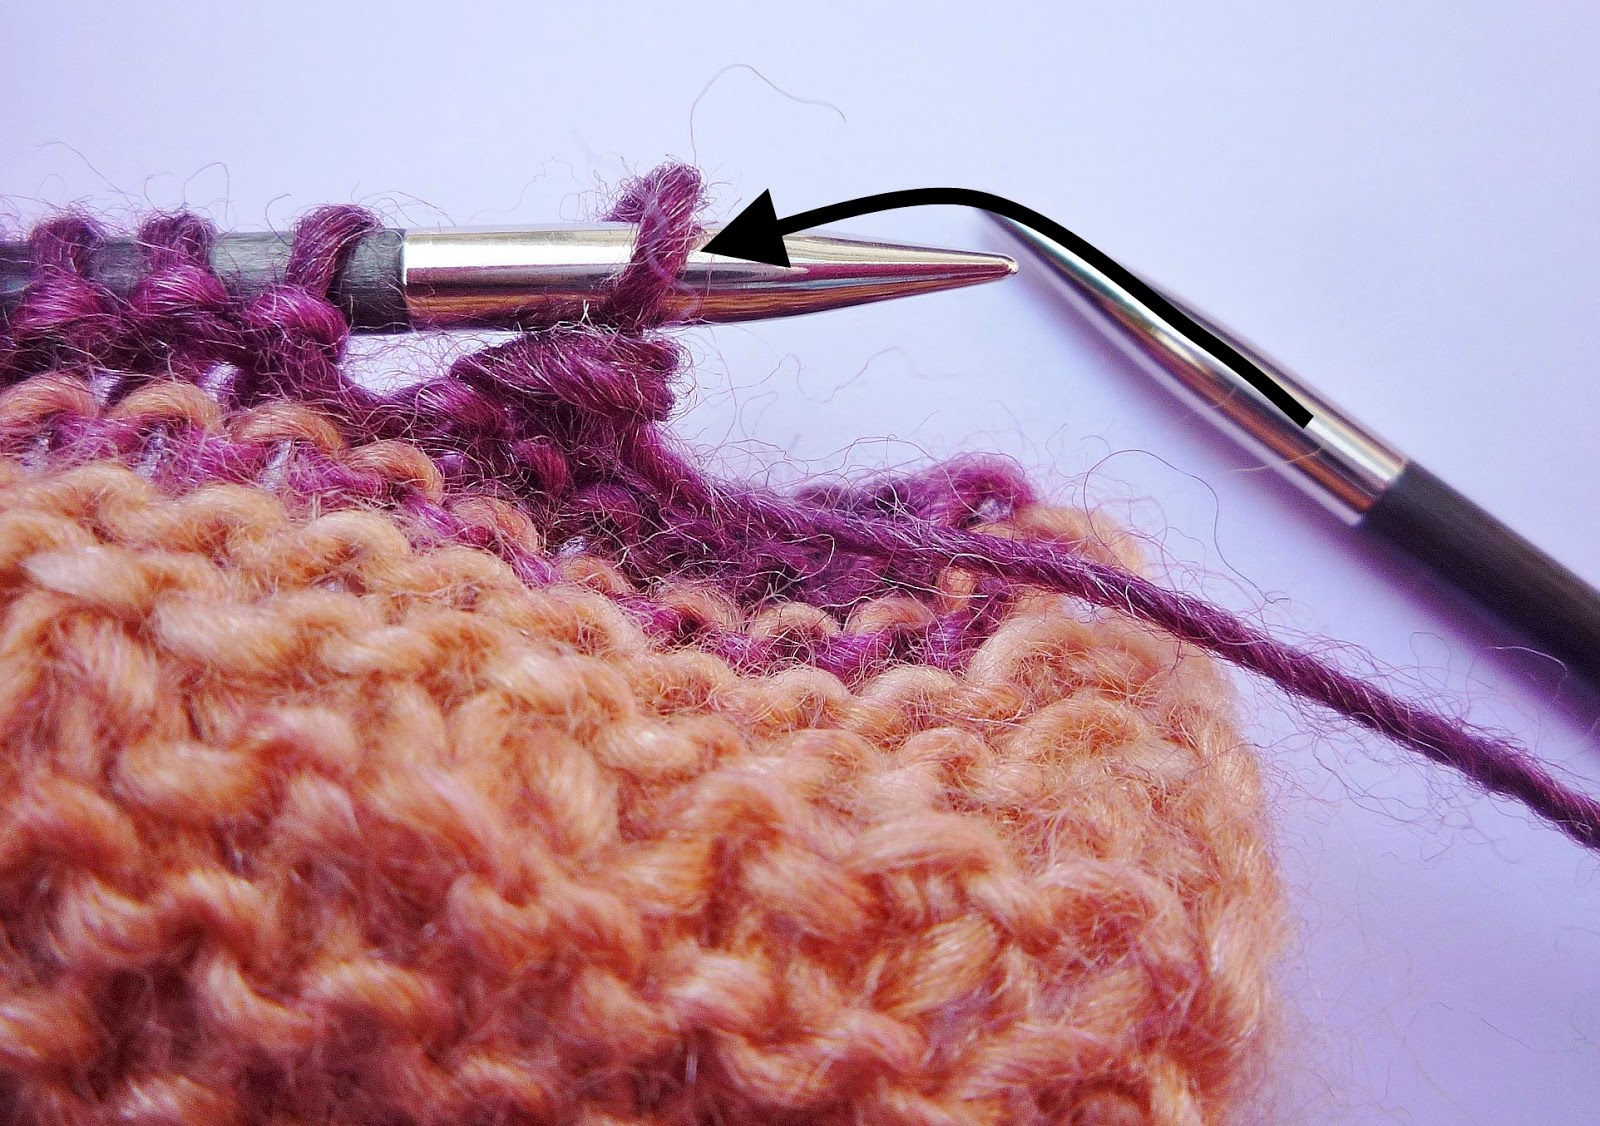
After removing the wire, the stitch with the bead attached was returned to the left hand needle ready for knitting......


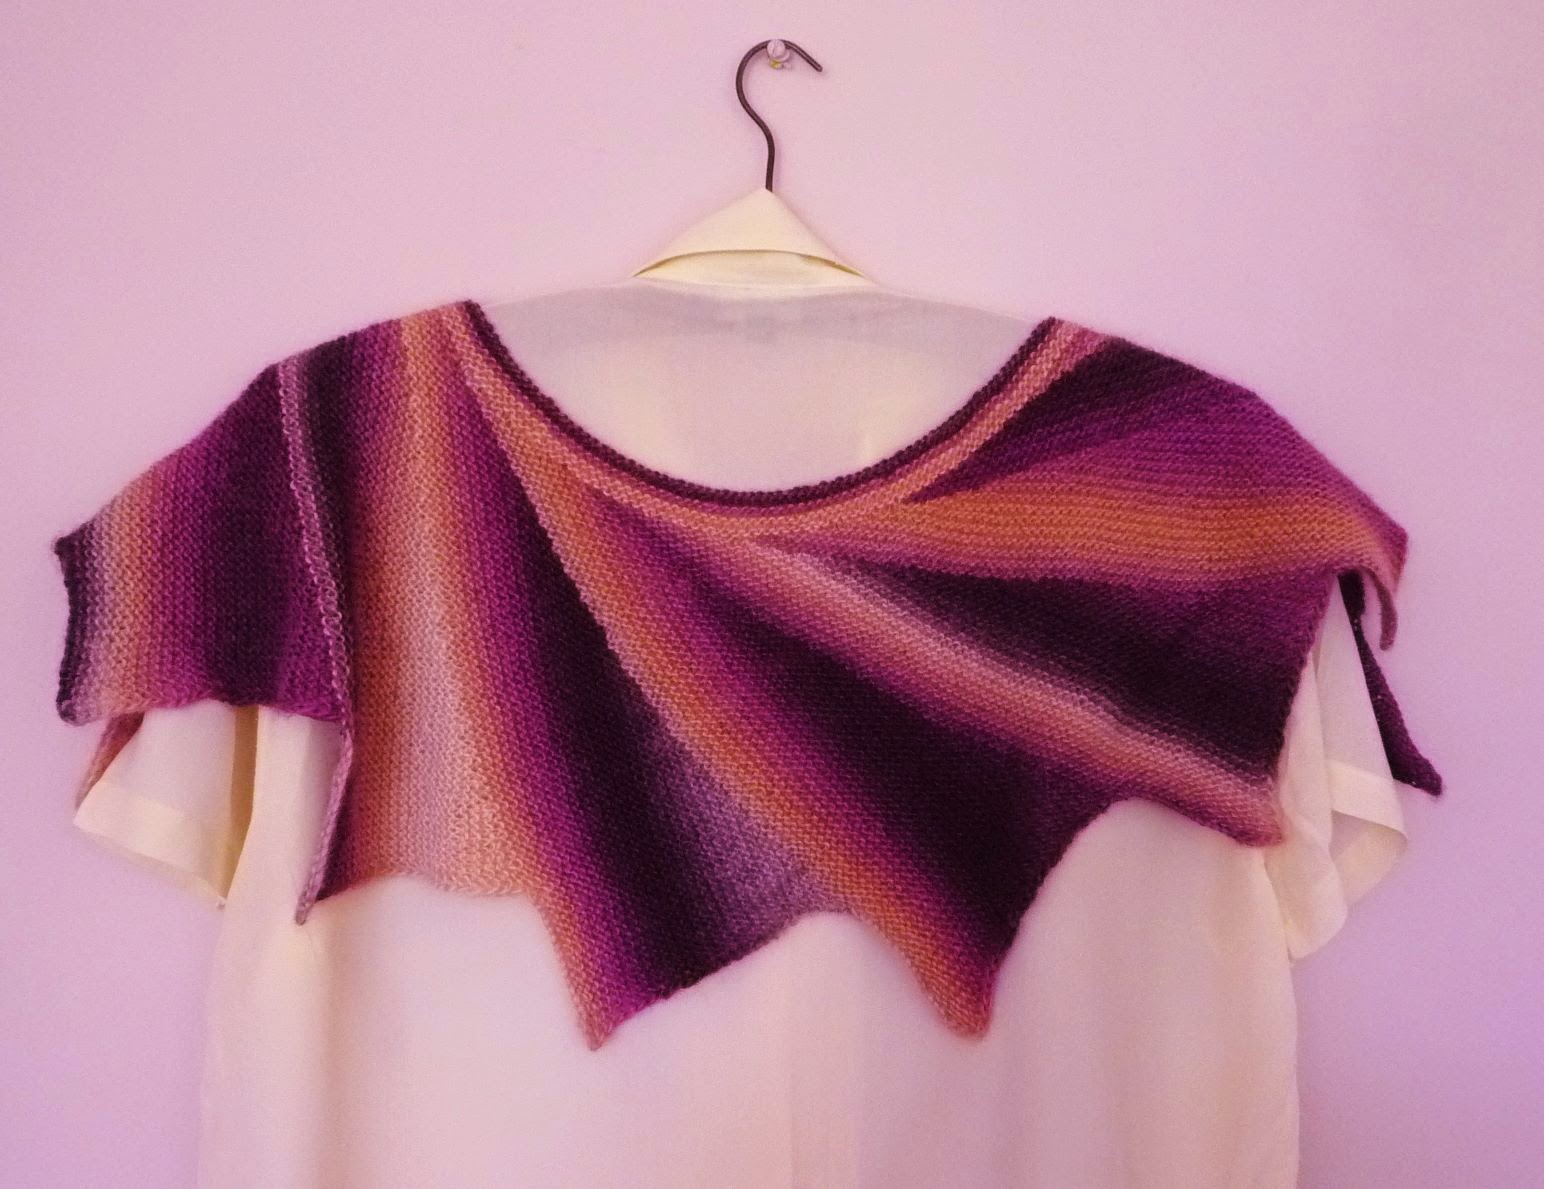
When I was blocking the scarf, I blocked it in away to add a scalloped edge to one side of the scarf.

 
 I noticed when I was blocking I had left out a repeat of the pattern, but I suppose that's what makes a project unique and the mistake is only noticeable on close examination....I think I can live with this particular mistake.


And the finished summer scarf is now all already to be worn......

  
Till next time, Ali.

10 May 2014

finished objects

After the lengthy wingspan project, I needed to do some quick knits. I started with some dish cloths using a diagonal pattern - Grandmothers Favourite by Traditional Design click here. I found some nice coloured (Lion Brand) kitchen cotton, on sale at Deramores. There were fourteen shades to choose from.
 
 
I have probably a years supply of dish cloths knitted up now.

A wee while ago I visited the Textile Studio, Ballyhackamore and stocked up with Drops Eskimo, as it was on sale. First off the needles came a pair of felted slippers. The pattern was a Drops pattern, for more details click here.The pattern for the flower I made up as I went along. The yarn felted beautifully.


The next project was a set of nesting bowls and I used Alice Thelma's pattern click here. I didn't make mine as deep as the ones in the pattern. I now have somewhere to keep all my bits and pieces together, for future sewing projects.

  
All three patterns are free and available online.
At the moment I'm kitting up a summer scarf, but the photos of that will be on a future blog post.
 
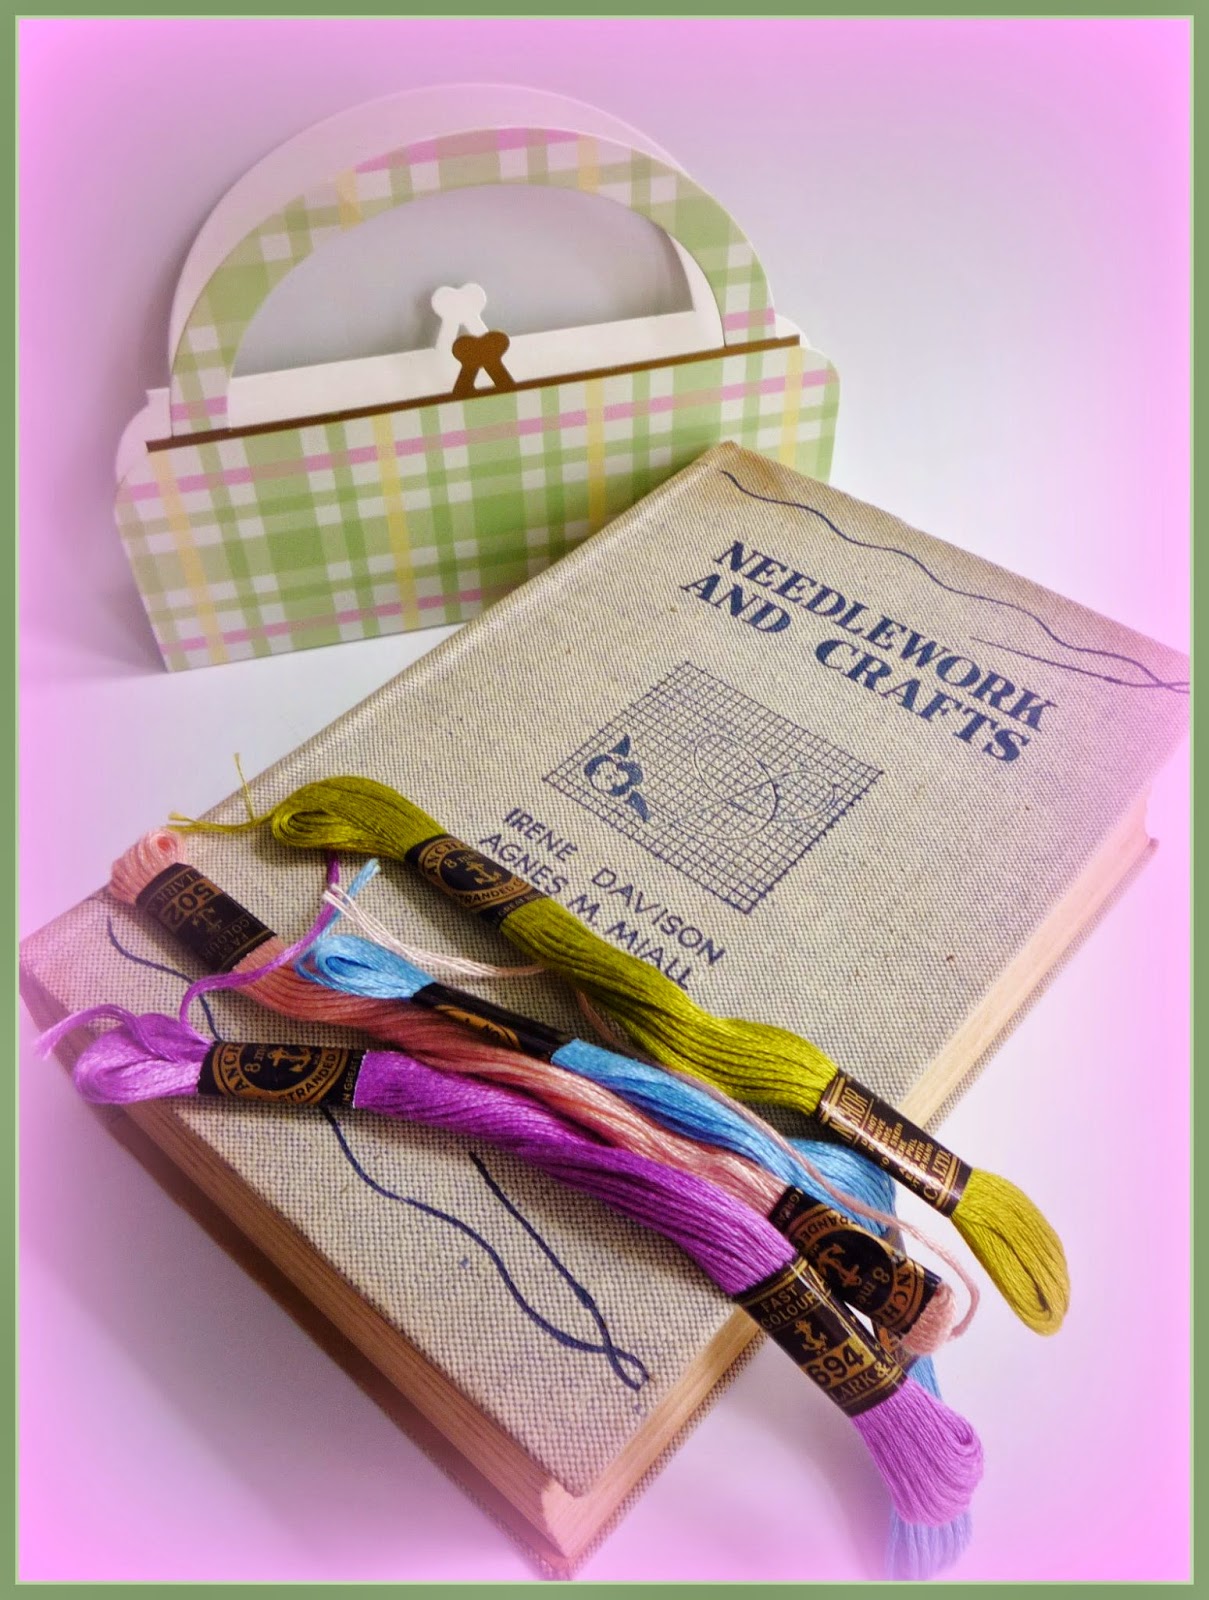
Just one more thing I was lucky enough to win a giveaway. So thanks to Jacqui who writes the blog, Living with Ethel. I won a beautiful needlework book, dating back to the '40s. Also included was embroidery floss and a beautiful card. Thanks again, Jacqui.
 
  
Till next time, Ali.
 

5 May 2014

wingspan

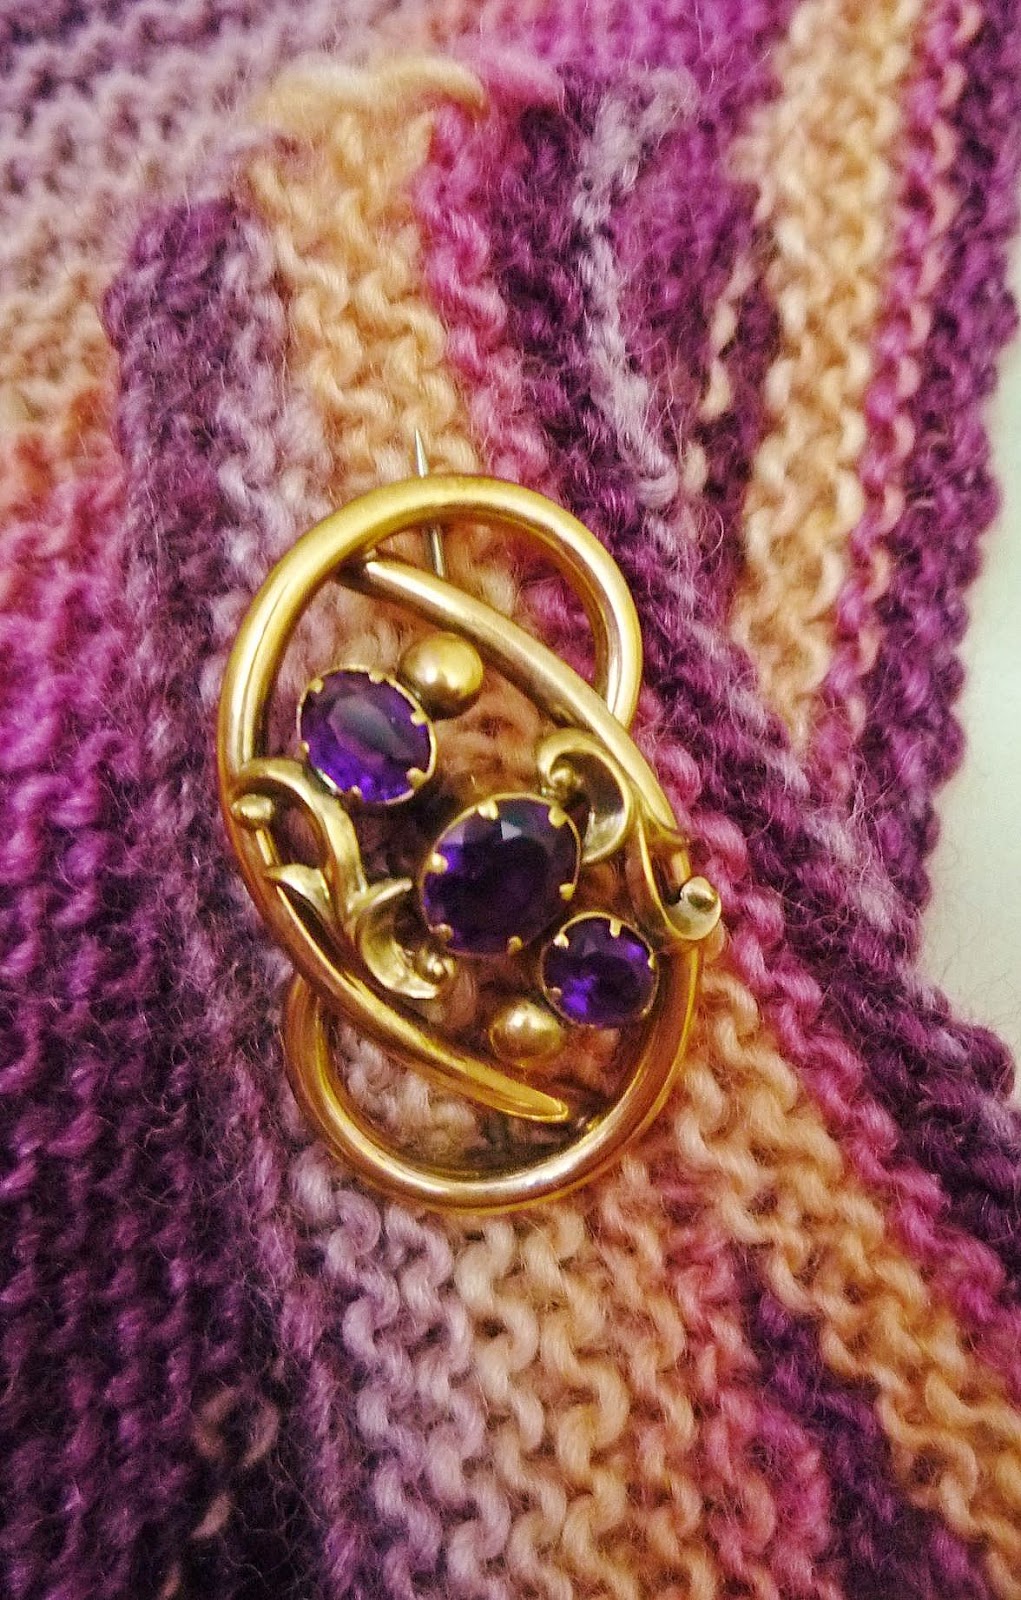
and finally I have finished my Wingspan project, it took a while but I got there in the end. I used Lousia Harding's Amitola for this project which knit up beautifully. The pattern was "Wingspan" by Maylin Tri'Coterie Designs and for more details click here.

 
and the reverse view.....
 
 
a close up of the brooch, found in a charity shop, holding the scarf closed....


This was a great pattern, simple enough, but not boring to knit up. I always like to learn a new technique with each project and for this project the pattern suggested German short rows. This is a very tight, non holey short row technique. For a tutorial by Mimi Kezer click here.
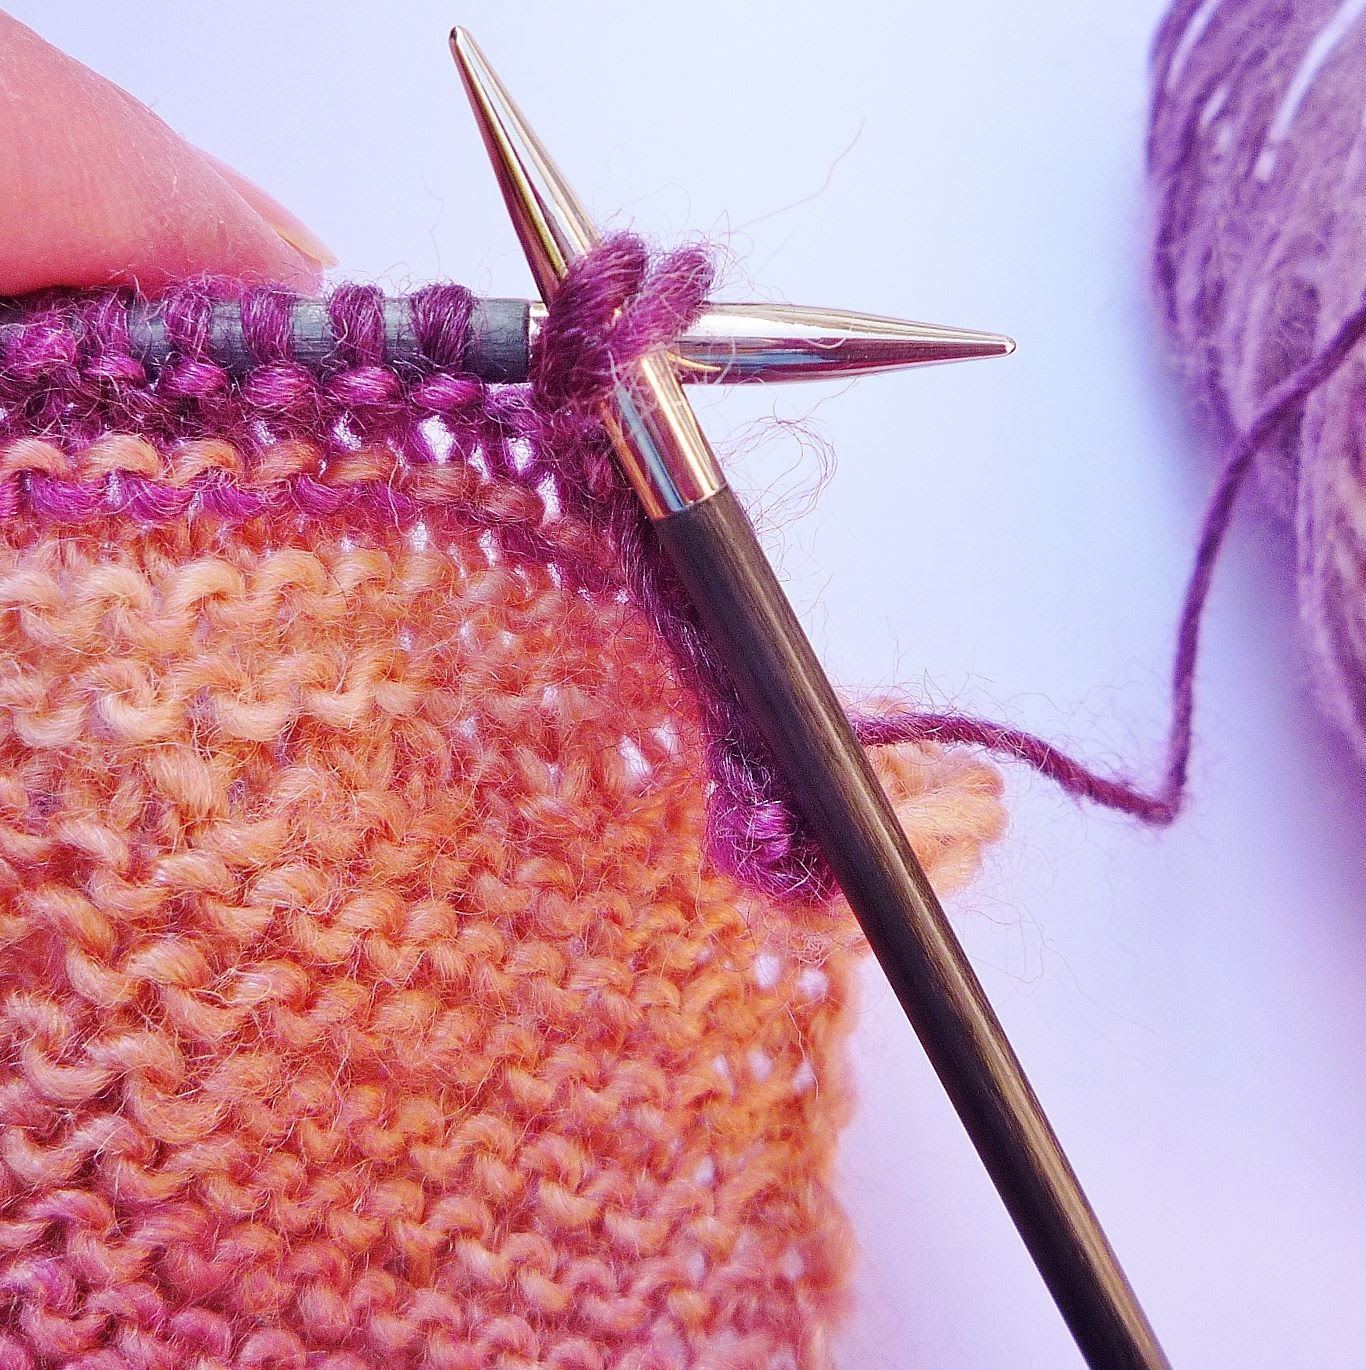
I also wanted a very loose stretchy cast off and used "Grandmother's favourite bind off."
To do this loose cast off ...

1. p2tog 

2. wrap yarn clockwise around needle (opposite direction to the way purl stitch is normally worked)

3. return stitch which is now on the right hand needle to the left hand needle
and repeat

This is a very simple effective loose cast off. For a video tutorial by Knit Purl Hunter click here
Now I just need to find somewhere to go to wear my new scarf.
Till next time, Ali.
 

1 May 2014

wedding anniversary

 
I don't tend to write personal stuff on my blog, but I'm making an exception, as today is my silver wedding anniversary.
As a personal celebration I headed down town to the City Hall for a revisit. Such a grey miserable day......
 
 
but inside the dome was as splendid as ever............
 

here's me looking a bit embarrassed taking a sneaky selfie.....


and the stained class window on the landing half way up the stairs with Belfast coat of arms. I wonder how many brides have stood on these stairs, over the years, posing for the obligatory photo!


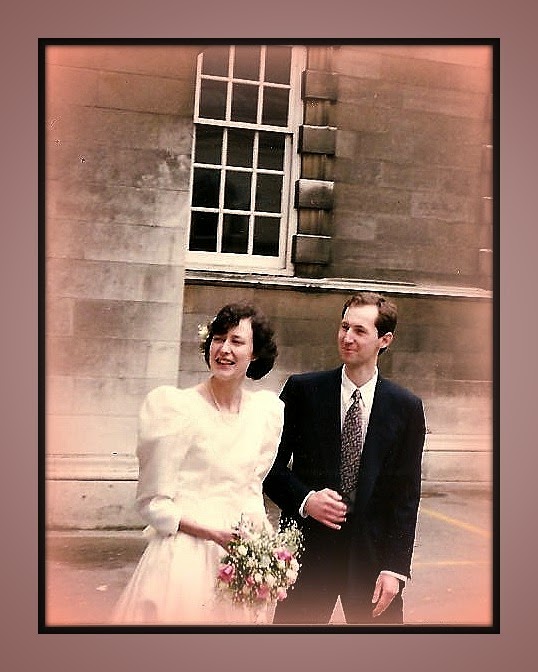
Of course I feel I must include a snap of the "happy couple" all those years ago. Who were those two people, barely recognizable now.....


Back on with something crafty soon, Ali.

21 April 2014

crazy randomness part 2

I wrote on a previous post about a collaboration with Ali from Random Wooliness. We decided to work on a joint project, pick a theme then work independently on a piece and reveal our results at Easter. The theme was "Spring", and we looked to the poem - "It's Spring" by John Foster for inspiration.......
 
It's Spring

It's spring
And the garden is changing its clothes,
Putting away
Its dark winter suits,
Its dull scarves
And drab brown overcoats. 

Now, it wraps itself in green shoots,
Slips on blouses
Sleeved with pink and white blossom,
Pulls on skirts of daffodil and primrose,
Snowdrop socks and purple crocus shoes,
Then dances in the sunlight.

John Foster 

Just to give us a bit of a challenge we decided to include something recycled (or from a charity shop) and also use a new technique in our final piece.
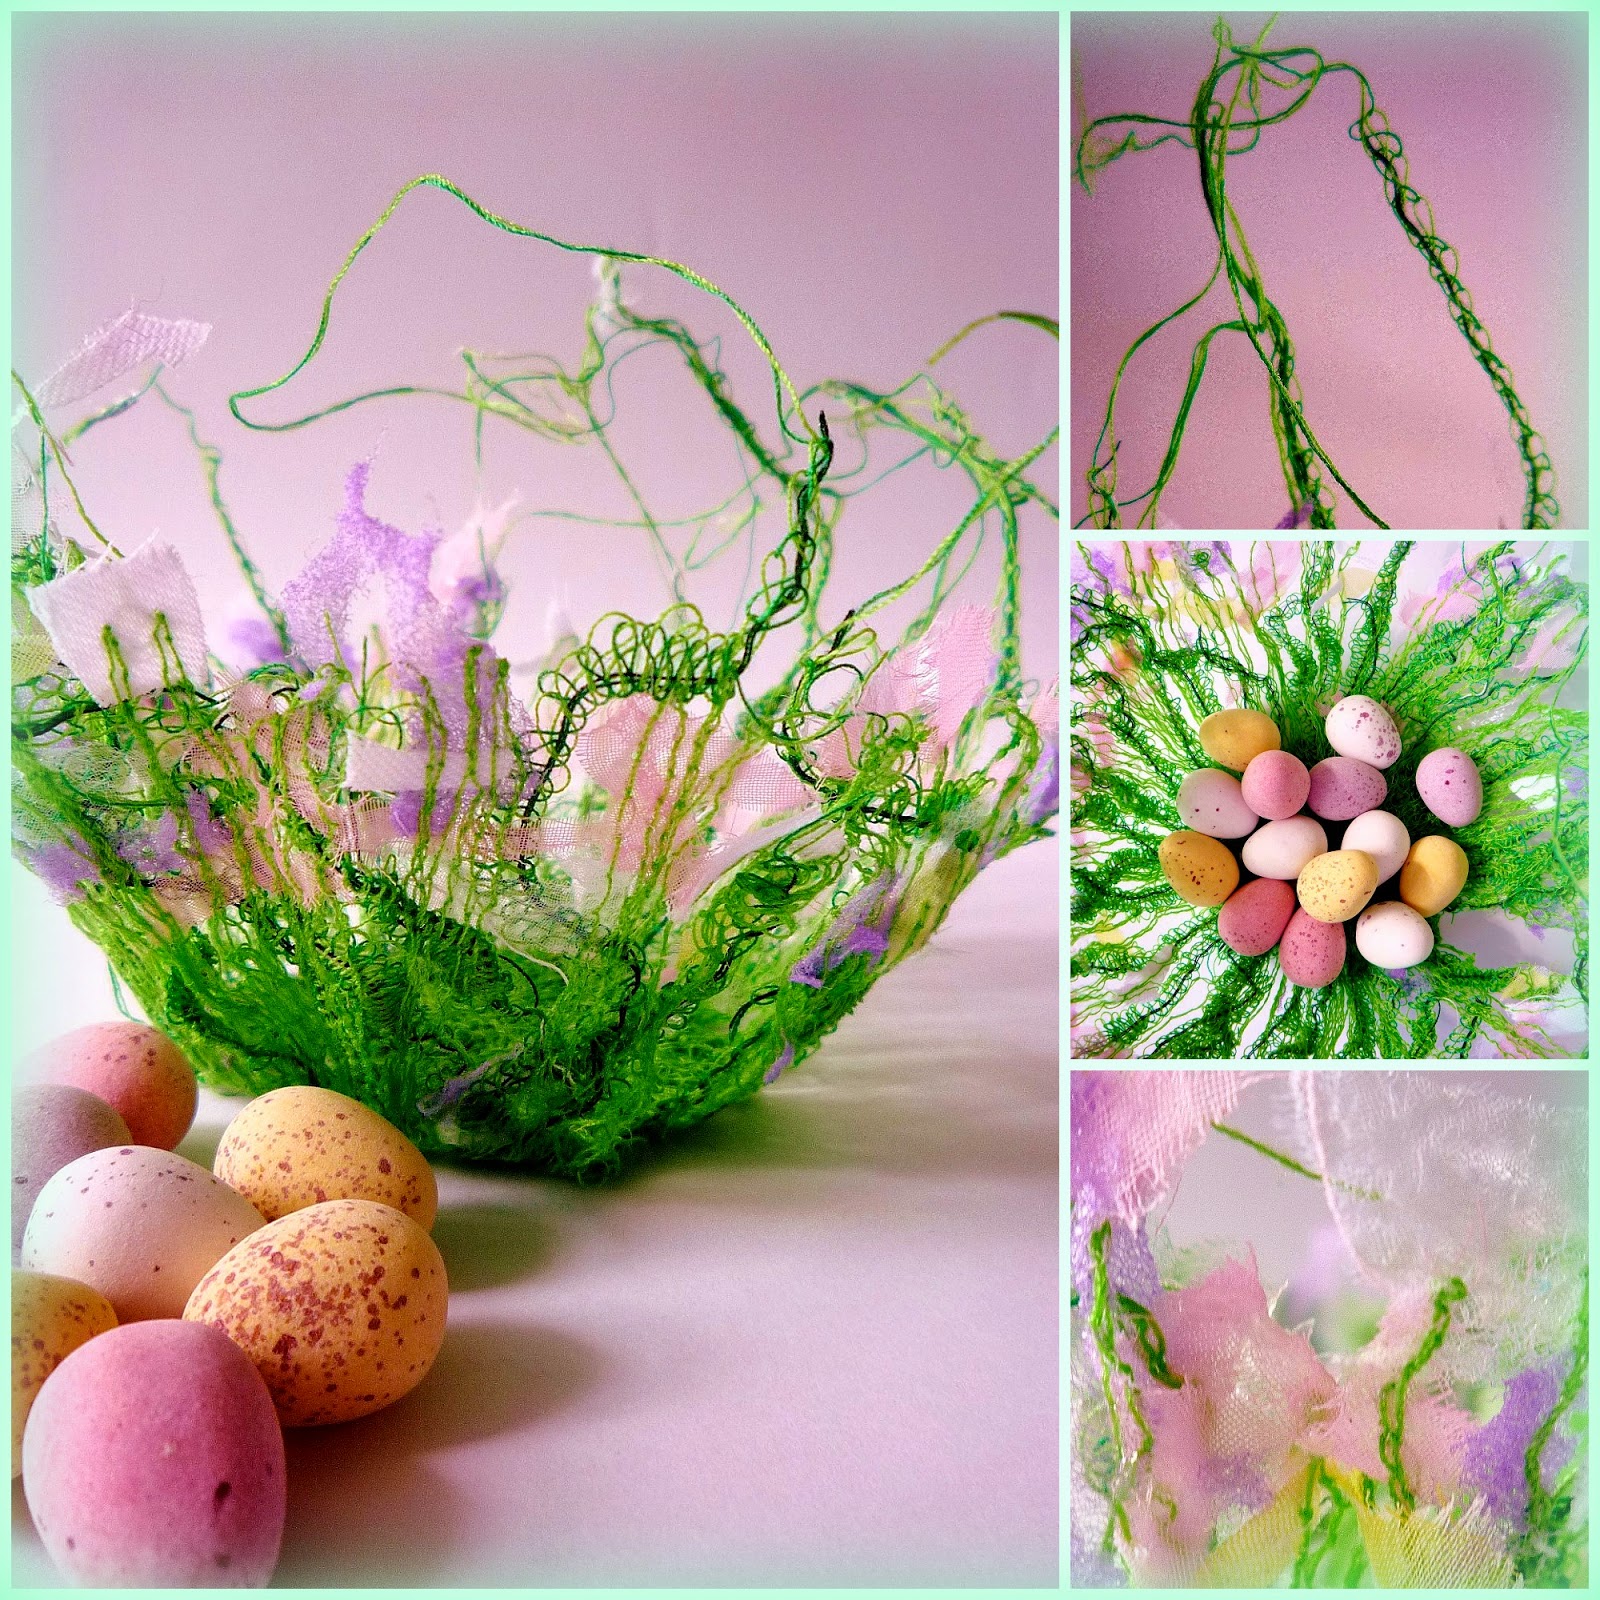
Well I've finished mine, here it is dancing in the sunlight...............


I decided to develop a previous idea where I had sewed yarn using water soluble fabric to make a bowl (to see previous post click here).
Instead of using yarn, I used the loopy threads which are produced when an overlocker does not sew onto fabric. This was my new technique. I was given the overlocker a while ago, but me and it are still getting acquainted....it takes me about an hour to thread it!.
I used the colours mentioned in the poem - green, pink, white, yellow and purple.
As well as the thread string from the overlocker, I added snippets of coloured silk, organza and chiffon, all recycled from previous projects, including embroidery and nuno felting.
This joint project was great fun, I cant wait to see what the other Ali has come up with.


Hope you are all having a nice Easter. Till next time, Ali.
13 April 2014

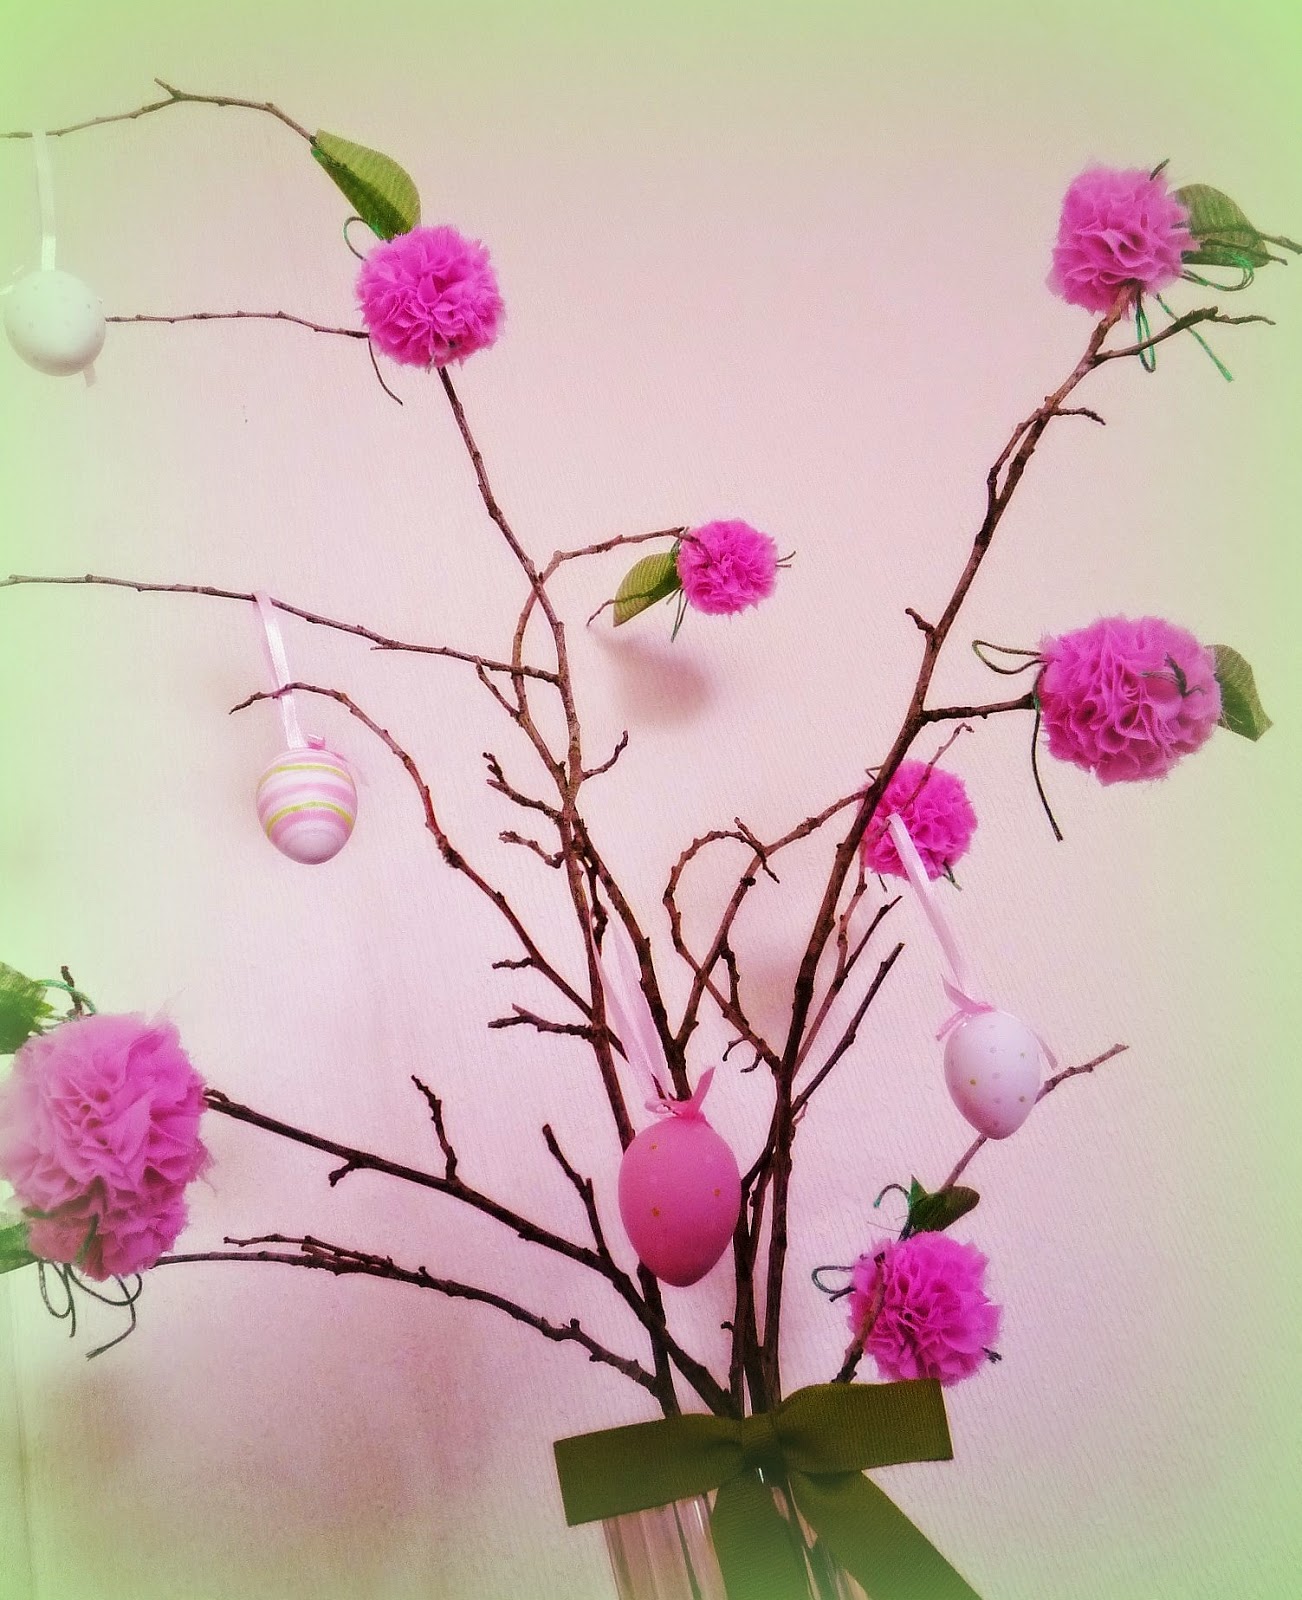
blossom easter tree

Thought I would share my blossom tree idea, which could be decorated and used for an Easter decoration.


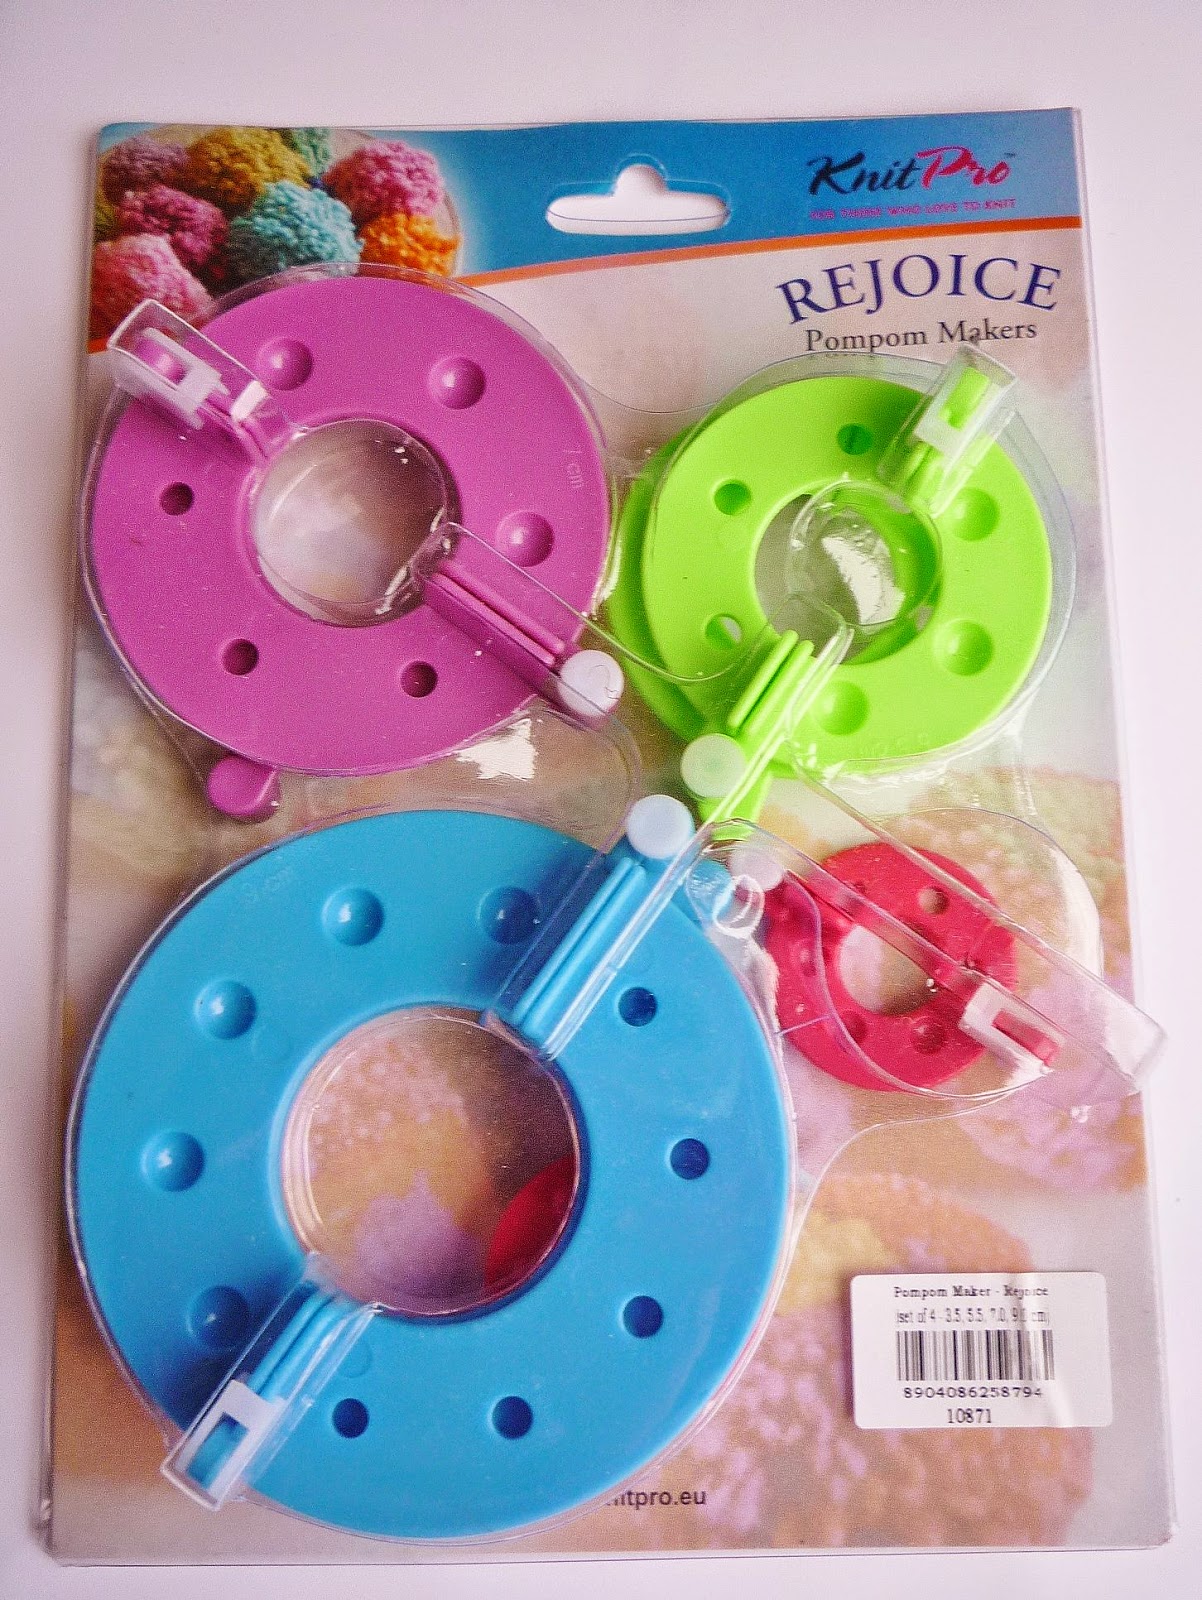
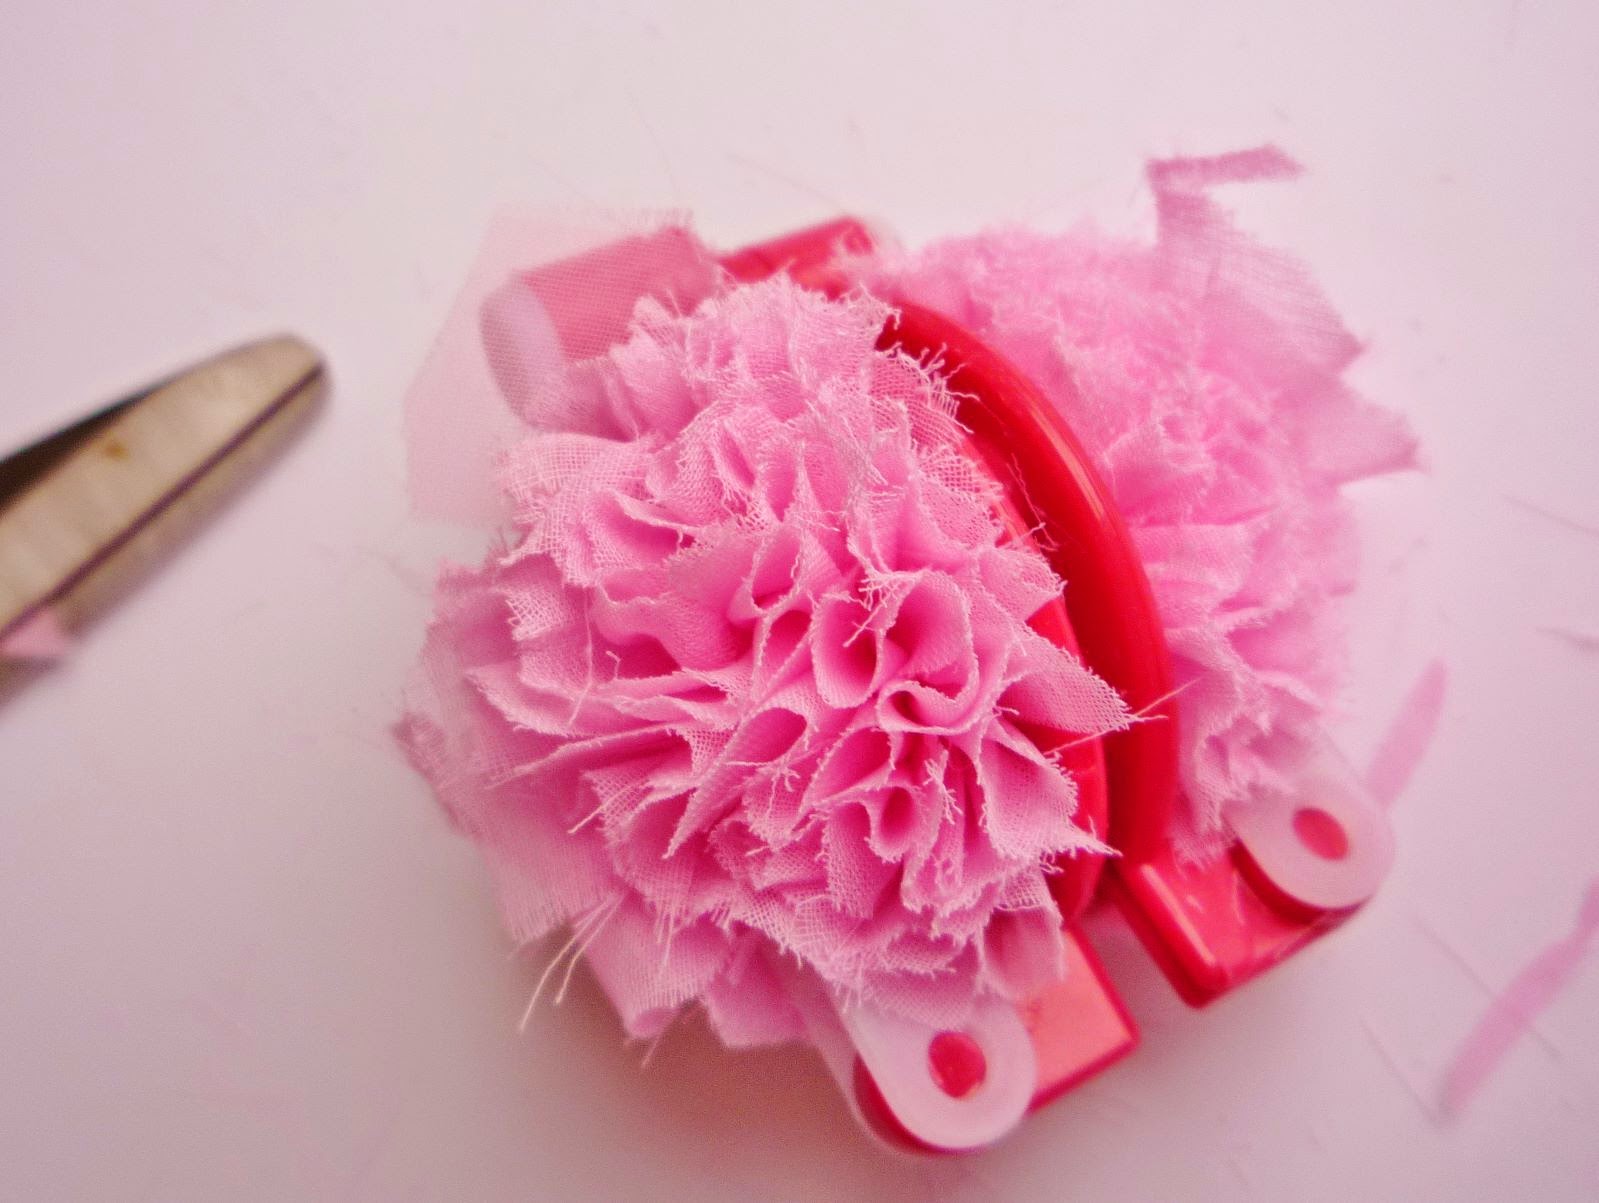
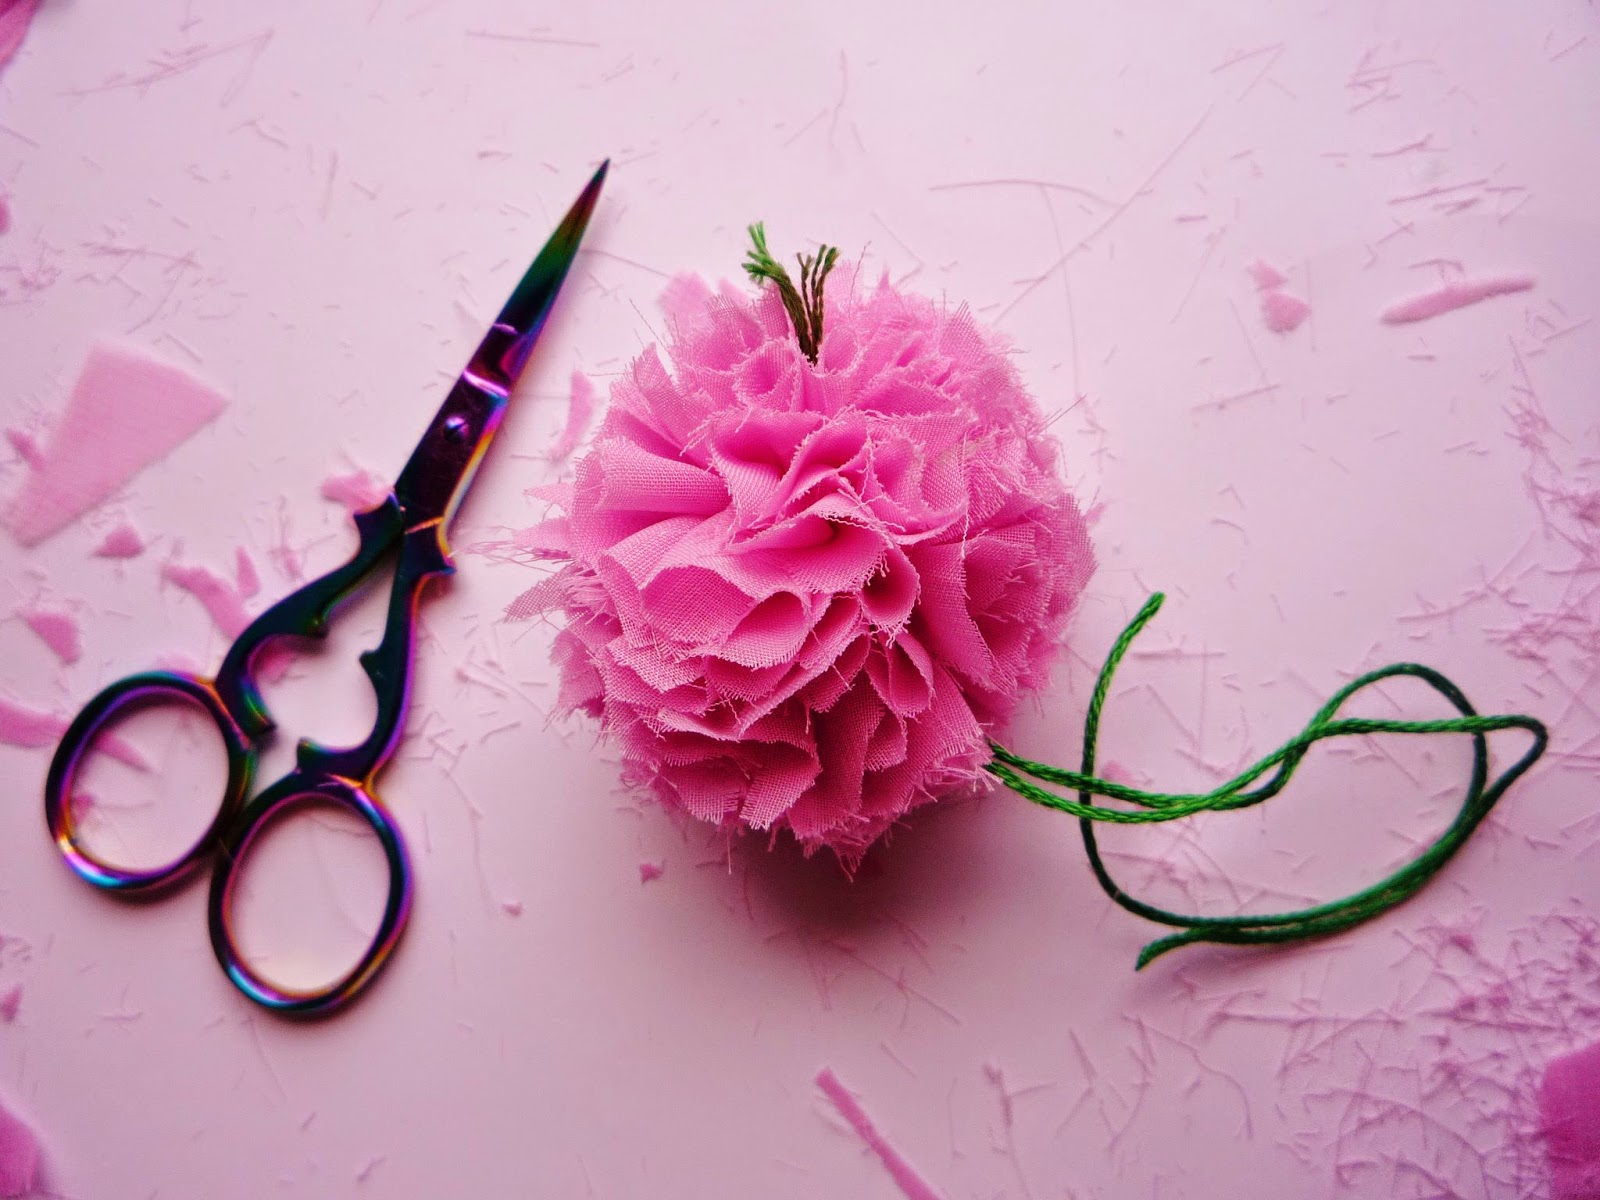
It only requires minimal sewing, or if you prefer no sewing at all, as you can use a glue gun instead. The blossoms are simply fabric pompoms and I got to use my new gadget by Knitpro for the first time. 


If you are unsure about making pompoms have a look on youtube for a tutorial.
A pompom making gadget can be used or alternatively circles of card. For a tutorial using cardboard circles click here


WHAT YOU NEED


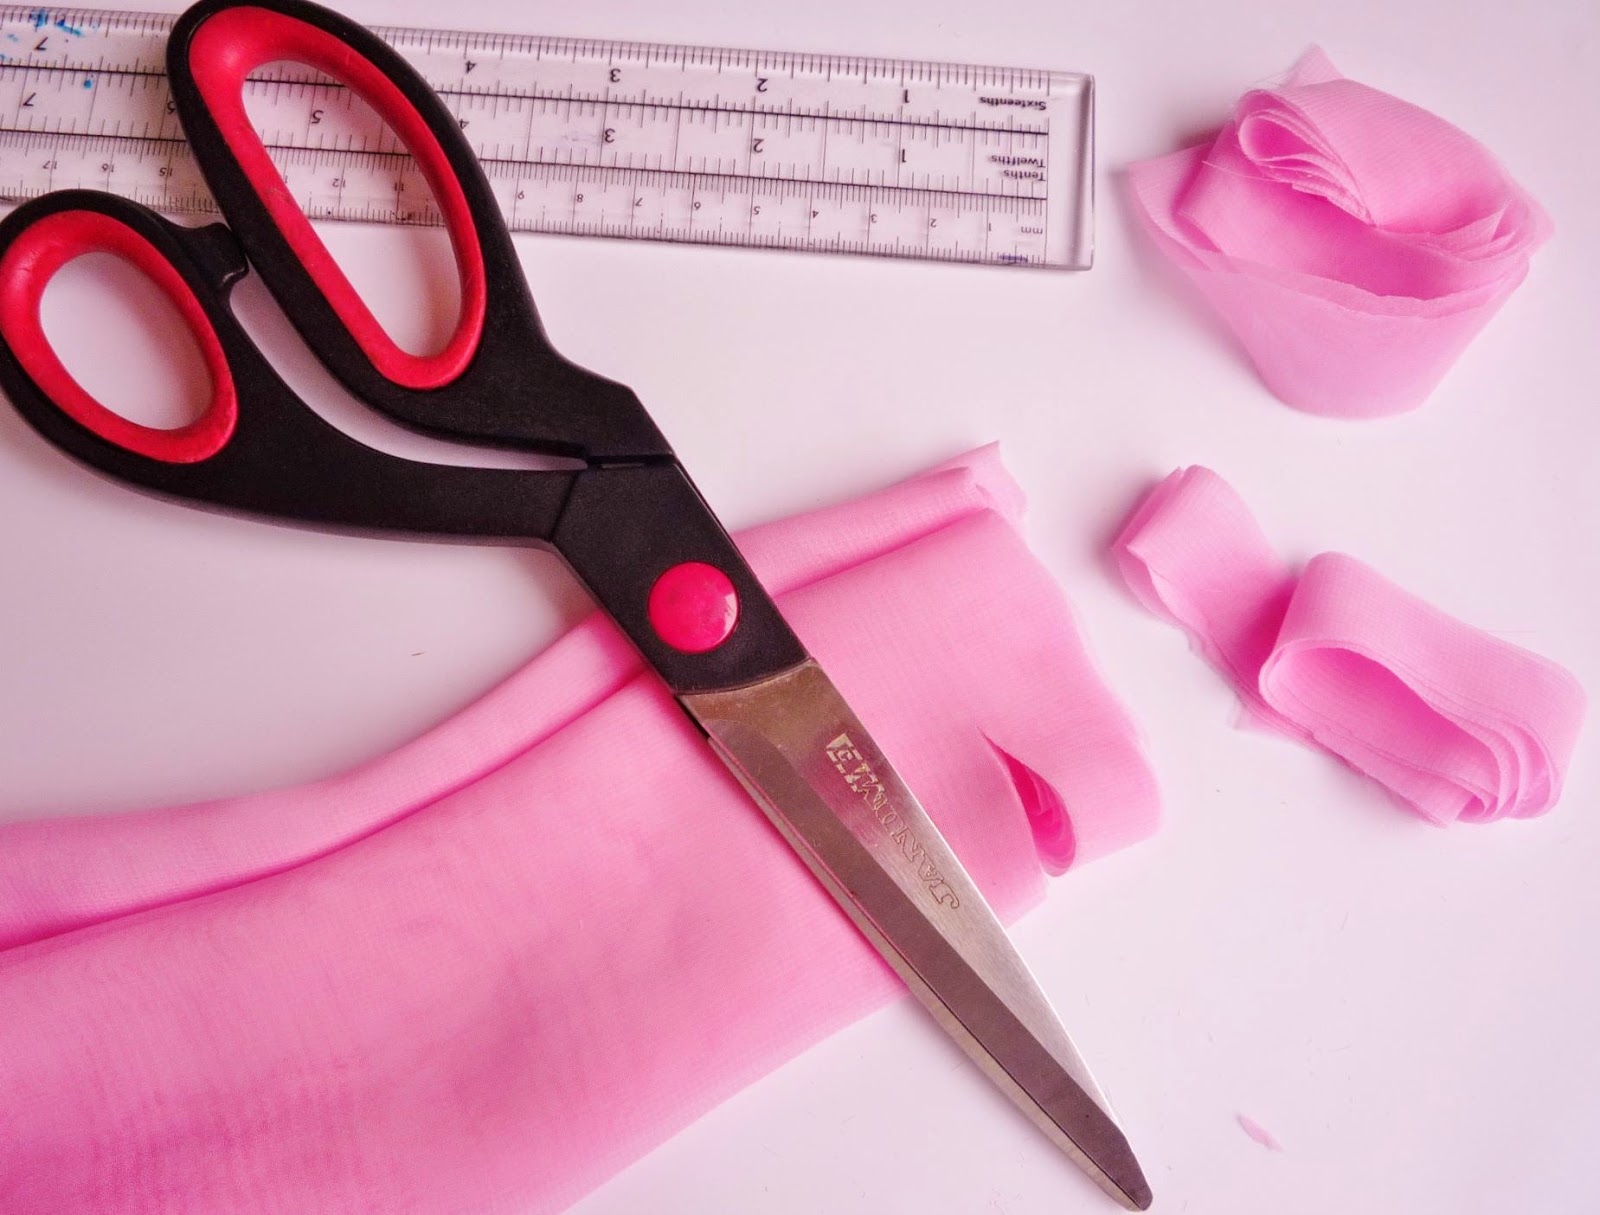
fine pink fabric for blossoms (I used polyester chiffon, but an light fabric will do   even dress lining)
green fabric for leaves (I used organza)
bondaweb
baking parchment
pompom making gadget or card
green embroidery floss
sewing thread and needle or glue gun
scissors
twigs
vase
easter decorations (optional)

INSTRUCTIONS

Blossoms
My plastic circle was 3.5cms/1.5ins at the widest point.
Cut strips of the pink fabric, approximately 2cms/0.75ins wide. This is easier if you fold the fabric in a concertina way before cutting.

  
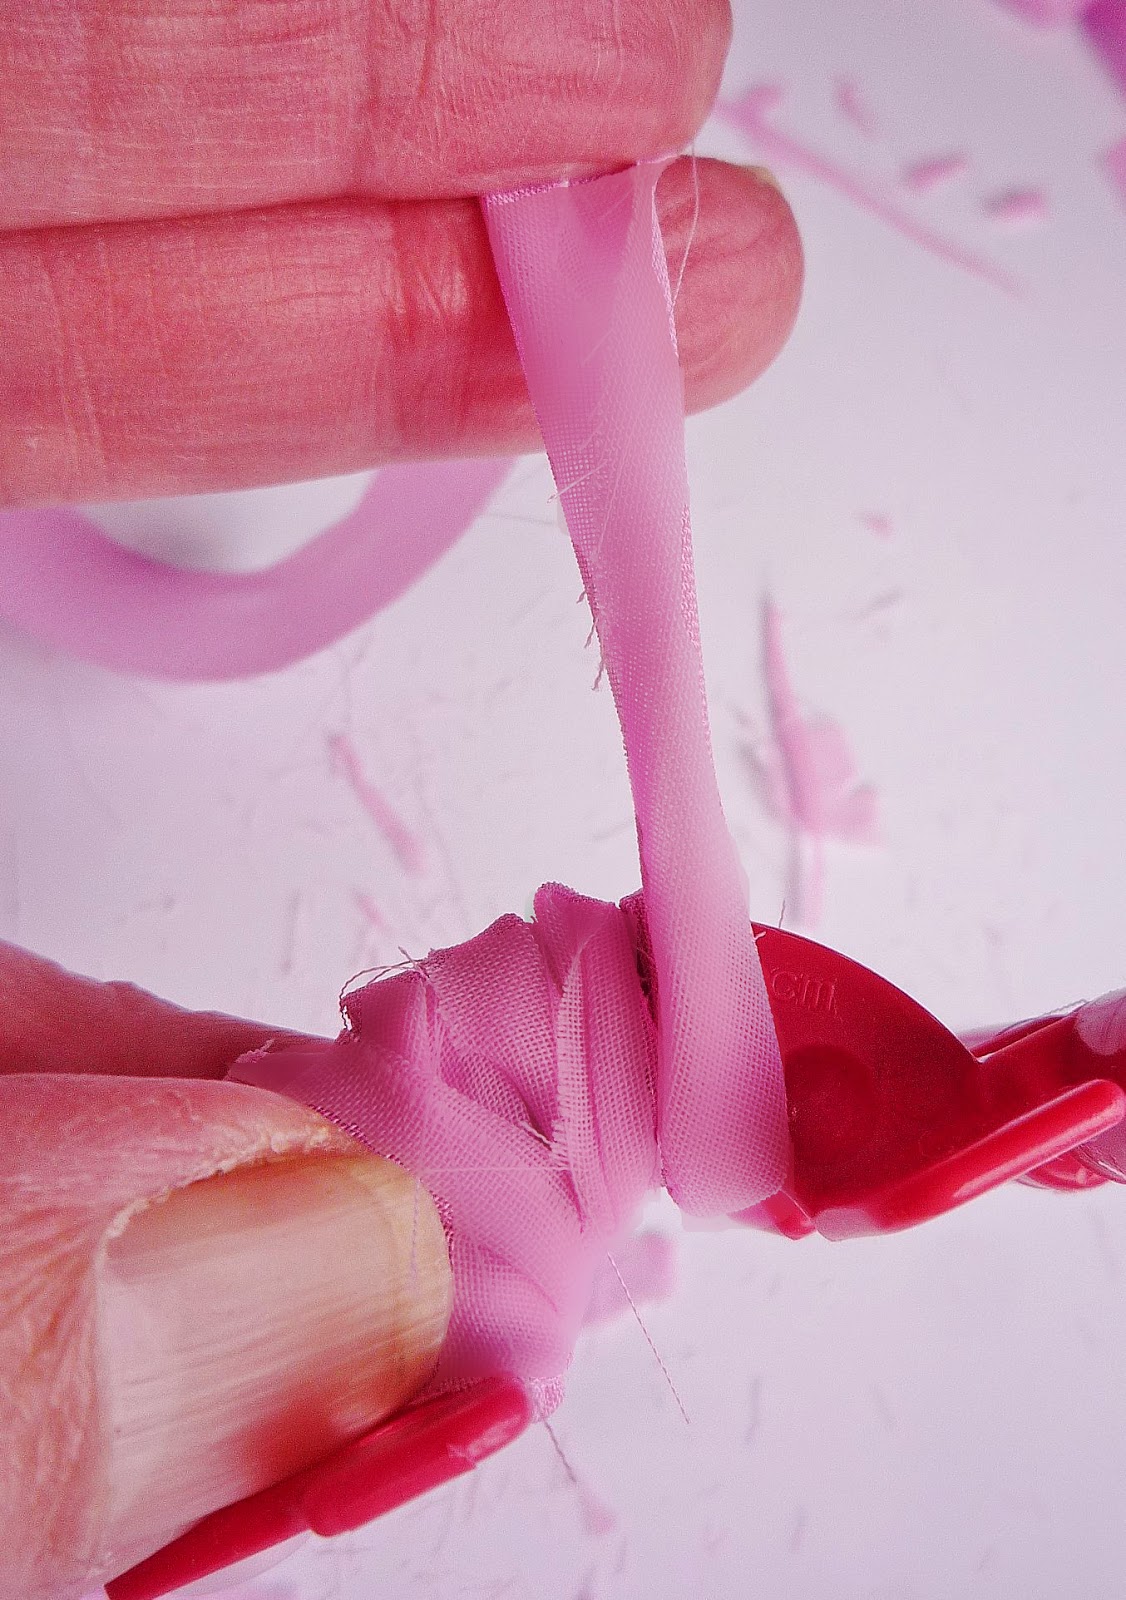
Wrap the fabric as you would for an ordinary yarn pompom, twisting the strips, making them thinner as you wind round the circle. 


Cut the fabric strips by inserting the scissors between the plastic or card circles, to form the pompom


The pompom is tied twice. Insert the green embroidery floss between the two circles. Tie the pompom round the middle, pulling very tight before knotting. The ends of the floss form the stamens of the blossom. Cut a longer piece and tie again. Knot at the opposite side this time and these longer ends will be used later to tie the blossom to the twig.


Remove the card or plastic rings and trim pompom cutting off any stray ends of fabric. Push into shape.
Separate the threads of the floss for the stamens and fluff threads up a bit.
Tie blossoms to twig with the longer floss ends.

Leaves
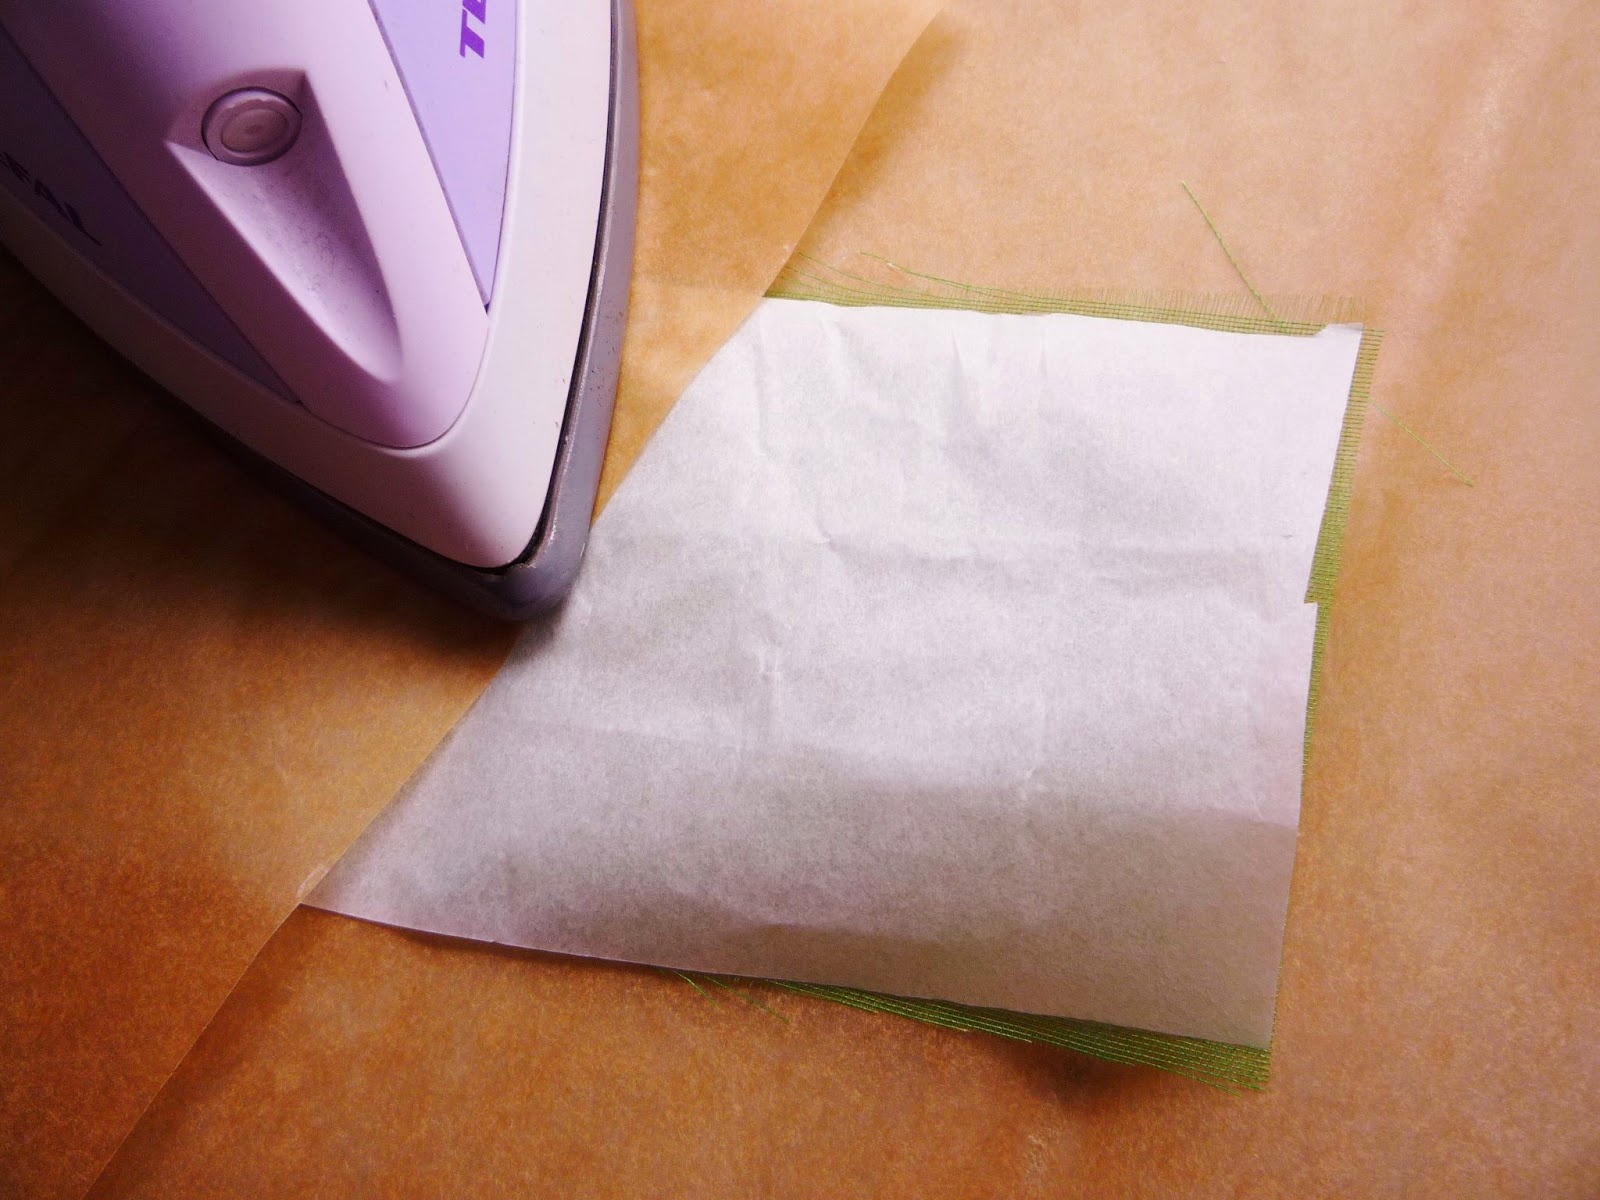
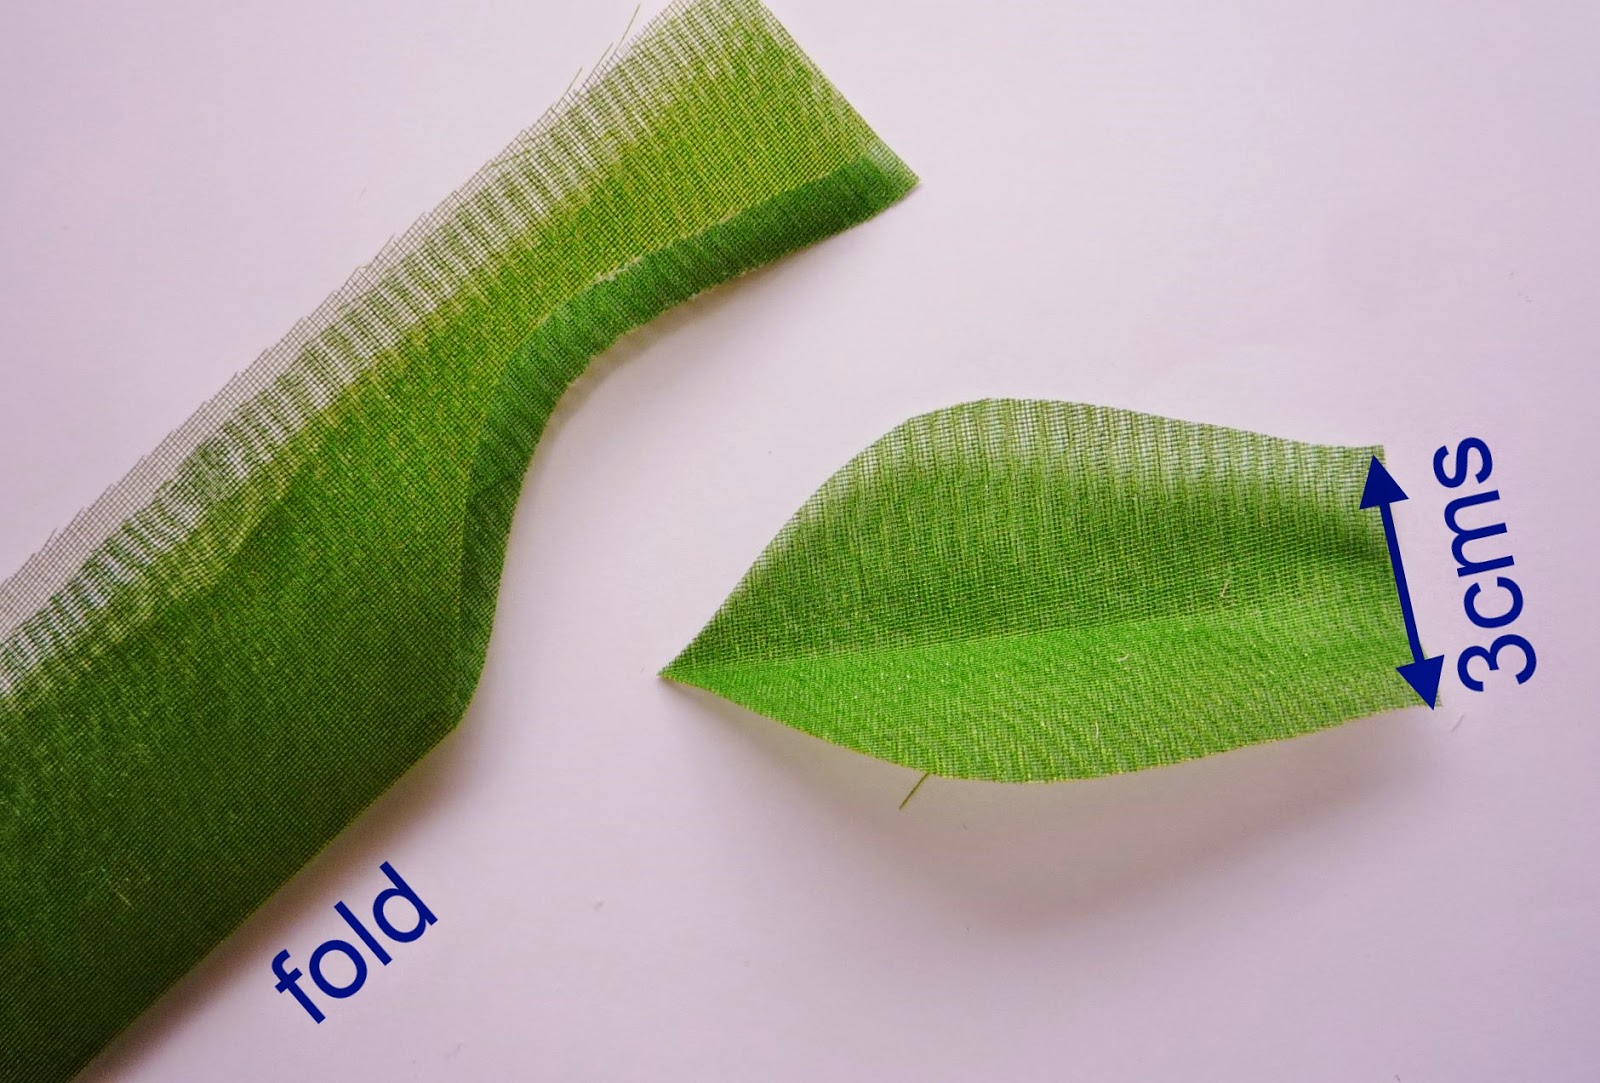
Bondaweb two pieces of organza together, not forgetting to sandwich the fabric between two pieces of baking parchment before ironing.


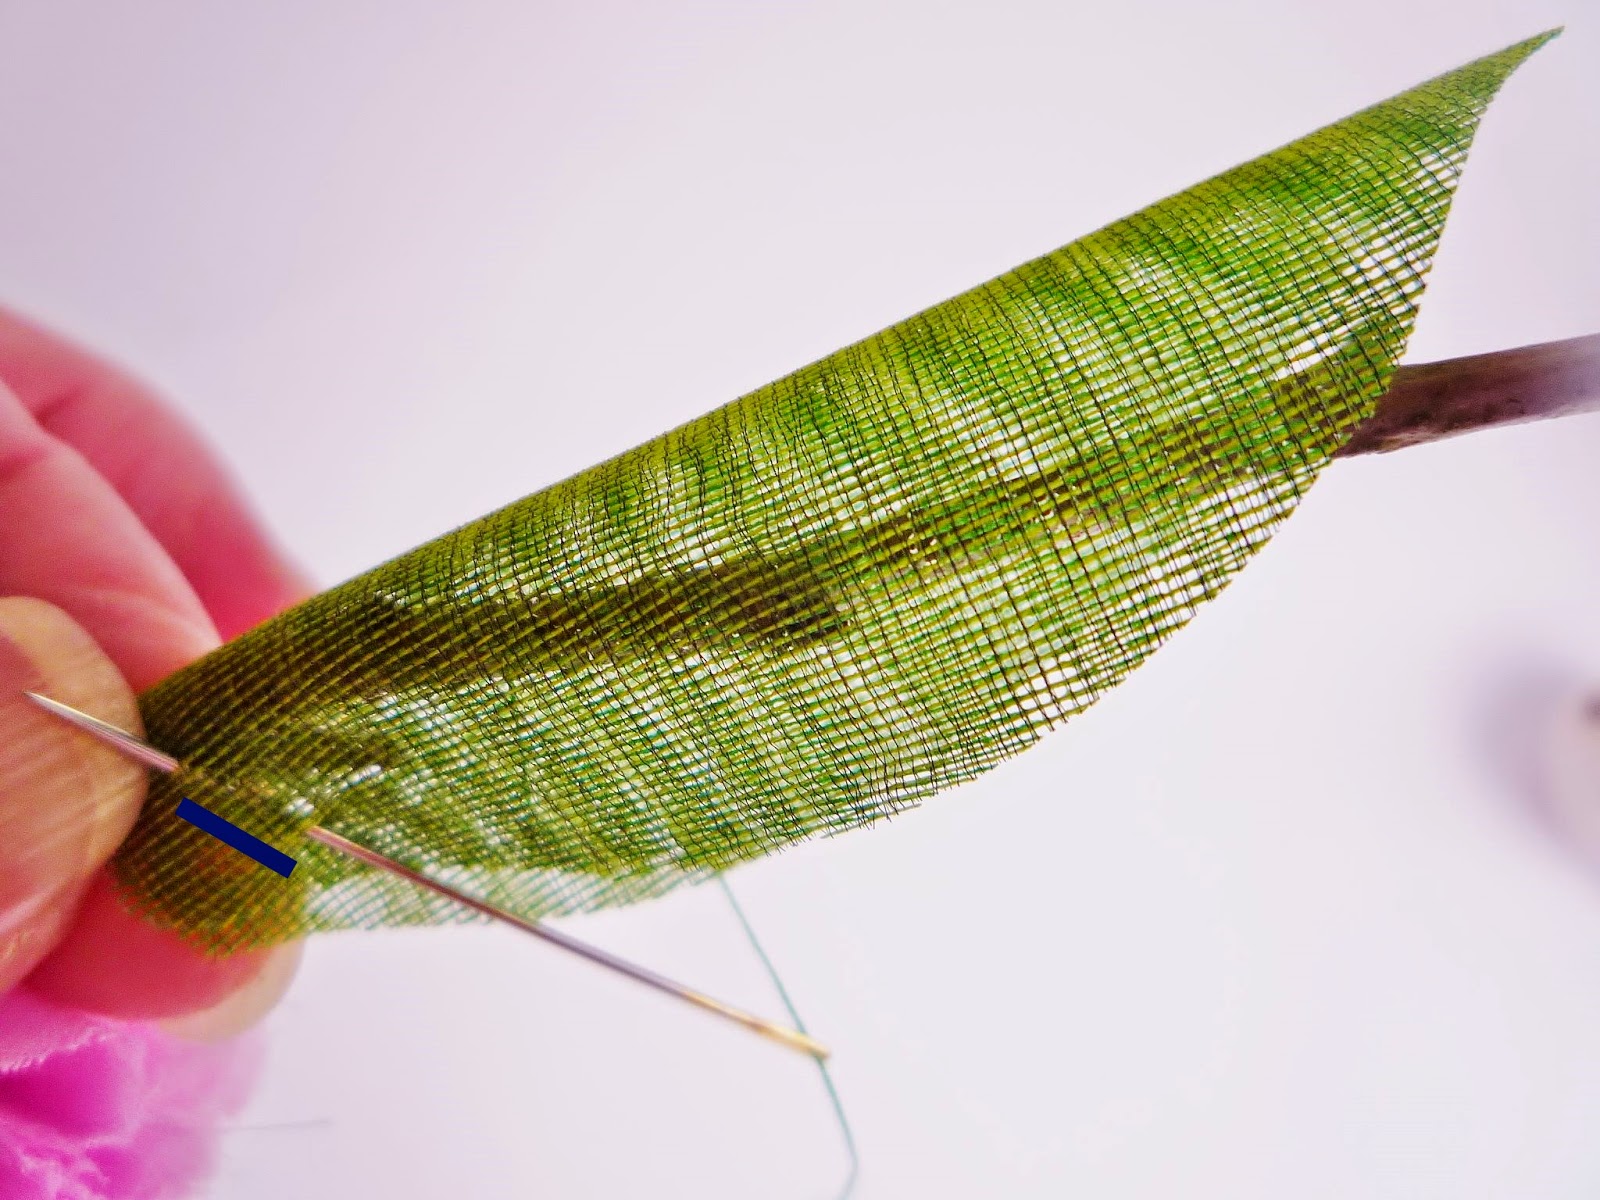
Fold fabric in half and cut out in a leaf shape. make sure the base of the leaf is approximately 3cms/1.25ins wide or wide enough to wrap round twig.


To attach leaf to twig, wrap the base of the leaf around the twig and sew a few stitches through the two leaf layers to hold in place. Alternatively use a glue gun to hold the base of the leaf in place.


Place twigs in a vase.
Display as a floral arrangement or add a few Easter decorations to make into an Easter tree.


Have a great week, Ali.
31 March 2014

tips for double pointed needles


I have only been knitting in the round with DPNs for a few years now. I shied away from this type of knitting for a long time, as it was all toooo scary, but now I love it and it has become like second nature. It can feel a bit awkward and fiddly to start off, but with practise it does become easier.
The advantage of using DPNs is there are no bulky seams and less sewing at the assembly stage. A stockinette is produced, no need to knit and purl as it is all knit. This method is also necessary for small tubes, such as socks, gloves, the crown of hats etc. when circulars will not do.


What type of needles
I prefer carbon fibre needles as I am a very tight knitter and with these needles the stitches glide easily. However for beginners, bamboo or wooden DPNs are probably better as stitches wont slip off the end. Needles come in sets of four or five. I tend to use just the four needles and have the fifth as a spare.
Charity shops can be good to find needles, but take you needle gauge with you.

Casting on
Cast on all stitches onto one needle......


then transfer the stitches, redistributing them evenly among two of the other needles. Transfer them by slipping stitches purlwise. Firstly, slip a third of the stitches onto one of the free needles.

 
Then slip a further third onto another of the needles, leaving one free (working needle).

 
Keep stitches in the middle of needles to avoid them slipping off the end when they are not being worked.

Place work flat on the table, making sure stitches are not twisted and all of the "bumps" of the cast on stitches are facing inwards. The needles form an open triangle which needs to be joined.

  
Joining in the round
Knit the first stitch on needle 1 (the first cast on stitch) with needle 3 - the triangle is now joined.


Knitting
Now start using needle 4 (working needle), knitting the remainder of the stitches on needle 1, as you would with straight knitting. The needle which once held the stitches is now free and can be used to knit the stitches on needle 2. Repeat this for the stitches on needle 3. The first round is complete.


The first row is quite tricky so work slowly.
Slide stitches to the centre of the needle when not in use, then slide them to the end when it is time for them to be knit.

Stitch markers
No need to buy fancy stitch markers, which inevitable end up down the back of the sofa. For a cheap alternative, just use scraps of yarn in a contrasting colour than the project. Cut a piece of yarn about 6 inches (15cms) long and make a slip knot, like the first stitch of casting on. Then trim the ends. I always insert the marker between the last stitch and the one before the last stitch, so I know that the round is completed. If you prefer not to use a marker, you can keep an eye on the cast on yarn end, as his indicates the end/beginning of a round.


Between needles
Work stitches tight at the beginning and end of needles, pulling the yarn tight to minimise the gap between needles. If this is not done there will be a noticeable vertical line, also known as laddering. Alternatively randomly move a couple of stitches back and forward at the end of the needles as you knit.

Hope this helps a bit and maybe encourage you to have a go with double pointed needles. My Chick and Nest pattern and also my Bunny Crème Egg Cosy pattern are knitted with DPNs and there is still time to knit before Easter.

 Bye for now, Ali.


25 March 2014

barnardo's barney jumpers

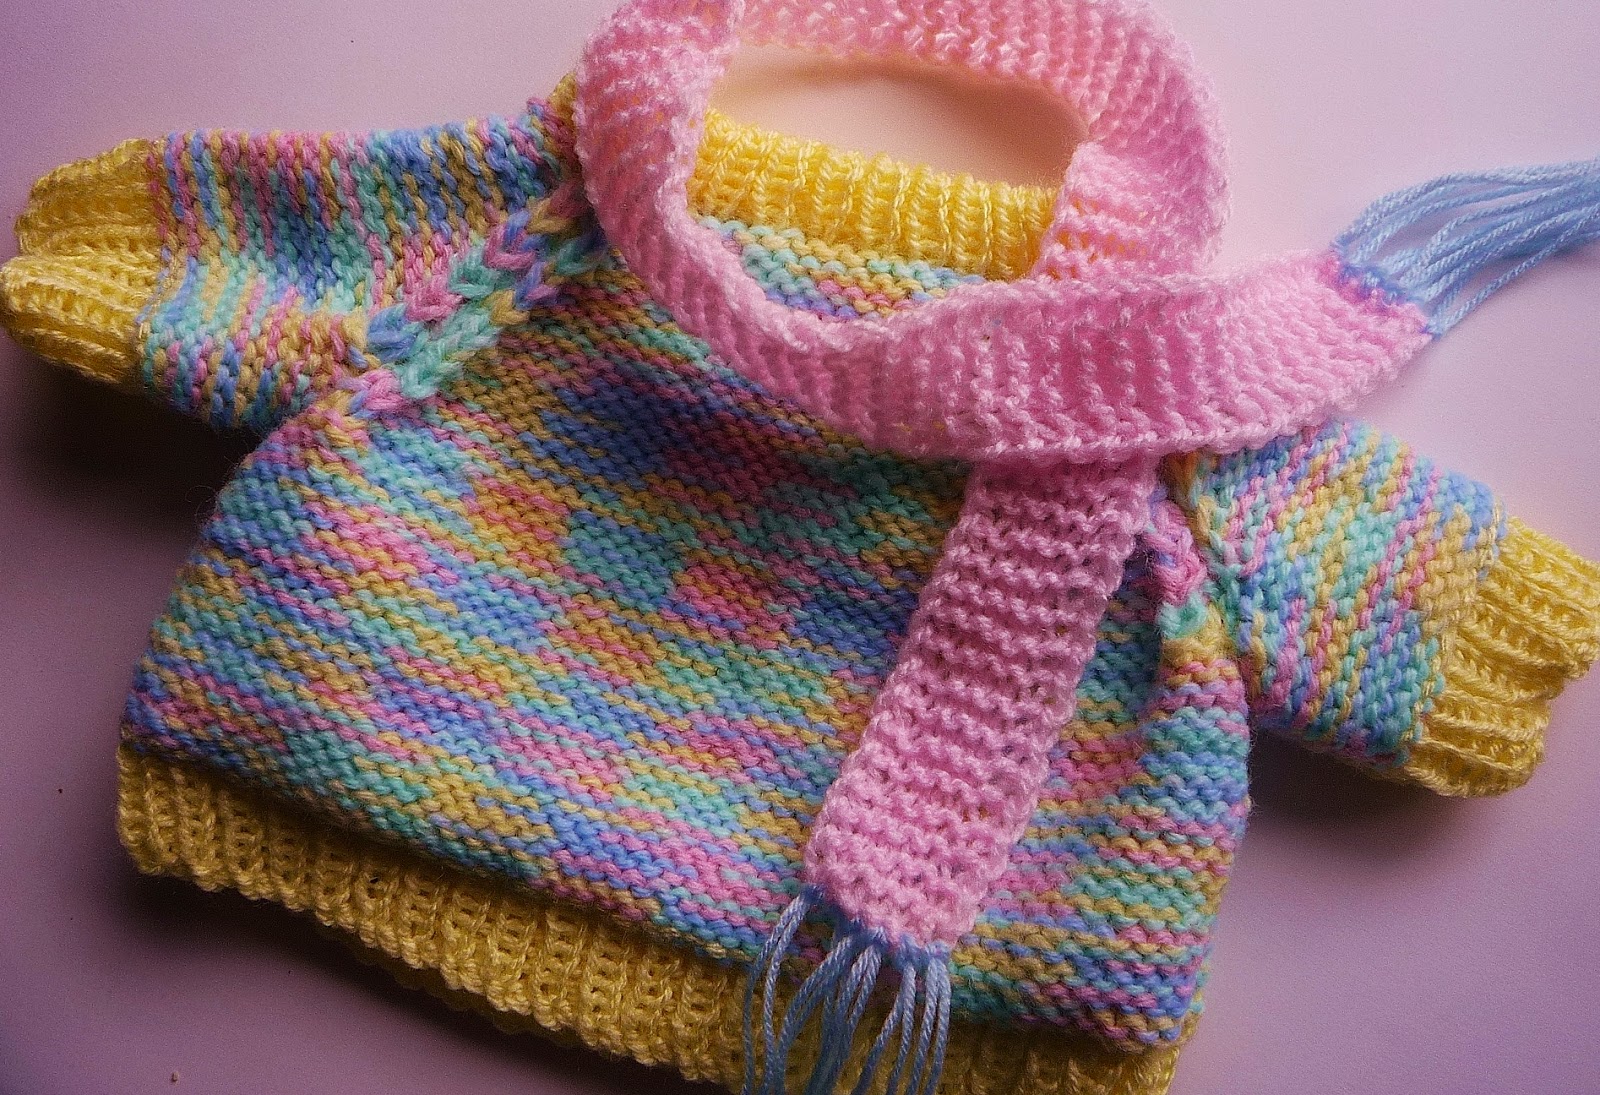
Thanks to Helen who writes the blog Midget Gem Quilts I discovered that Barnardos (Northern Ireland) are looking for knitters to knit jumpers for their Barney Bear. The Barneys with jumpers are to be raffled later in the year as a fundraising event.
So I spent the weekend knitting up jumpers. I was able to have another go at Jeny Staiman's Surprisingly Stretch Bind Off. To see the video of this cast off click here. It is a very clever cast off technique and it is surprisingly stretchy, useful for sock tops, glove ends and in this case neck edges.


The pattern is straightforward enough and is available at local libraries and you can be creative as you want to be to make a unique jumper.


Jumpers have to be finished by the 30th May and again can be left for collection at your local library.
If you need any other information contact Barnardo's Community Fundraiser & Volunteer Manager Karen Kerr telephone 028 9067 2366.
Bye, Ali.