28 January 2012

starlit vessel

I have just finished my first piece for the city and guilds diploma. It is a felt vessel inspired by galaxies, nebulous and stars.


It is wet felted  with merino wool, Angelina fibre for a bit of sparkle and embellished with swarovski crystal beads to give a bit of a twinkle. Now I have to finish the accompanying book and that's one craft pathway completed. Felting is new to me but I'm really enjoying even if all the rolling is a bit exhausting. The resulting items are so tactile and better still, virtually unbreakable.
Bye, Ali

24 January 2012

for Nancy B

Nancy contacted me recently regarding a correction to ROW 17 to the leaf pattern. Nancy .....for ROW 17, slip 1 stitch onto the right needle, then knit a stitch. Now you have two stitches on the right needle. The next thing is psso, which is pass slipped stitch over. You do this on the two stitches on the right needle, passing the first slipped stitch over the knitted stitch. Once this is done there is only 1 stitch left on the right needle and 13 stitches on the left needle. Then it is a case of following the pattern, k4, p1, k1, p1, k4, k2tog. Hope this helps.

There has also been a blip on the blog with links to patterns not working and a resulting blank page. Ive tried to sort it out but it is a general problem.

1 January 2012

mitts

Hope everyone had a great Christmas. I bought myself a wee present ......two skeins of Sublime lustrous extrafine merino dk and knitted myself a pair of fingerless knits. For someone who is used knitting with acrylic yarn it was so luxurious........such extravagance. I used a pattern on Ravelry, Susie's reading mitts and they knit up very pretty. Had to knit one twice as I wasn't 
concentrating - too busy watching Great Expectations on the tv!

happy new year everyone from Ali (crazy dazy)

8 December 2011

ho ho ho

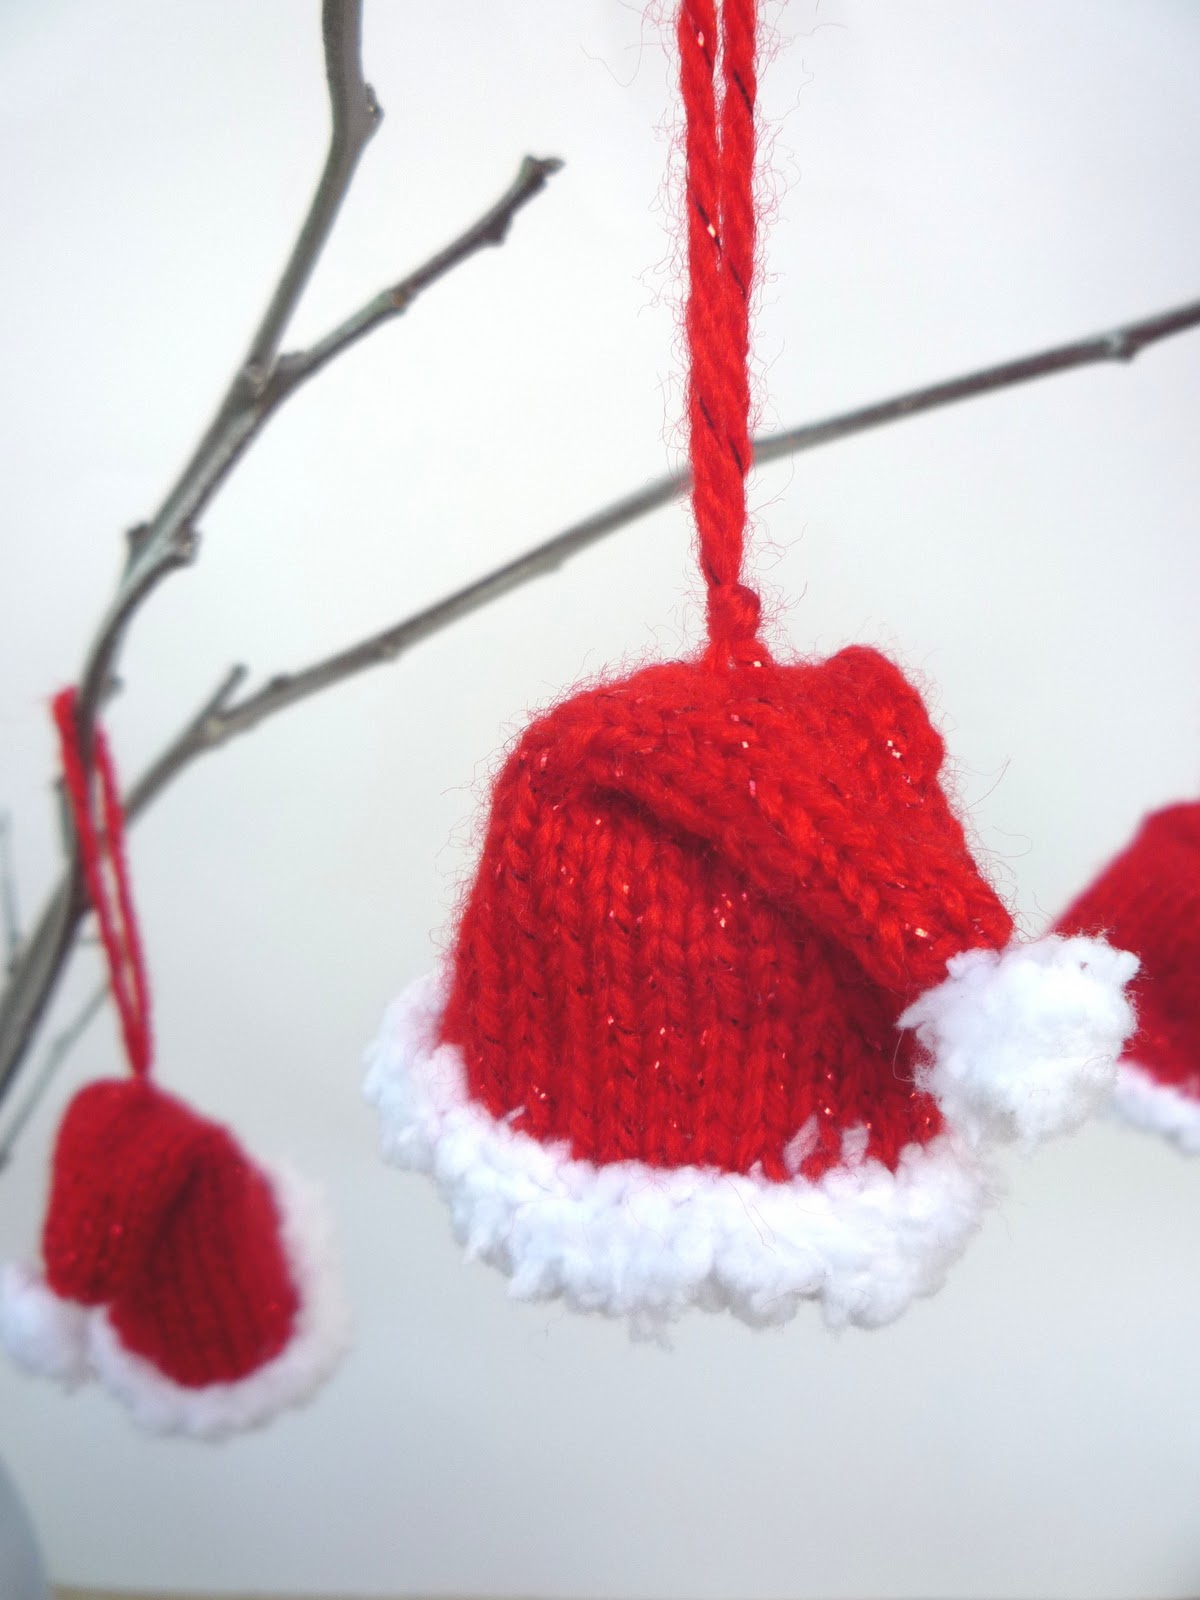
Can't believe how long it has been since I have written a blog post. How time flies! I have been busy with City and Guild coursework and of course knitting. I knit up a few Christmas decorations this year. I found a nice wee pattern on ebay (UK). Its a Santa's head which can be stuffed or left open at the back so a sweet can be slipped in. The pattern is by the seller jojoknits, I knitted the hat on dpns tweaking the mini Santa hat ornament by Julie Kundhi. Here's a few photos of my Santas and hats..........

Better get on with some more Christmas knits as time is running out.
Bye, Ali

23 October 2011

planet necklace

I'm still easing myself gently into the wet felting. I saw a tutorial for making felt balls in the washing machine on the Painted Thread Projects blog. It has great instructions and plenty of photos. I decided to make balls to represent all of the planets continuing my "universe" theme for the City and Guilds course. They are approximately to scale and the correct colour.
For the rings of Saturn, I wet felted a small piece, cut a donut shape out and them free machined round it.
The world was a plain blue ball which I later needlefelted, land and clouds on to - not sure how geographically correct it is!

Unfortunately I lost Pluto somewhere, it must have rolled under the sitee or somewhere. I was going to make a mobile of the felted planets, but changed my mind and turned them into a necklace.

bye, ali

15 October 2011

felted bowls

The city and guilds classes have well and truly started. I'm doing felting this year. As I haven't done much actual wet felting I'm easing myself in gently with a bit of knitted felting. I liked the idea of the felted nesting bowls in the Alice Thelma blog. My theme for this year is the solar system, so I tried to make the bowls planet like. I knitted angelica into the black felting wool to add a bit of sparkle. When I washed the bowls in the washing machine, the black must have ran making the nice bright yellow and orange colour a bit muddy.....should have used a colour catcher in the wash. Ah well you learn by your mistakes.
It was a good pattern, the bowls fitted exactly inside one another.


bye, ali


7 October 2011

whoopie pie pattern

Ive just put a new pattern on - see below for a whoopie pie. Hope someone can make use of it. The two halves are knitted with dpns and the cream is made using i-cord technique. I read somewhere that the whoopie pie got its name for Amish men shouting "whoopie" when they found the delicious treat in their lunch box.......dont know if that's true or not, you can correct me if I'm wrong. Better get back to my city and guild stuff now - I'm doing felting and I'm relatively new to this craft, so lots of research and googling required,
Bye, Ali.

WHOOPIE PIE
THIS PATTERN IS COPYRIGHT PROTECTED. DO NOT REPRODUCE PATTERN. DO NOT SELL ITEMS KNITTED FROM THIS PATTERN FOR PROFIT ONLY FOR PERSONAL OR CHARITABLE USE
 
size : 4 inches / 10cms wide


ABBREVIATIONS
k : knit
st(s) : stitch(es)
rpt : repeat
rd : round
tog : together
kfb : increase – knit into the front and back of the same stitch
pwt : pull wool through – cut yarn and with needle thread through remaining sts


MATERIALS
four dpns size 3.00mm (US 2.5)
two dpns recommended size 6.5mm (US 10.5)
brown double knit (8ply) yarn
white double knit (8ply) yarn
polyester stuffing
stitch marker
sewing thread and needle
darning needle
long sharp needle
seed beads (optional)
SEED BEADS NOT SUITABLE FOR SMALL CHILDREN


CAKE INSIDE HALF (make 2)
four dpns size 3.00mm (US 2.5)
Cast on 80 sts
Divide sts between three needles – 24 sts, 24 sts and 32 sts. Place marker.
Rd 1 :  k.
Rd 2 :  (k6, k2tog) rpt to end of rd (70 sts).
Rd 3 :  k.
Rd 4 :  (k5, k2tog) rpt to end of rd (60 sts).
Rd 5 :  k.
Rd 6 :  (k4, k2tog) rpt to end of rd. (50 sts).
Rd 7 :  k.
Rd 8 :  (k3, k2tog) rpt to end of rd. (40 sts).
Rd 9 :  k.
Rd 10 : (k2, k2tog) rpt to end of rd. (30sts)
Rd 11 : k.
Rd 12 : (k1, k2tog) rpt to end of rd (20 sts).
Rd 13 : k.
Rd 14 : (k2tog) rpt to end of rd (10 sts)
pwt.


CAKE HALF (make 2)
four dpns size 3.00mm (US 2.5)
Cast on 80 sts.
Divide sts between three needles – 24 sts, 24 sts and 32 sts. Place marker.
Rd 1 :  k.
Rd 2 :  k.
Rd 3 :  (k6, k2tog) rpt to end of rd. (70 sts).
Rd 4 :  k.
Rd 5 :  k.
Rd 6 :  (k5, k2tog) rpt to end of rd. (60 sts).
Rd 7 :  k.
Rd 8 :  (k4, k2tog) rpt to end of rd. (50 sts).
Rd 9 :  k.
Rd 10 : (k3, k2tog) rpt to end of rd. (40sts)
Rd 11 : k.
Rd 12 : (k2, k2tog) rpt to end of rd (30 sts).
Rd 13 : k.
Rd 14 : (k1, k2tog) rpt to end of rd (20 sts)
Rd 15 : k.
Rd 16 : (k2tog) rpt to end of rd (10 sts).
pwt.


CREAM FILLING
Recommended size of needle is 6.5mm (US 10.5)
Cast on 4 sts.
Using i-cord technique, continue until work measures aprox 100cms (40ins)
pwt leave a long yarn tail for sewing up.
If using different size needles to the ones suggested measure the icord by swirling round one of the halves, knit enough to double up on the outside edge.


 To Assemble
1. Weave yarn ends away on the wrong side of the cake halves.
Right side for the inside half is the knit side
Right side for the cake half is the reverse side – the side which looks like purl.
Place the two pieces together, wrong sides touching. Line up the decreasing stitches of the two pieces. With sewing thread in a matching colour sew round the edge, with running stitches


2. Leave a gap of approximately 2 inches. Insert stuffing. DO NOT OVERSTUFF. Keep cake half flatish. Sew closed the gap.


3. Swirl round the icord on one of the halves. With a long sharp needle, use the yarn tail to sew in place. Double up the icord at the edge.


4. Place the top half of the whoopie pie on top of the cream. With a sewing thread in a matching colour attach the edge of the cake half to the cream.
5. Seed beads can be sewn round the cream to represent sprinkles.


©copyright Alison Hogg 2010. For personal use only


5 October 2011

whooooopie pie

A friend came home from America and was telling me that whoopie pies where the new cupcakes. To be honest I had never heard of them but recently I have become more aware of them sneaking their way into the shops over here. I bought a couple to try and of course had to get the needles out. So the pattern will be available soon on my blog if you're interested in knitting up some.

Bye,
Ali

2 October 2011

new pattern

I've been having computer problems recently, but I have just got myself back online. I'm taking the opportunity to release a new pattern - Little Ladies, a mini doll pattern.

The dolls are 6 inches high and would make a good stocking filler or item for a party bag. They knit up in no time. The pattern also includes instructions for the four different fabric outfits, summer dress, bride, princess and fairy. Ive just put the pattern on my etsy and folksy shops.
Must catch up now with all my favourite blogs.
Bye, Ali

10 September 2011

wee hat

When a new baby arrives, I always like to knit some wee thing. I found a ball of essentials merino, in the loveliest colour of pink in my stash. There was just enough to knit into a baby hat. I used the Simply Simone and Simple Simon pattern by Elizabeth A Cote. Its available as free download on Ravelry.
Instead for making loops at the top of the hat, I just knotted the i-cord.


 For someone who tends to use acrylic yarns due to price and choice of colour, the yarn was an absolute delight to work with. So thats one less ball in my stash.  I must not, must not, must not buy anymore yarn.......well one more ball wont do any harm!
At the moment I am working on a mini doll pattern - she measures 6 inches long.

I havent had as much fun in a long time creating and making outfits for her. Here she is as a bride....
Im at the writing up stage at the moment, but hopefully the pattern will soon be for sale on my etsy / folksy shop.
Thats all for now, Ali


22 August 2011

beach combing

I spent a nice morning on the beach, the purpose of the mission was to find some tumbled beach glass.
I did a jewellery course during the summer and we were shown how to do wire work. The tutor suggested using beach glass or pebbles and wrap wire round them. She said that beach glass would be a scare commodity in the future, due to recycling and the more frequent use of plastic containers. I collected lots of "gems", some really interesting pottery pieces and glass with patterns and letters on them....
Now I just have to get the pliers out.
All the best, Ali.

3 August 2011

Apologies

Sorry if anyone has been trying to access my patterns in the last few days. I closed down the blog due to a problem, shall we say, with the site allfreeknitting. One of my patterns was held up in a controversial way on one of their newsletters and readers where invited to make comments. Some of the comments were most unpleasant about the pattern and I felt as if I was under personal attack. I now have my free patterns and profile removed from that site. Designers please note that on the allfreeknitting site you do not have a way of moderating or deleting comments about your patterns or indeed yourself.
Bye, Ali

26 July 2011

leaf quilt

I saw this 24 Leaf Quilt on Marion Boddy-Evan's blog and loved the simplicity of the design. The tree also reminded me of a lime tree I have in my back garden. Today I have just finished my own quilt based on her design. The tree trunk is a tweed material. I have also included a blue tit and a grey squirrel in the design as they are both frequent visitors to my back garden. Not sure about the blue leaves though, I thought they were a good idea at the time, to coordinate with the blue leaf patterned curtains in the hall. Not sure about the squirrel either, I think his head is too small- but just glad to have it finished.
Here it is.....

and some details of the quilt.....


Bye, Ali.

12 July 2011

miaooooow


I spent a nice day working in the garden on the cat for my new pattern. Still have to write it up mind you. I like the idea of combining the crafts of sewing and knitting and the use of fabric and yarn. The cat has fabric inner ears and will have fabric paws. I'm also hoping to include a pattern for a fabric dress and possibly a knitting pattern for a cardi.
All at the very early stages and it is very much work in progress. I'm hoping to have it finished at the end of the summer...hopefully that is!
Bye, Ali

9 July 2011

beaded cuff


I had a free afternoon today and decided I would make up a bracelet which I saw in the Annahilt bead shop.
Ive written up the instructions for anyone who would like to have a go.
what you need
-50 (aprox) coloured safety pins
-selection of beads with holes large enough to thread on to the pin of the safety pin
-beads for spacers with holes big enough to thread onto the elastic
-elasticity (1.0), which is a soft flexible bead cord which looks like nylon but is stretch like elastic  - about 3/4 metre
-nail varnish or glue
Instructions
1. Thread beads on the open pin of the safety pin.


2. Using half of the elasticity, thread the safety pins and spacers alternatively.
The safety pins are threaded head to toe, that is, the first pin has the closure at the top, the next pin has bottom side at the top. Make sure the beaded pin is facing forward. Use a paper clip at one end to stop beads and pins sliding off. If you have a reel of elasticity work directly from the reel.
3. Continue in this way. Check to see you have enough safety pins and beads to go around your wrist. Use an even number of safety pins to continue with the "head" to "toe" sequence. 


4. Place the safety pins on a flat surface, beaded side facing down. Thread the other piece through the other side of the bracelet adding a spacer bead between each safety pin.


5. Tie one end of the bracelet with a reef or square knot. For a tutorial on how to tie this knot click here.

6. Repeat for the other end of the bracelet.
7. Put a dab of glue or clear nail varnish on the knots for extra security and trim ends. Push knot into the hole of the safety pin.


5 July 2011

soooooo cute

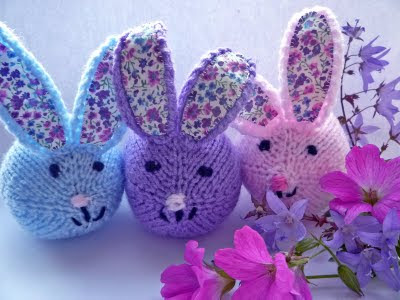
At the moment I am writing up a pattern for a knitted cat. However progress is very slow and my enthusiasm has waned somewhat. For a wee break I knitted up some baby bunnies, a pattern by Laura Long, which is in her book Knitted Toy Tales. They book is absolutely delightful and I like the way she uses fabric. Sometimes its nice just to follow someone elses pattern and interesting to see how they do things.

25 June 2011

to bead or not to bead

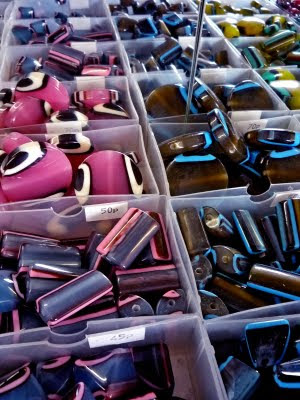
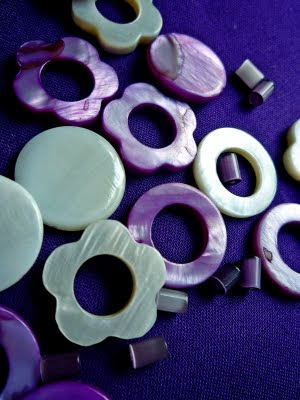
Yesterday I spent a very enjoyable morning at the Bead Shop in Annahilt. I have signed up for a jewellery course during the summer holidays and wanted to stock up on some supplies. Not only can you choose beads for a vast selection, the girl (I think shes called Lynne) will help you design and make your item of jewellery. I strongly recommend a visit, you will come away with a unique and inexpensive piece of jewellery. Don't be put off by the mundane surroundings of the Business Centre where the shop is located - inside it's a completely different world. They is opening another shop in Bessbrook, near Newry in the Richbrook Industrial Estate, come 16th August. I bought a few wee bags of beads to make up in the course, but I'm sure I'll be back to the shop again soon. Bye , ali

21 June 2011

rain stops play

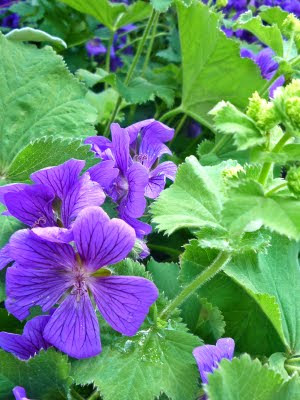
Why is it when the badminton net goes up in the back garden for the summer months - the rain comes on! Not to worry, I managed to take a few photos when the garden was bathed in sunshine last week. The rose was the first of this year.. I love the way the geranium spills over into my ladies mantle plant in a chaotic manner.... Some good news is, I passed my two City and Guilds Awards this year with distinction - I'm very pleased and relieved about that. Bye, Ali
13 June 2011

wish me luck

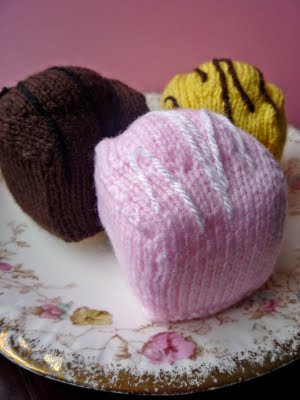
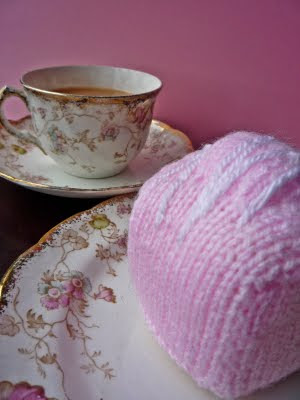
Tomorrow is the day when the external examiner comes to Belfast to mark the City and Guild pieces. She will be looking at my knitted items in particular - I have cupcakes, a gateau and these plate of buns up for scrutiny.

....so keep your fingers crossed for me.
After gaining the Certificate and hopefully a few Awards, I have signed up for the City and Guilds diploma for next year.
On a slightly different theme someone passed the link to this article
in the Daily Mail which links quilting to good health.
Ill let you know how I get on tomorrow,
Ali